These DIY candlesticks were so easy to create and I am excited to share this project with you.
I get asked all the time about different DIY projects and how we go about them so we are going to try to start something new. First of all, I have been sharing a lot of behind the scenes looks into all the projects I am working on in my Instagram stories. Along with that, I have talked Matt into doing Facebook live videos every week to share different DIY projects from start to finish. Make sure you are following along on Instagram HERE and Facebook HERE.
Now, let’s get to these easy DIY candlesticks.
I love wood candlesticks. LOVE THEM! I have them all around our home.
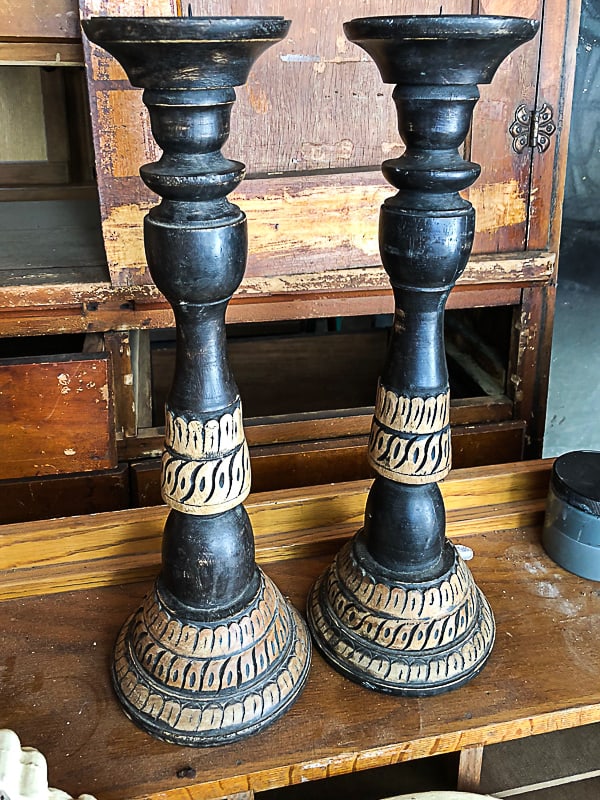
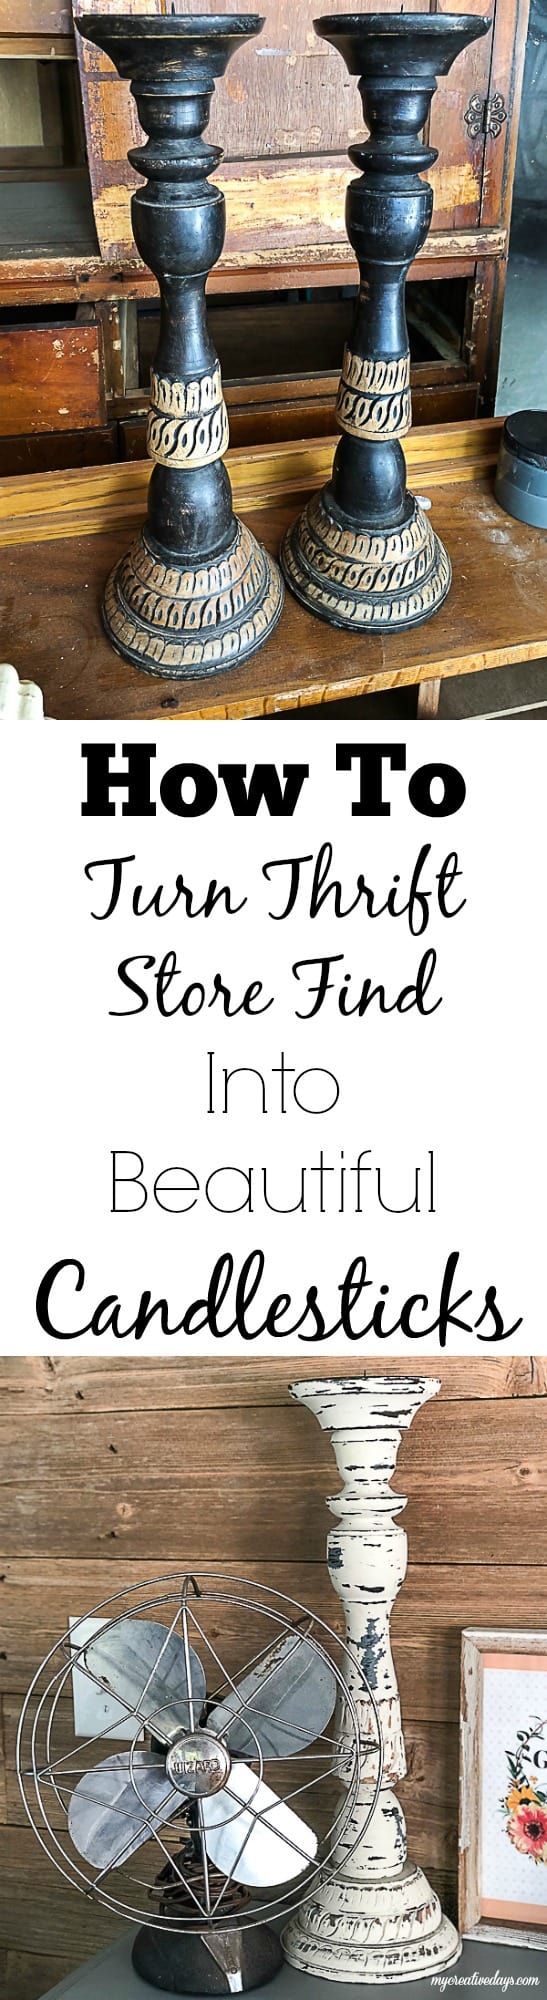
These particular candlesticks were a thrift store find while we were vacationing in the Des Moines area.
{Affiliate links are used in this post. You can read my disclosure HERE.}
When I saw them, I didn’t like them at all, but I knew they were wood and when I picked them up, they were really heavy which was a bonus. I bought them because of their potential. A lot of people will not look past what they are to think about what they can be. That is one of my biggest tips when you are shopping thrift stores and yard sales. You have to know what you are looking for and even if the “thing” isn’t exactly what you like when you find it, look past that and find the potential and what it can be after some tweaking.
The candlesticks were a perfect example of that. I didn’t love them as they were, but I knew it would be an easy project to make them over to fit our home.
Supplies Used In These DIY Candlesticks:
“Stormy Seas” from Dixie Belle Paint
“Drop Cloth” from Dixie Belle Paint
Vaseline
Paint Brush
Sand Paper
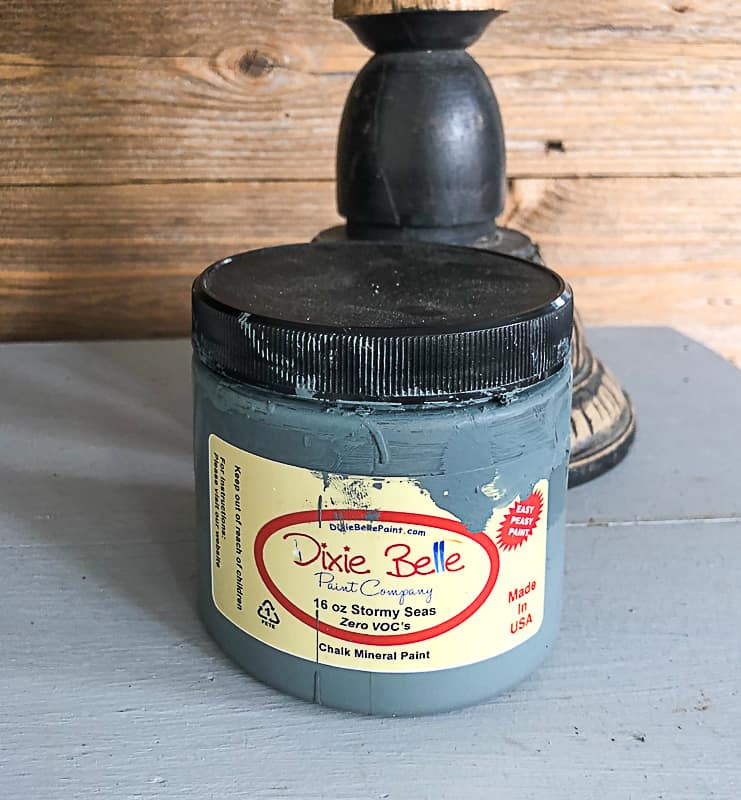
The first thing I did to make over the candlesticks was paint them in “Stormy Seas” from Dixie Belle Paint. I chose this color because I wanted a pretty color popping through after I sanded them down in the end.
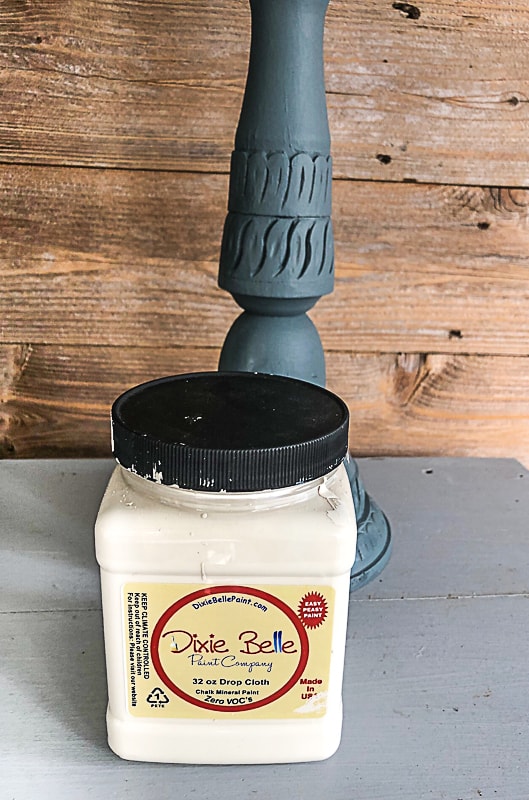
After the first coat dried, I rubbed some Vaseline onto the candlesticks in random areas. This makes it so the next coat of paint doesn’t stick in those areas very well.
Next, I painted both candlesticks in “Drop Cloth” from Dixie Belle Paint.
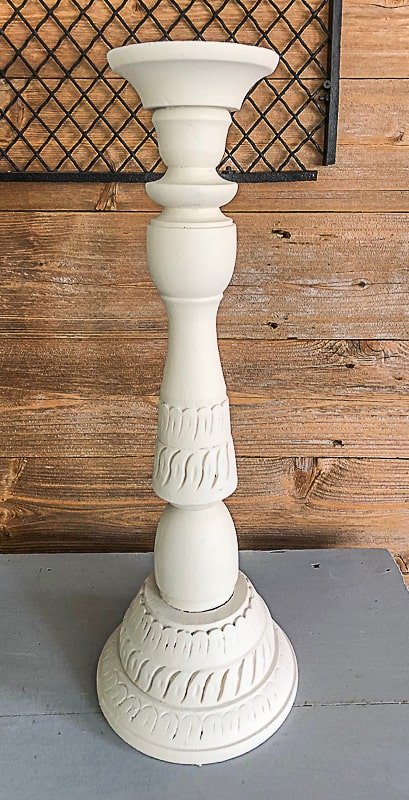
Once the paint dried, it was time to sand the candlesticks. I used a piece of sandpaper and went all over the candlesticks with it.
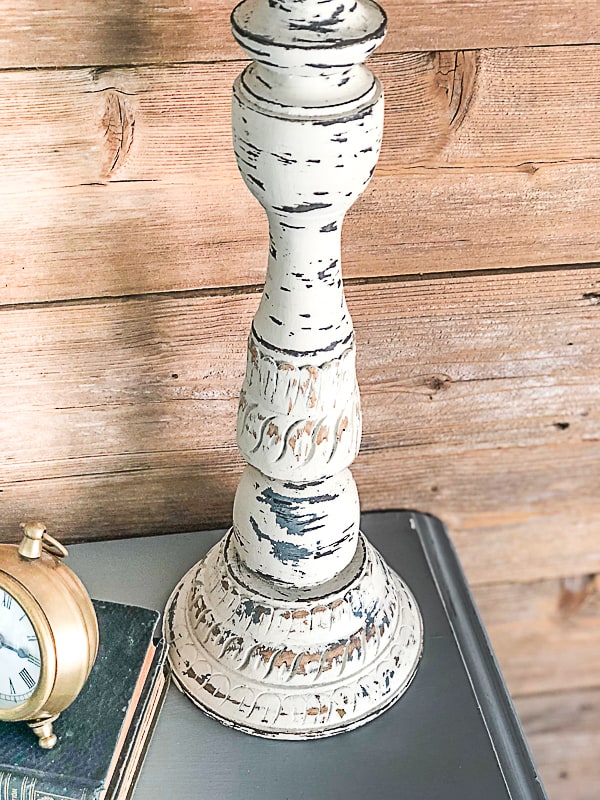
It worked like a charm! I pulled the blue color out and I also got down to the original black in some areas which I loved.
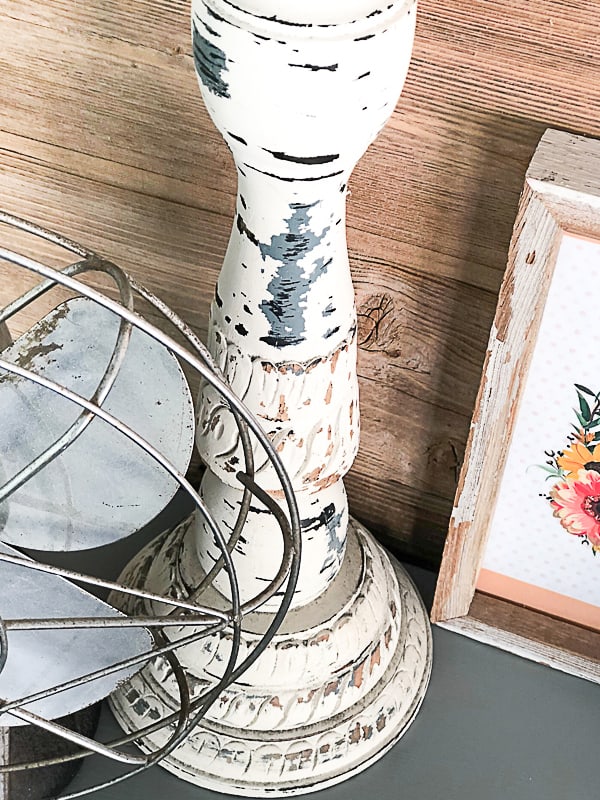
I also love that the wood tone that was on the original candlesticks popped through too.
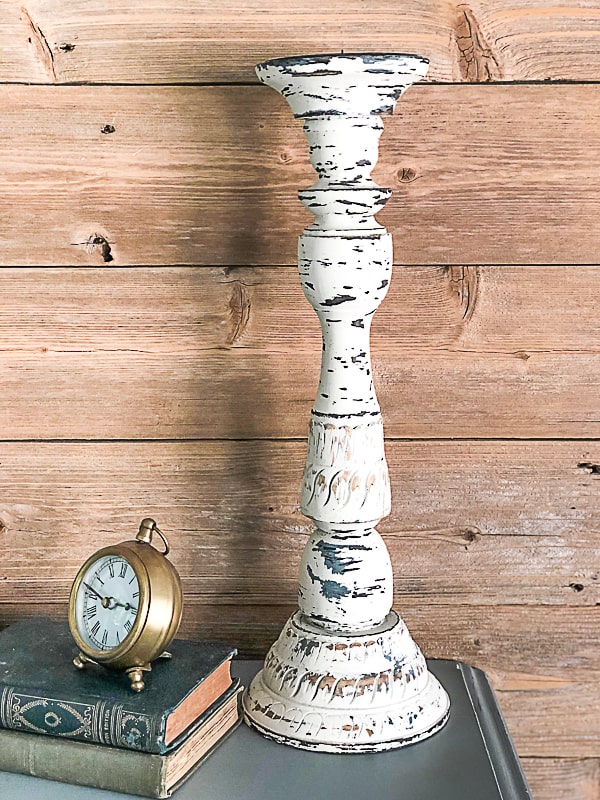
These DIY candlesticks now fit our home and style so much better.

Like I said earlier, I love wood candlesticks and will pick them up from any thrift store or yard sale because I know I can paint them or finish them to fit our style.
Wood candlesticks can be expensive in stores so I am happy to save the money and create my own from thrifted candlesticks.
Not only is it easy to make over thrifted candlesticks, but we have also made candle holders from table legs. You can find that easy project HERE.
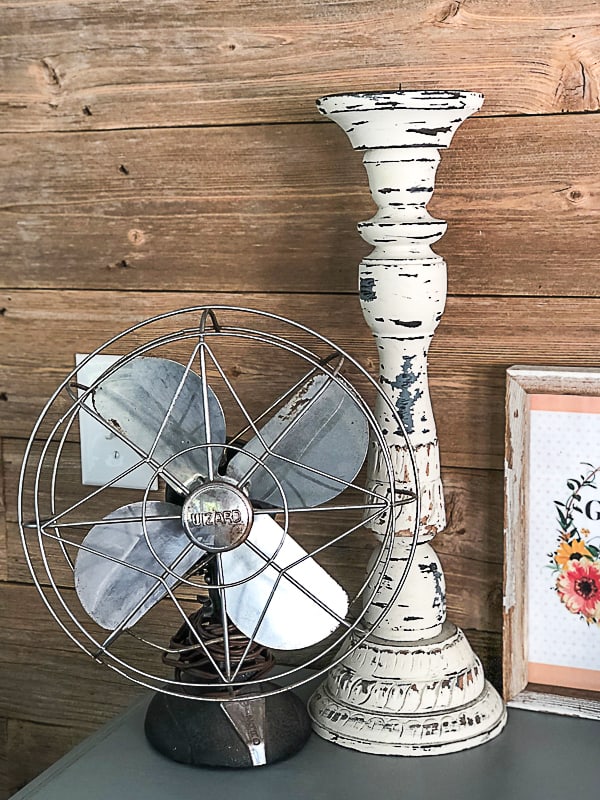
I think that candlesticks can be used in home decor all over the house. They aren’t only for tables and dinner time. I like to use them even without candles on them. They add height and dimension to shelves and cabinets and they add interest when you group them together with different colors and finishes.
Do you have candlesticks in your decor? What is your favorite way to display them?
Don’t have time to make DIY candlesticks? I found some beautiful options online:
PIN THIS POST!
Before was good, after is the best. So easy, just need imagination.