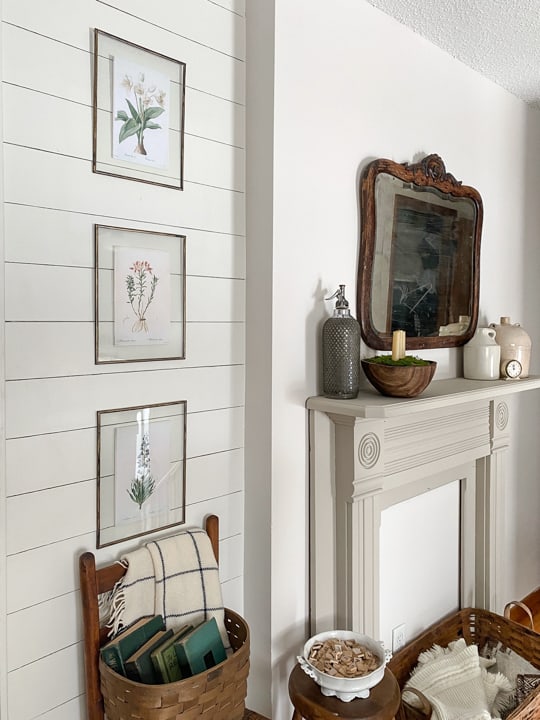
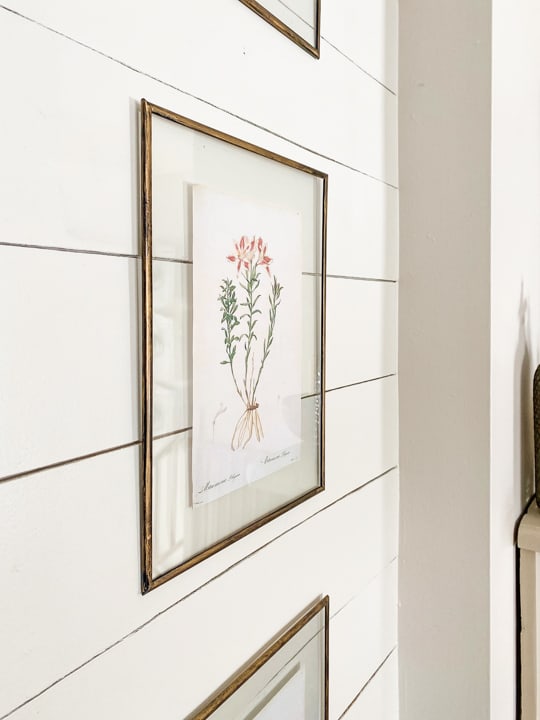
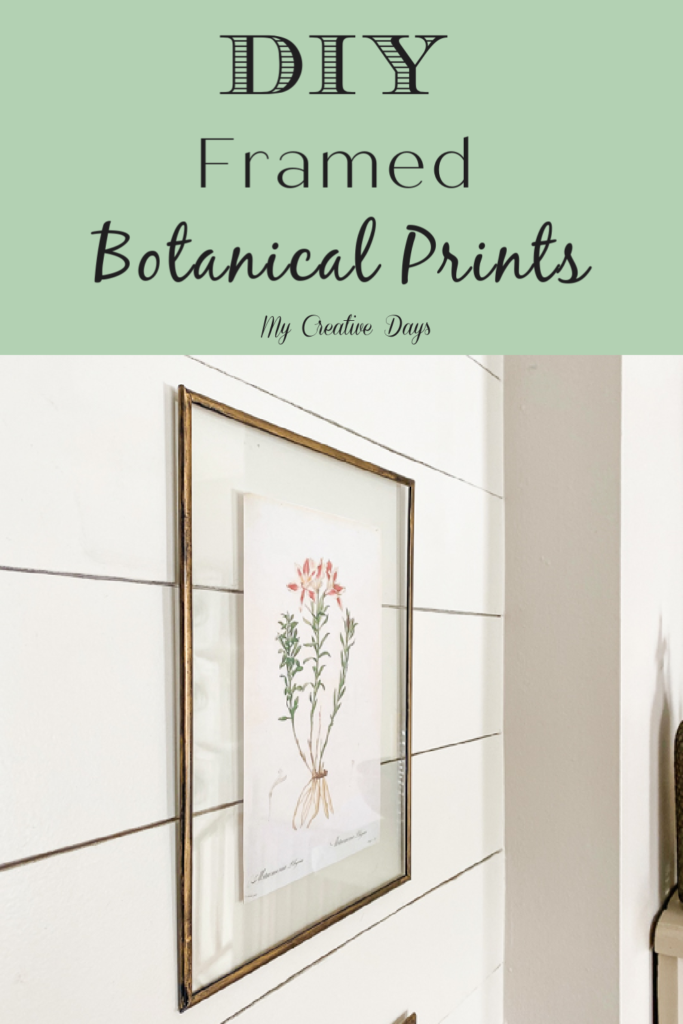
These DIY framed botanical prints could not be easier to put together and the best part is that this project gave me the exact look I wanted for under $10!!
I love a good botanical print, but they are usually expensive in stores and online. I bought a set before, but I didn’t love the chunky frames they came in. When I was putting the house back together after the Christmas decorations were put away, I started thinking about botanicals and maybe some other print ideas. I knew the look I wanted, but I also knew that they would cost more than I was willing to pay, so I had to come up with a way to give me the look for a lot less. That’s the name of the game for me. How to get the look for less?!
DIY A Store Bought Frame To Get A Custom Look
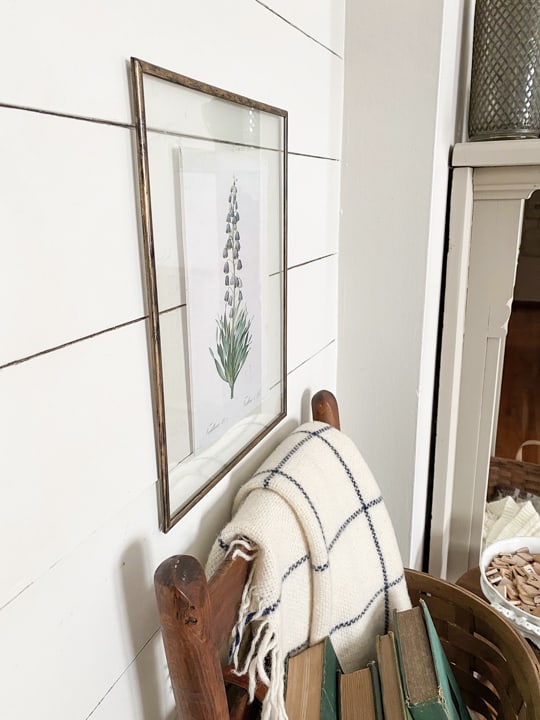
I wanted a simple frame where the print was between two pieces of glass. Not matted. Just the glass and the print. Think vintage metal/lead/iron (I am not sure what they are made out of), worn brass frame. I knew it would be impossible to find exactly what I wanted and even if I did, the cost would be way more than I would want to spend.
Let’s just say I am cheap…..
I just know that I change my mind a lot about decor and do not want to spend a ton of money on something I will probably change in a few months.
This is how my creative mind works. I think about something I want for our home and then I start mulling over different ways to get the same look for less. When I started thinking about this project, I instantly had some ideas for getting the look. I thought maybe some thrift store frames, take out the glass, use some gold-colored duct tape…
That idea came to an abrupt halt because I couldn’t figure out how I would hang that and I didn’t think the duct tape would give me the look I was going for. Then, I thought about spray paint and a few other ideas. None of them were sticking.
Then, I was inside Walmart to get supplies for a different project and walked right by the frame section.
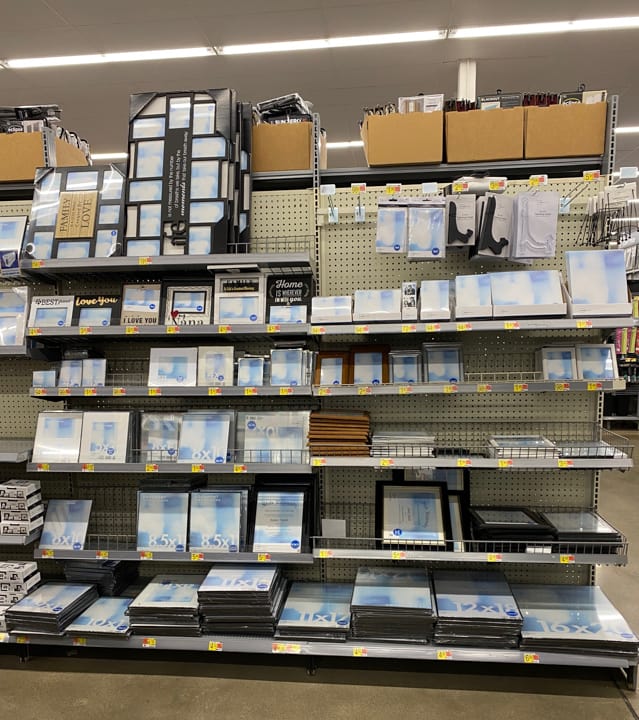
There it was! My DIY framed botanical prints came to fruition inside Walmart of all places. I never know when it is going to come together, but it usually does if I am patient and don’t try to force. it.
{Affiliate links are used in this post. Click on any of the underlined links to find the products I am talking about. You can read my disclosure HERE.}
Supplies Used In This DIY Framed Botanical Prints:
Rag
Botanical Prints (I printed these on regular white, printer paper)
Scissors
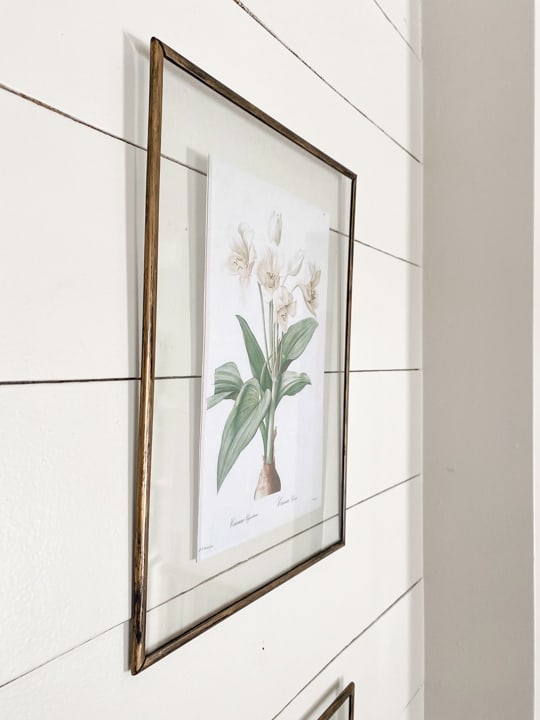
I wanted the 8×10 sized frames for my project, but you could use any size. The float frames are like poster frames. If I remember right, the poster frames back in the day (when I was putting my NKOTB posters inside), were plastic. I really wanted glass, so I was so happy to see that the front of these frames was actually glass! The back piece is plastic, but that didn’t bother me at all. The front is glass, so I am happy. The frames have plastic pieces all around the edges that hold it all together. They are black which worked in my favor because I wanted the worn/vintage look of old brass so having some of the black peak through was perfect! The frames are easy to work with and I was excited to get them home and see if my idea would work.

IT WORKED SO WELL! I was so excited that I had to go live on my Instagram page and share the project.
Here is the video:
Tips For Creating Framed Botanical Prints
- Don’t put the Rub’n Buff on while the frame is on the glass. Remove all the frame pieces and then apply.
- Make sure and wipe away any lint or dust on the plastic frame pieces before applying the Rub’n Buff
- Wipe the Rub’n Buff in long streaks on the plastic pieces and then come back in and spot it to get some texture (like I shared in the video).
- It will be tacky when you are done. Let it sit for a couple of hours before putting the prints inside and putting the frames back together. I let mine sit overnight and it was good.
- I used a regular printer and regular white printer paper for the botanicals. You can use whatever paper you like.
- You can find all kinds of FREE printables on the internet. Just search for what you are looking for. I think birds, old maps, or black and white family photos would be amazing for this project.
- Clean the glass and the plastic back before putting the botanicals in and putting the frame together.
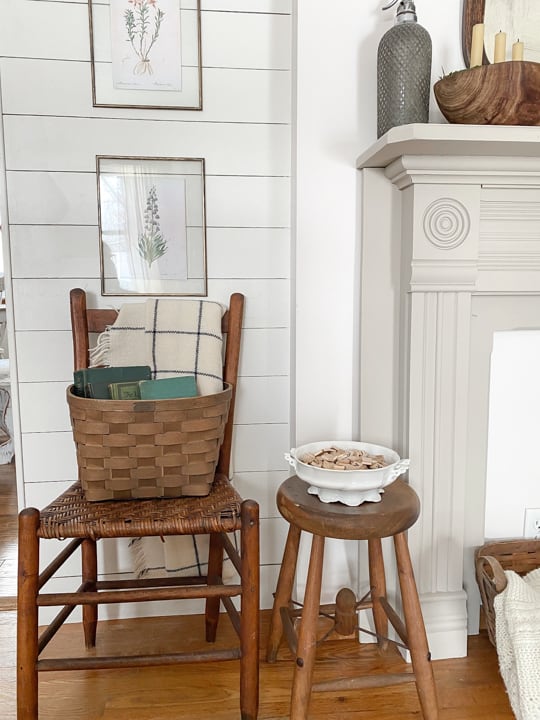
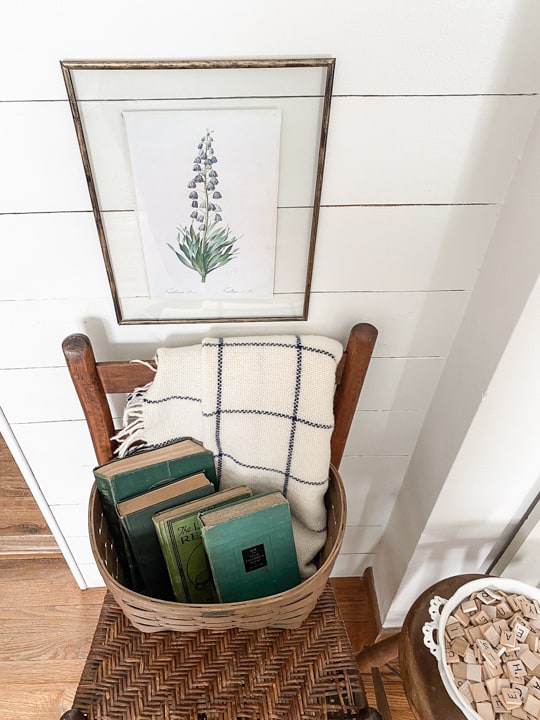
- You can hang these any way you like. There are hangers on the back for nails. You could also use twine, chain, or wire to hang them. They would also be pretty just sitting on a shelf or mantel with other decor.
I hope this inspires you to try it. I am telling you, it is so easy and you can’t mess it up.
If you try it, please post a photo on Instagram and tag me @mycreativedays so I can see it?! Pretty please?! 🙂
PIN THIS POST!
If you liked this project, you will love these easy DIYs:
Easy Way To Refinish Furniture Without Stain or Paint
How To Make A Faux Mantel Tutorial
Thanks for sharing this! I, too, love that look and have some botanicals that I printed off last year, but wasn’t sure how I wanted to frame them….glad I waited and saw your video! Thanks again!! And for the Rub n Buff tip!
Your welcome! Thank you for the comment!
THEY ARE CALLED TIN OR METAL FFRAMES. DID YOU GLUE THE PICTURE HOLD IN PLACE?
I did not glue it because I will change the pictures out I am sure. 🙂
I would Ike the printable of the botanicals and the link ,please.
Thanks
Click on the links in the post to get them