Back in May, I shared this project on the SITS blog. This Menu Board is the perfect project to share now that the school year is in full swing. We are all looking for ways to get more organized and keep things together during the hectic school year.
At the end of a busy day, the last thing I want to do is think about what to have for dinner! I know there is a better way to organize our meals and grocery shopping and it all has to start with an actual meal plan for the week.
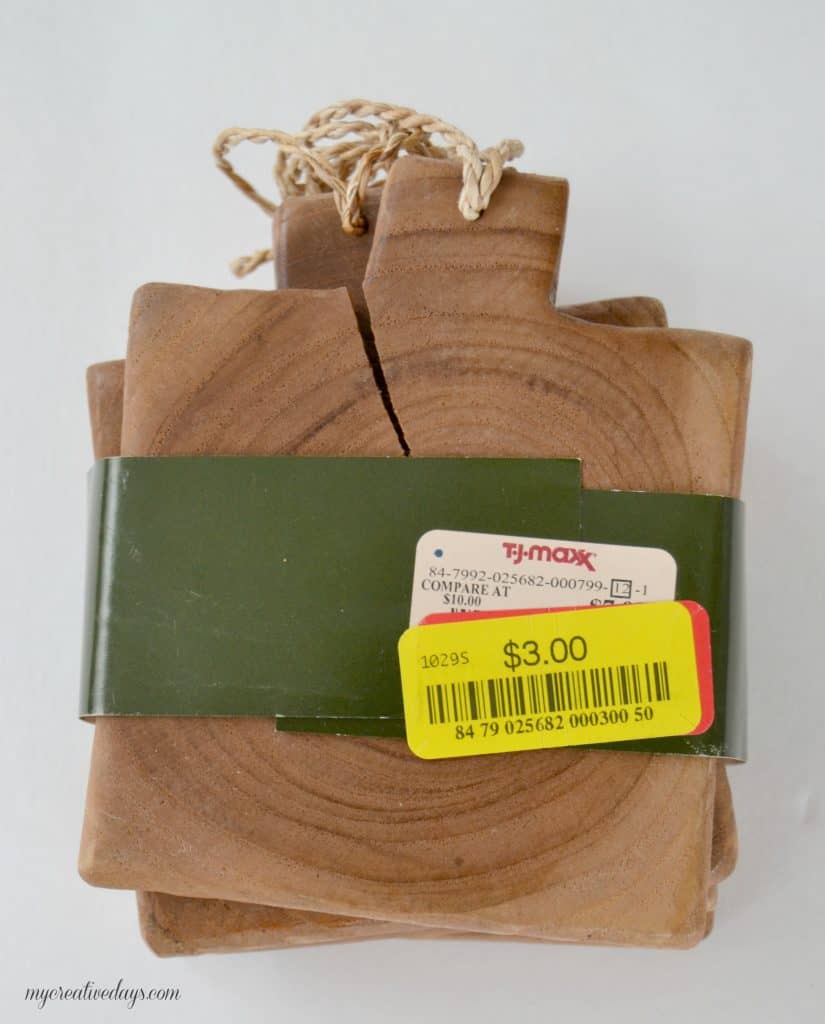
So, what do clearance teak wood coasters, plywood and frame pieces have in common?
They all come together to make a menu board. This board is going to help plan our weekly meals and make my grocery shopping a lot easier this school year. (Fingers crossed).
During the week, planning meals and getting dinner organized and on the table can be a struggle with our busy schedule. By the end of the day, I am tired and we are usually getting ready to head out to one activity or another.
I thought a menu board would be a great tool to help me stay organized.
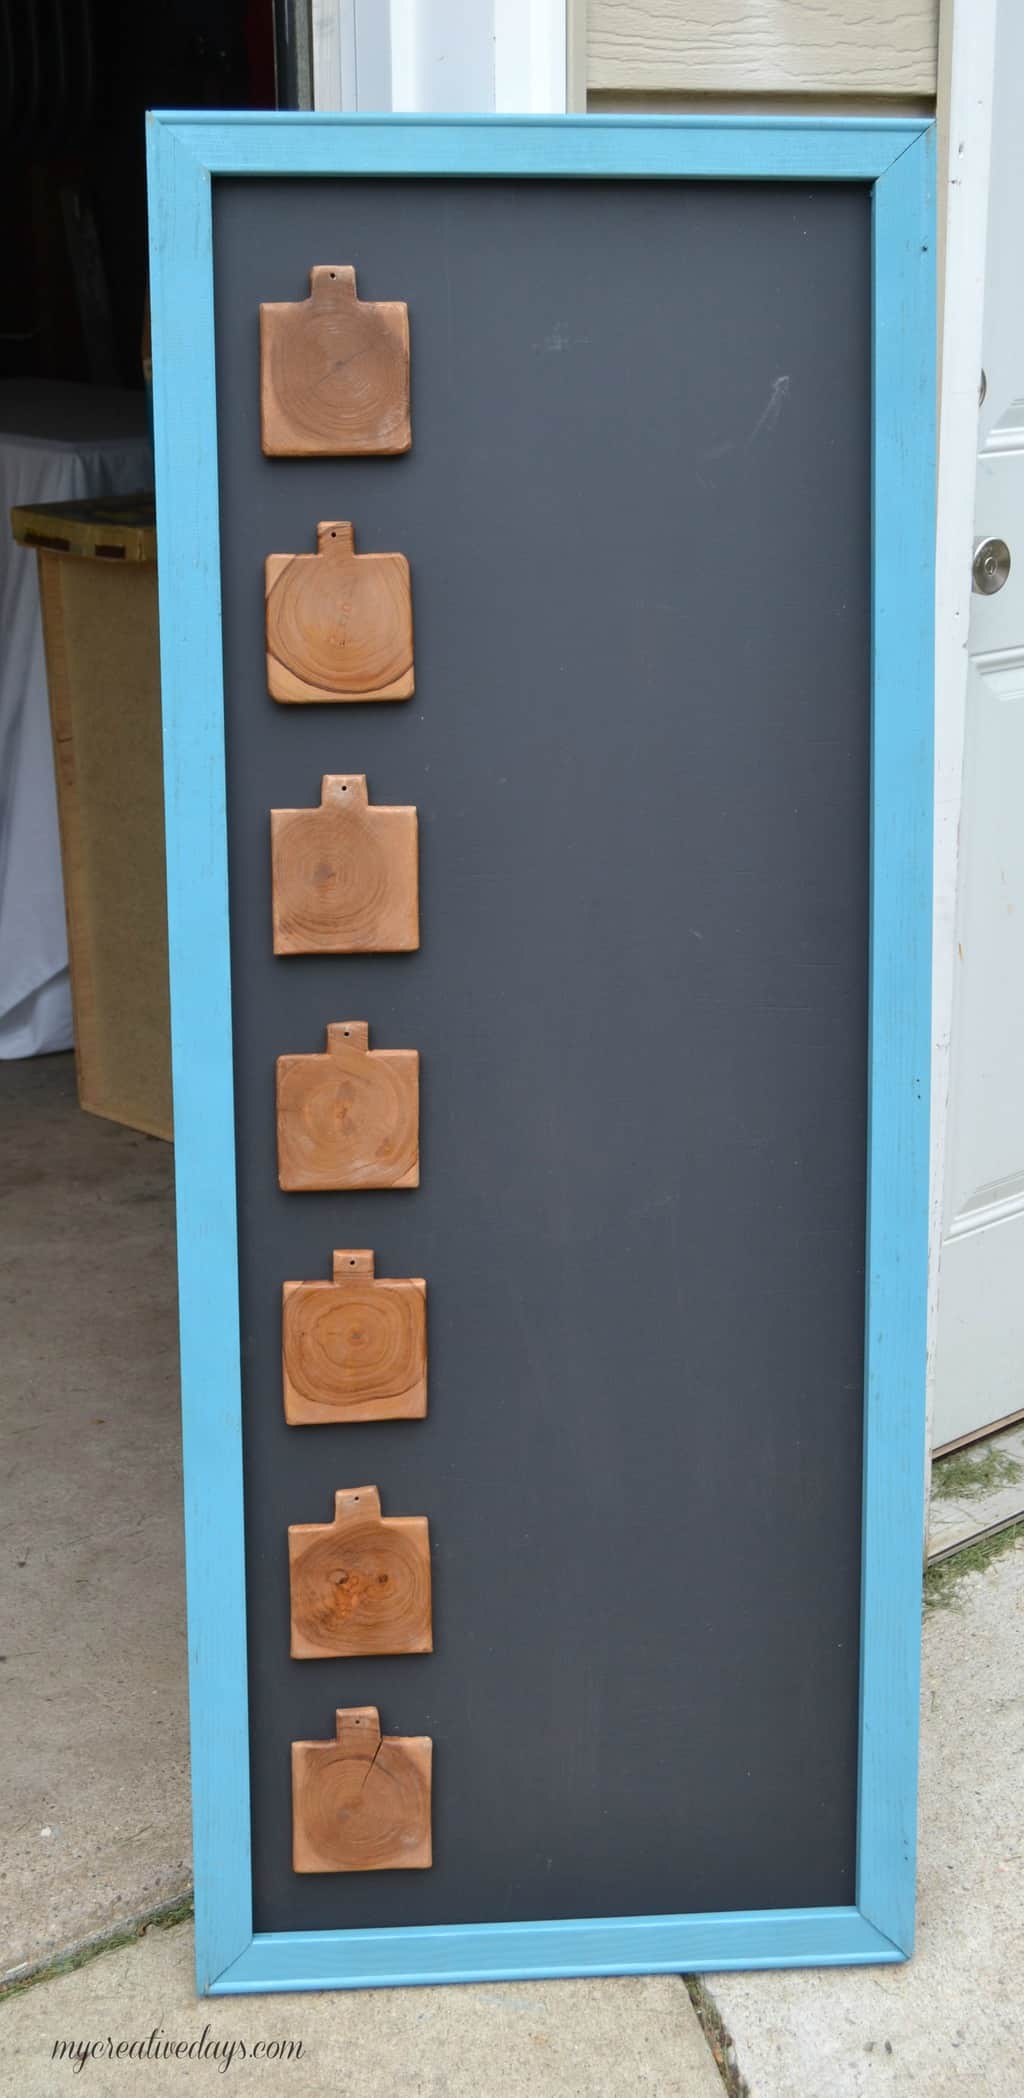
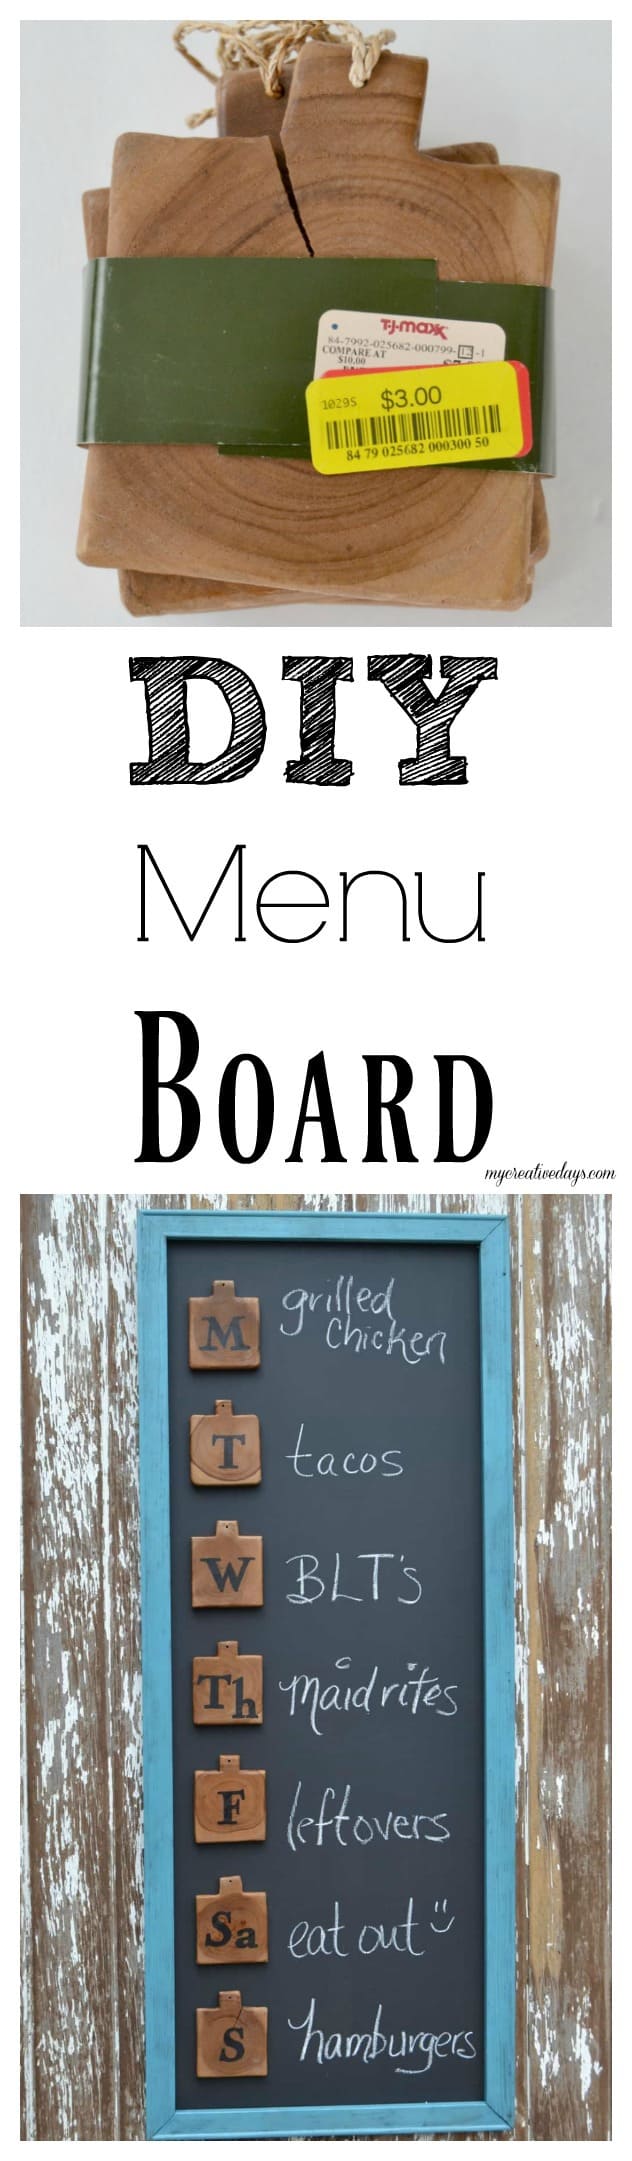
To make the board, I used teak wood coasters I found on clearance at TJ Maxx, plywood and frame pieces I picked up at Restore & Restyle.
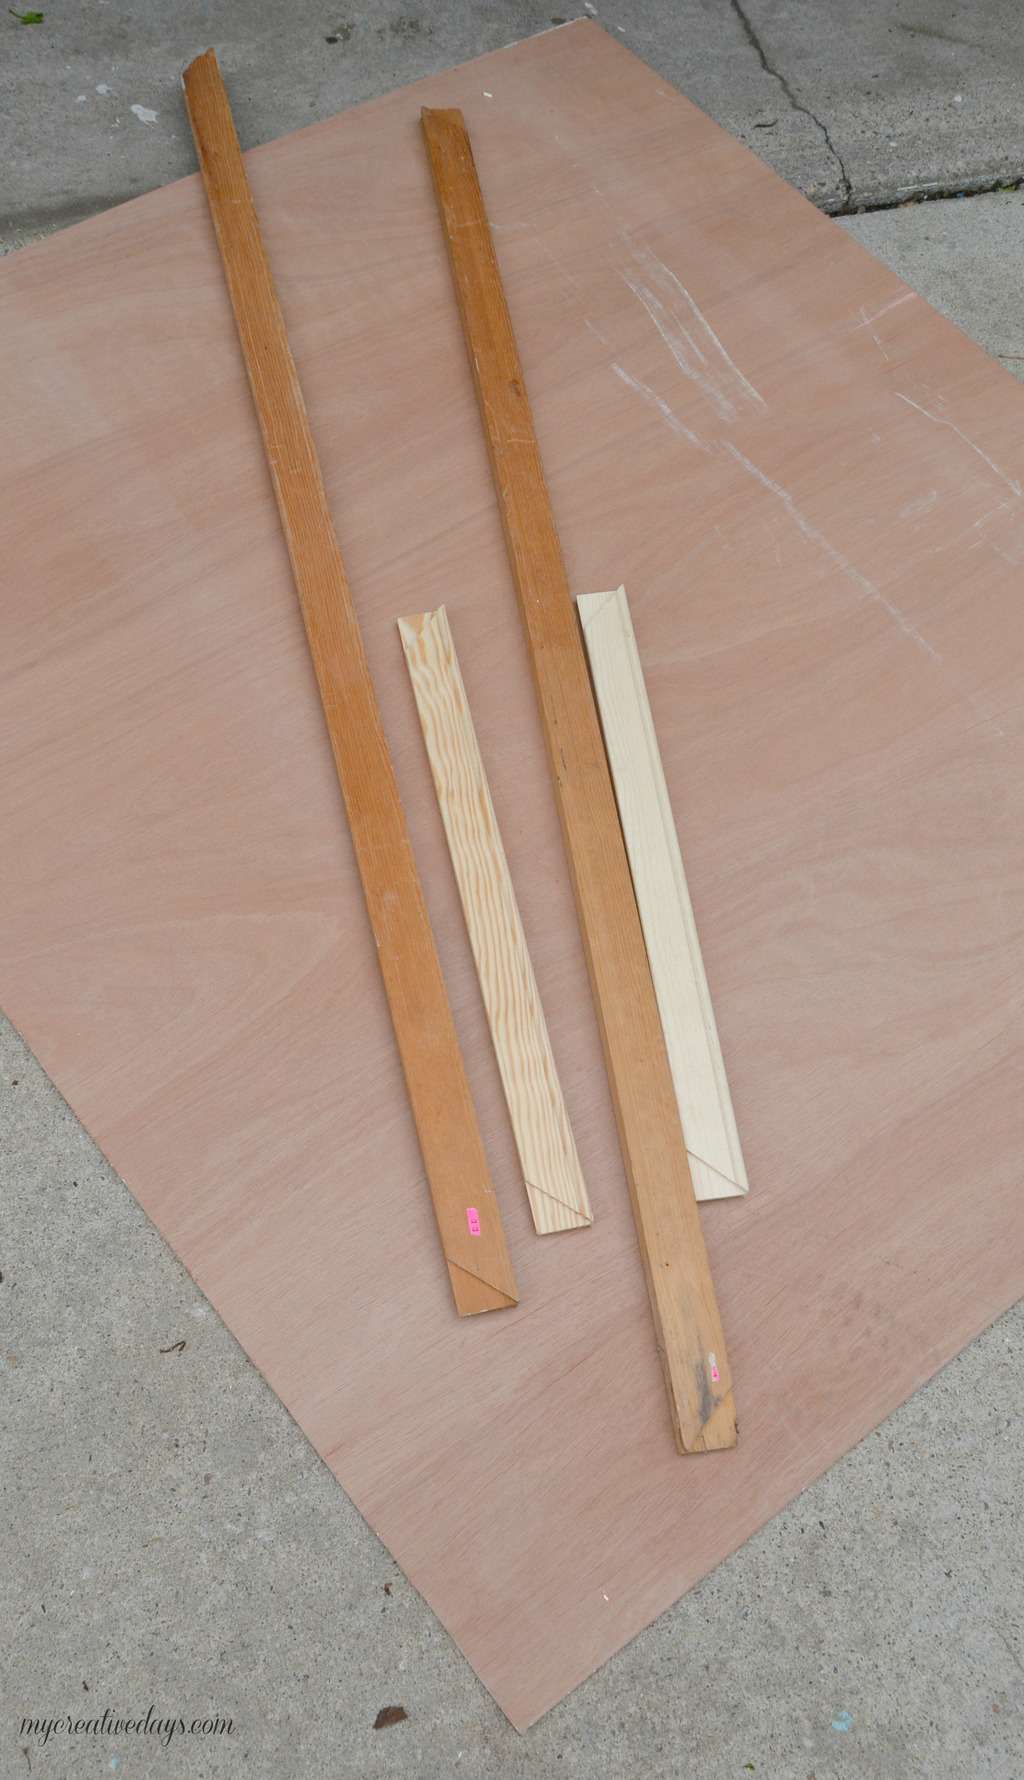
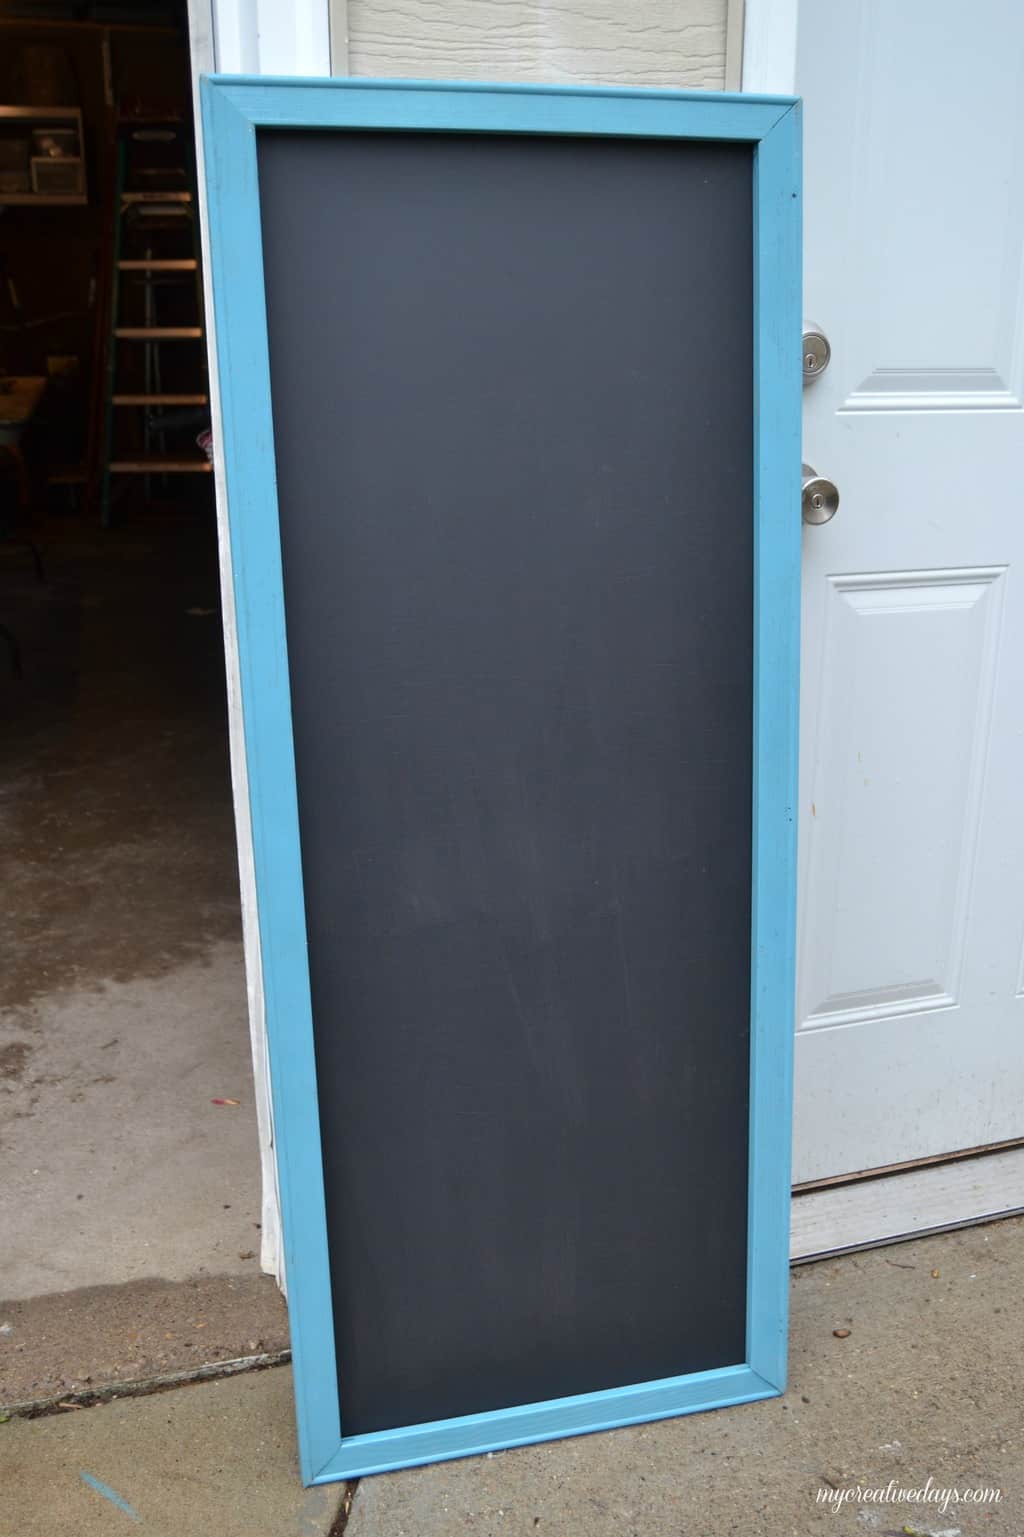
I measured the frame and Matt cut the plywood to fit.
Then, I painted the plywood with chalkboard paint and the frame a fun, teal color.
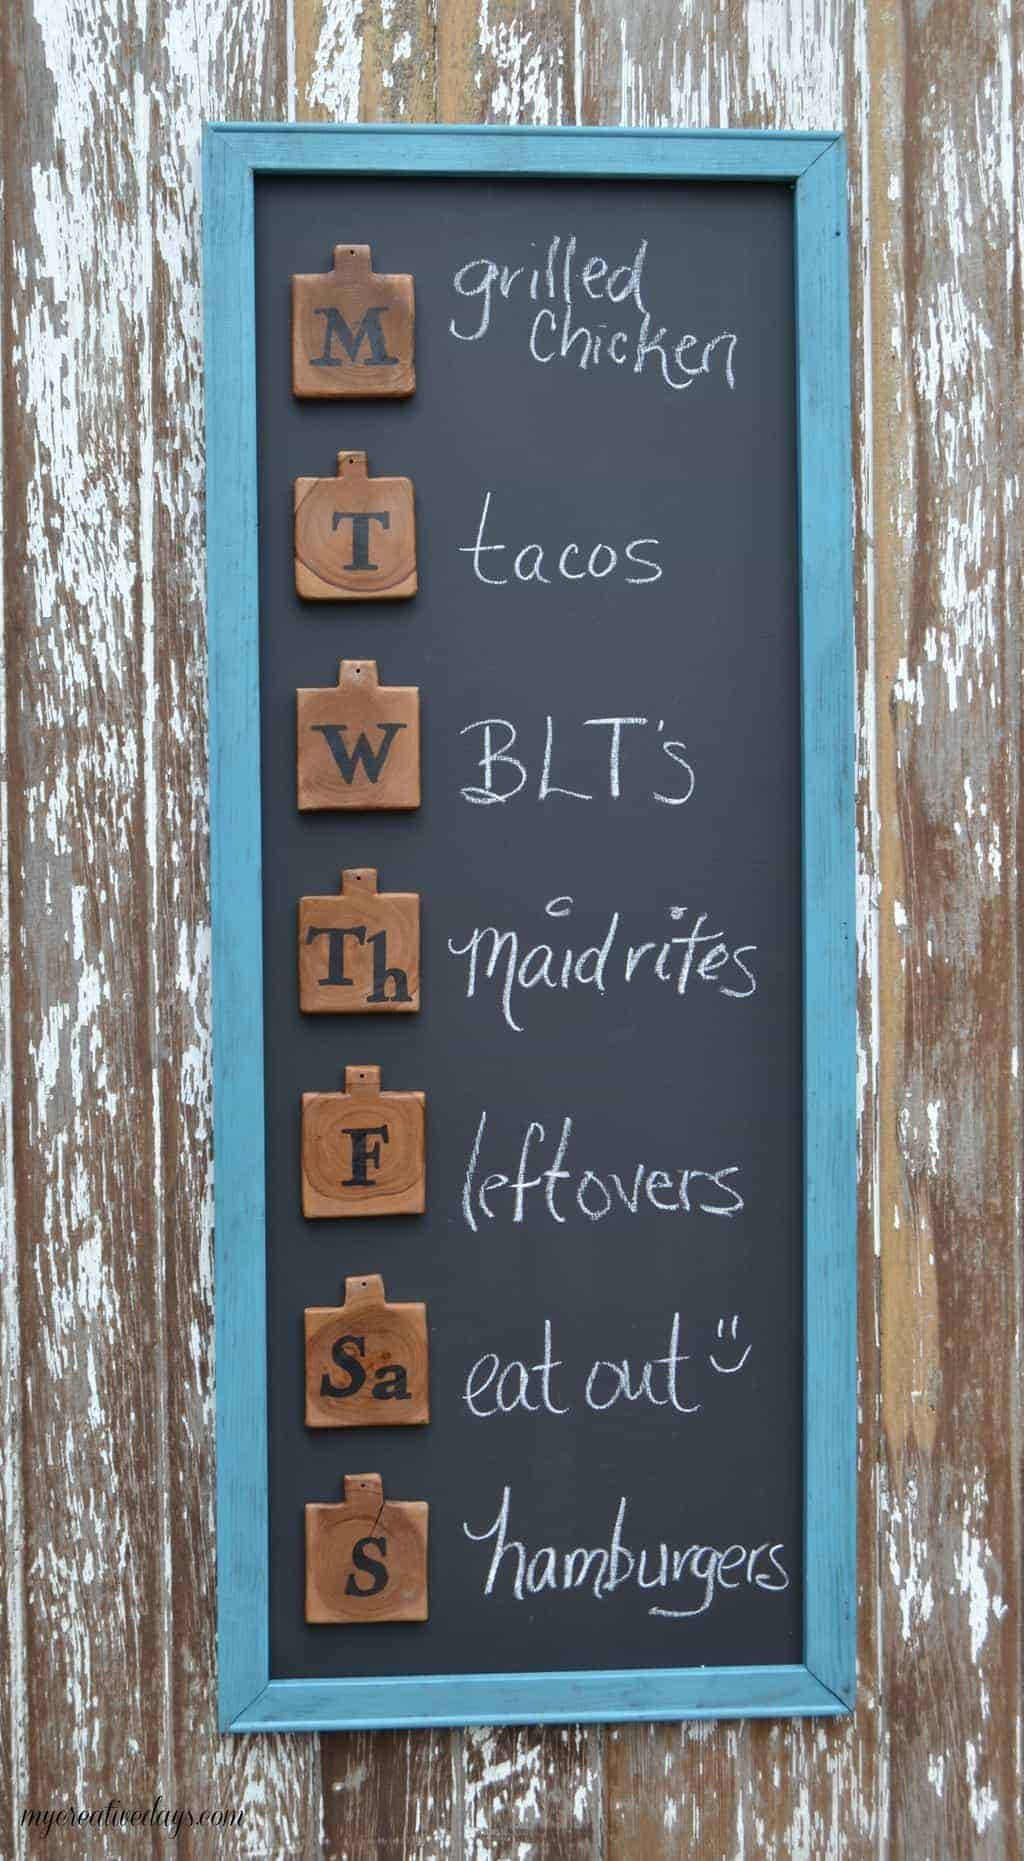
The coasters were perfect to add the days of the week to the board. I adhered them with Liquid Nails.
To get them spaced apart equally, Matt used two yard sticks and moved them around accordingly.
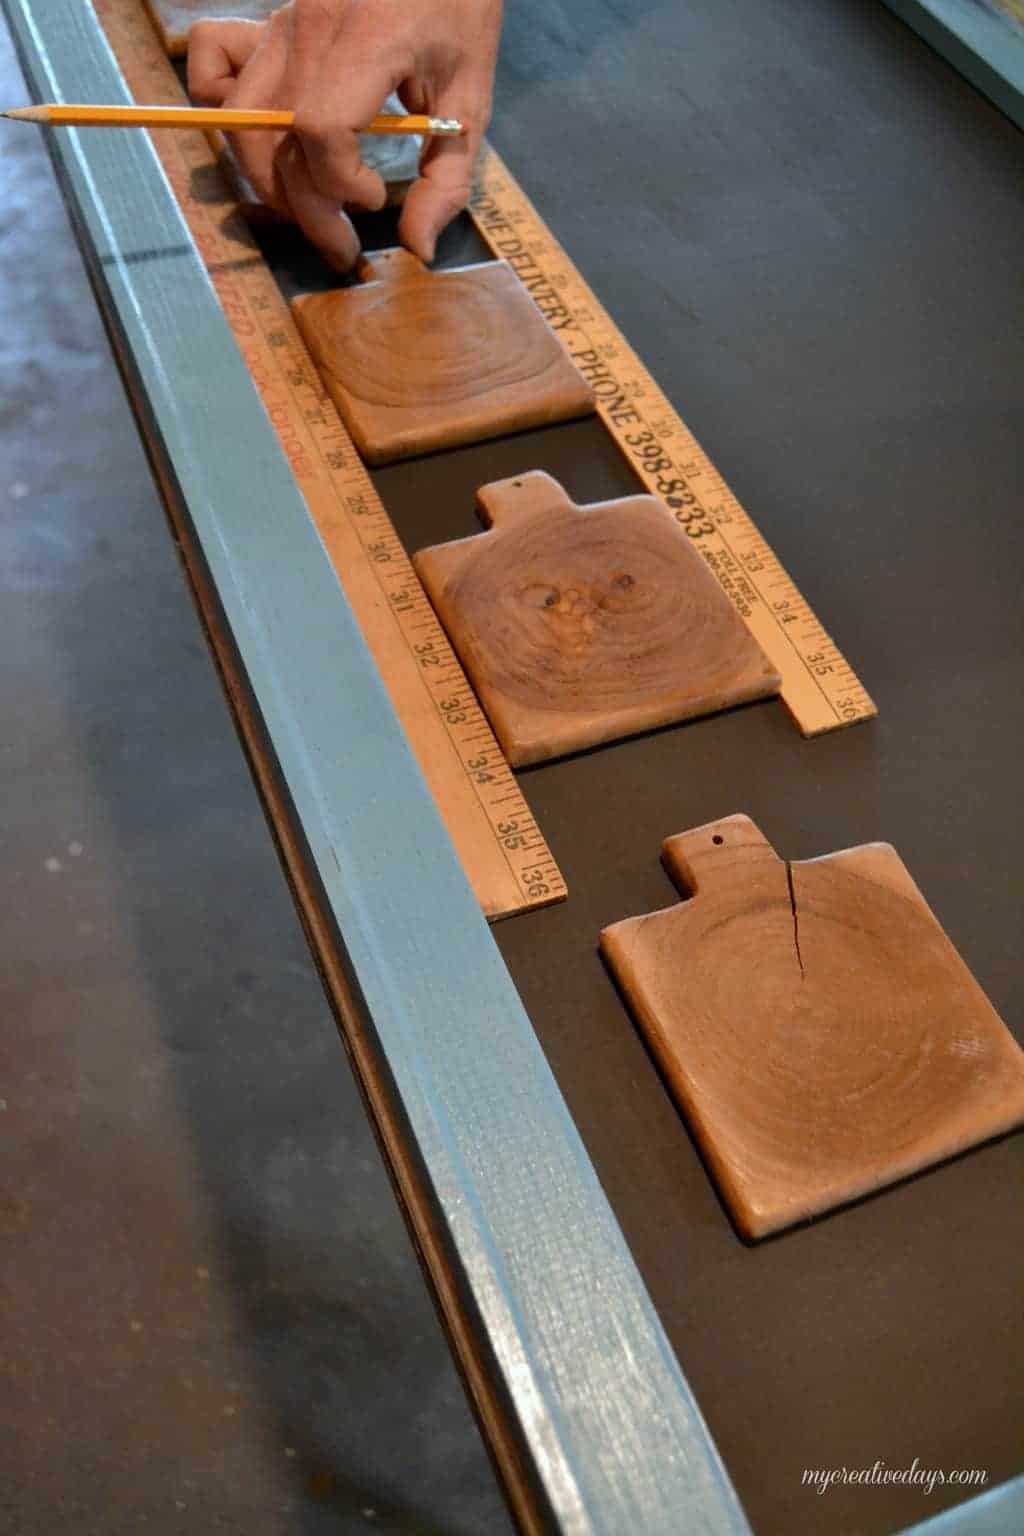
I wrote the letters for the days on the coasters with a black paint marker.

{Affiliate links are used in this post. You can read my disclosure HERE.}
Now, I can visually see what we have planned for dinner throughout the week. I can plan my grocery list according to what is on the there and only buy things we need. I am so excited to finally be “on board” with easier meal planning and hassle-free grocery shopping!
This board would also be perfect for organizing weekly schedules, appointments and activities.
*** And for anyone who doesn’t know, maidrites are loose-meat sandwiches. 🙂
If you don’t want to make your own menu board, I found some great options online to keep you on track:
PIN THIS POST!
If you like this DIY Menu Board post, make sure to check out these other posts that will help you get organized:
Back To School Organization For Mom
How To Organize A Profitable Yard Sale
Love your creative repurpose for wooden coasters – such a good idea!
Thanks!
Very cute idea! I have a question though….what is maidrites?
They are loose meat sandwiches. Ground beef. 🙂
Found a Maidrites copycat recipe one day and thought, “Hmmm, I’ll try it.” My boys went from never hearing of them to requesting them by name…as well as their girlfriends, friends and roomies. Addictive little things.
Yes they are! My husband’s favorite!
Are you talking true maid rites or recipe found online?
Maid Rites in Iowa are loose meat sandwiches. I had no idea that so many people didn’t know what they were!