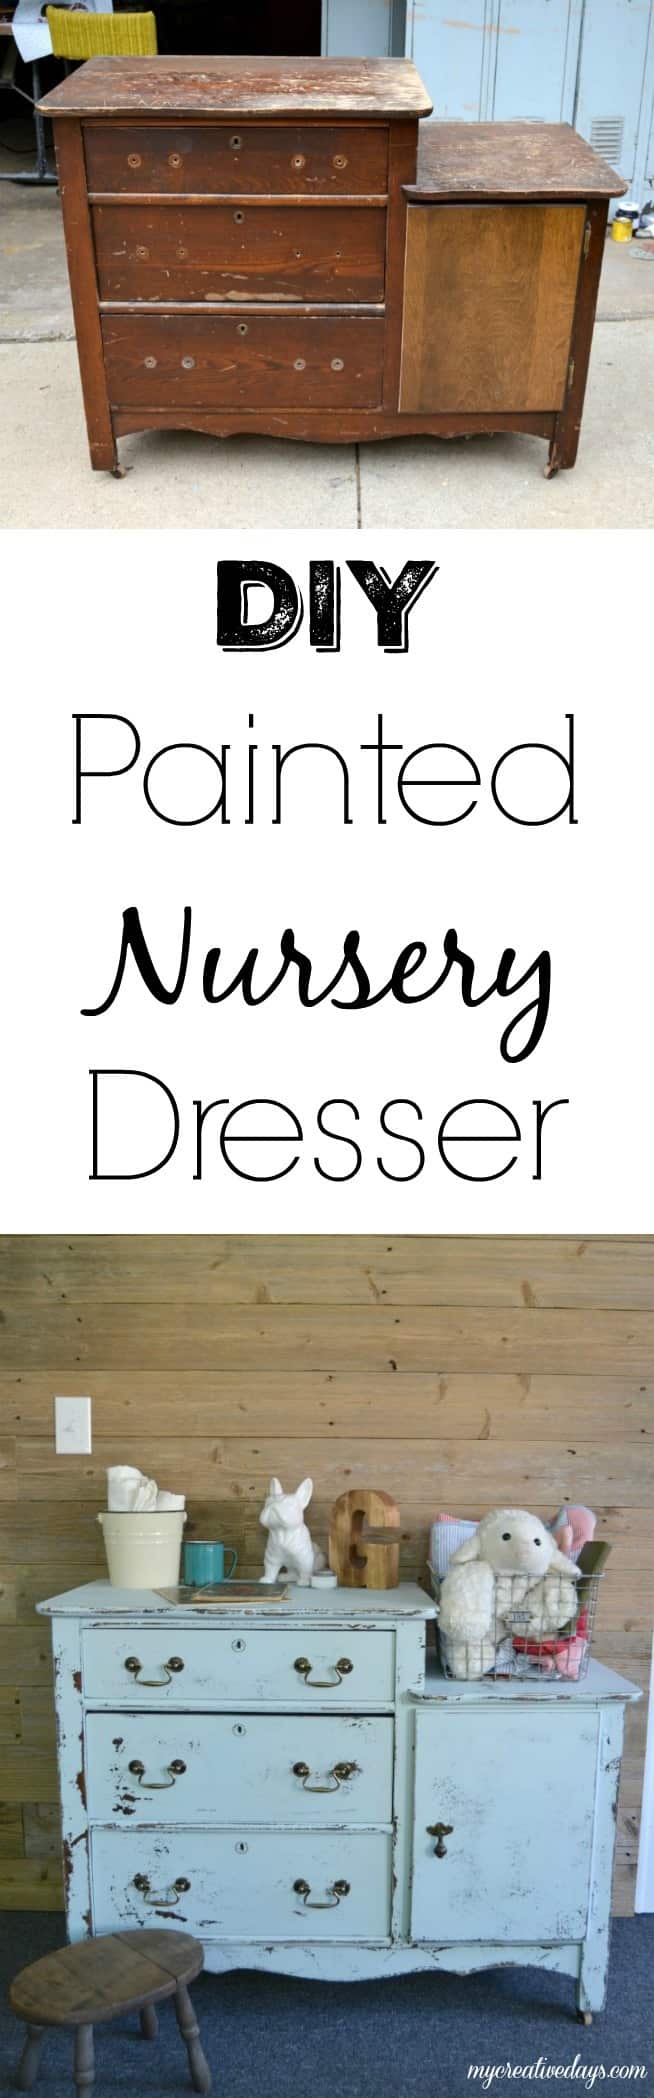
No. I am not pregnant. We are not planning on having another baby nor are we designing a nursery in our home. Now that we are clear on that, I do come across pieces that I have visions for right from the start. This piece had “nursery” written all over it when I saw it. I thought it would make a sweet changing table for a tiny infant and was a piece that would grow with the child as he/she grows.
When our kids were small, we would DIY nursery furniture and repurpose things to decorate the nursery. Some things never change. 😉 This DIY nursery dresser was a lot of fun and I was really excited to get started on it.
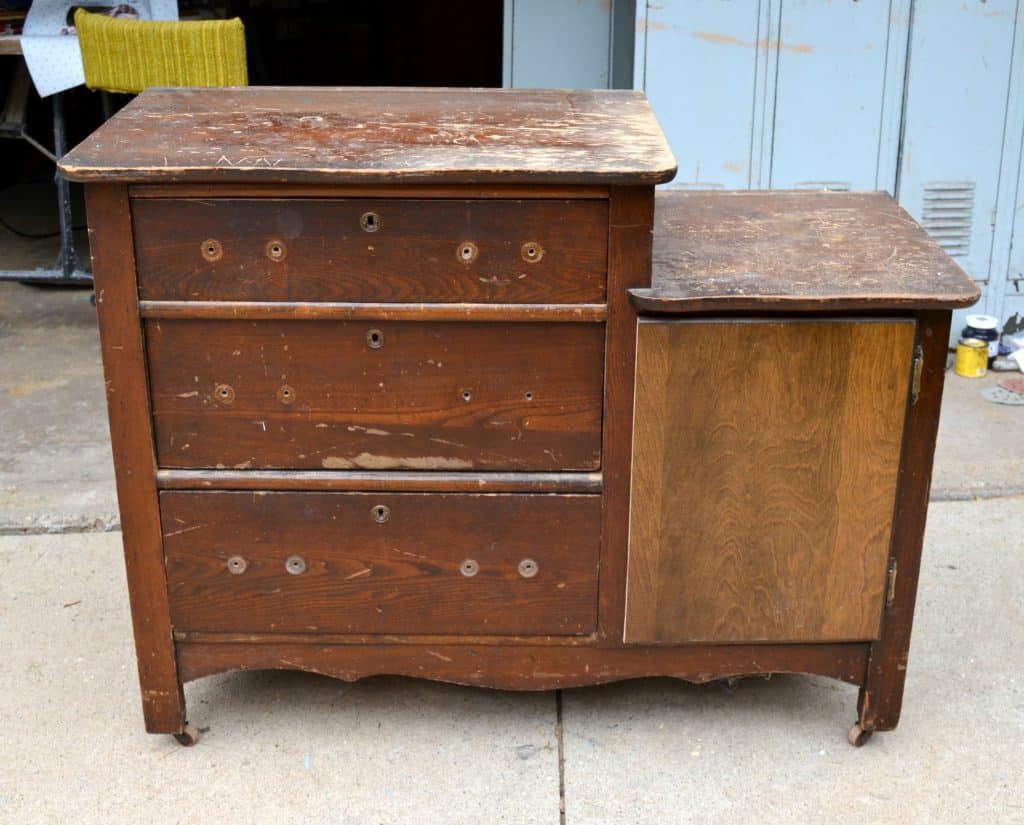
When I found this nursery dresser, it was missing the cabinet door on the right side. I did not get a “before” picture before Matt put a new one on. It was great that he got it done so quick, but not great because I can’t show you how we do this. Next time. There will always be a next time. 😉
This makeover was very easy to do. With only a few steps, we were able to have this piece looking a lot better than what I started with.
(Affiliate links are used in this post. You can see my full disclosure HERE.)
Supplies Used For DIY Nursery Dresser:
Fusion Mineral Paint in “Little Whale”
HomeRight Finish Sprayer
Palm Grip Router
Bail Pull from D. Lawless Hardware
Orbital Sander (one of my favorite DIY tools)
Table Saw
The first thing we did to this piece was make the cabinet door. I was fine leaving it open and setting a basket inside the cabinet, but Matt has been wanting to use his palm router more to get better at it. We measured the opening and we were able to find a cabinet door at Restore that would work.
The door that was the same height, but Matt had to use the router to make it fit inside the opening. He also had to cut the width of the door using a table saw. Then, he routed the sides of the door as well to make it fit perfectly. He did a great job! I told him that I need to get pictures of this process the next time we do it so he won’t be so quick to get it done before I get pictures taken.
After the door was on, we used the HomeRight Finish Sprayer to paint the piece in “Little Whale” from Fusion Mineral Paint’s Tones for Tots line.
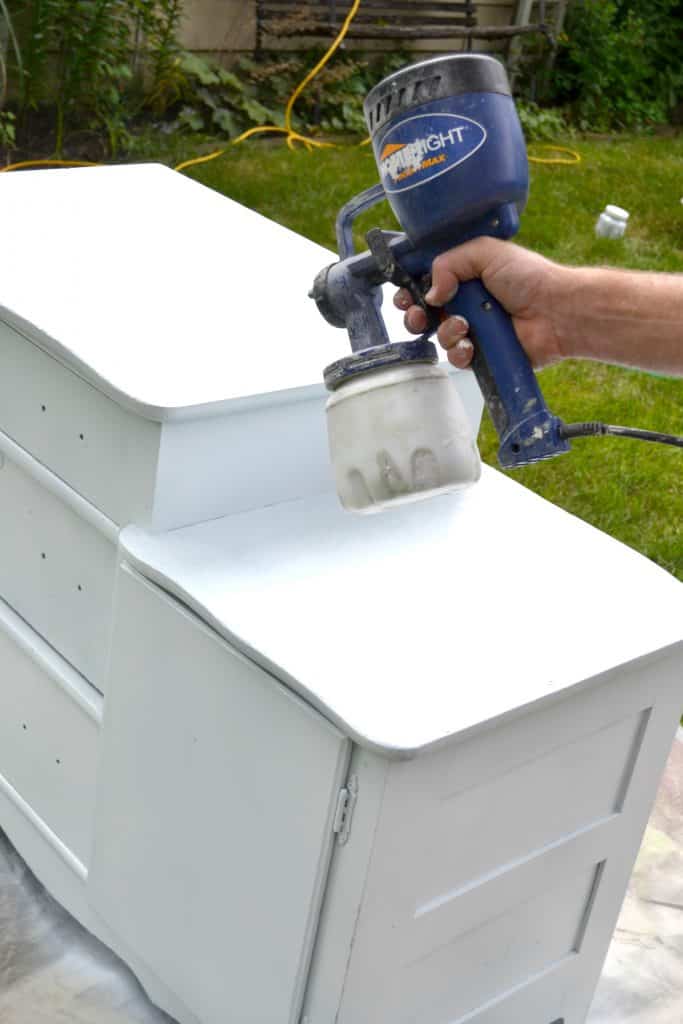
I can’t emphasize enough how much a good paint sprayer can make light work of your projects. There are some pieces I like to paint by hand, but others just need a good coat of paint from a sprayer and the HomeRight Finish Sprayer is a great one to have in your DIY tool stash.

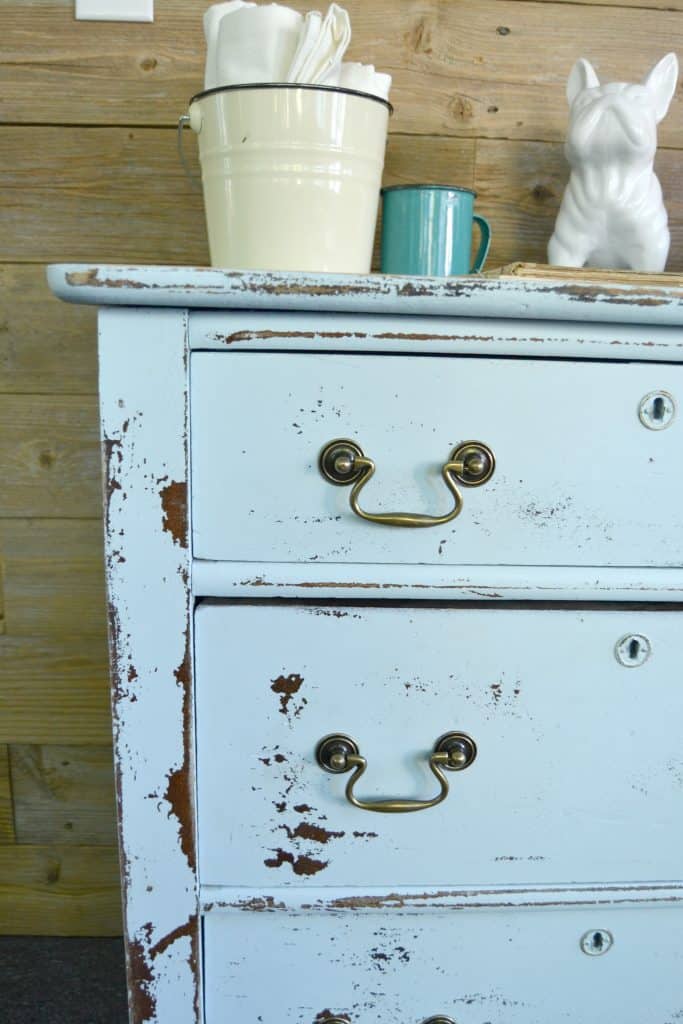
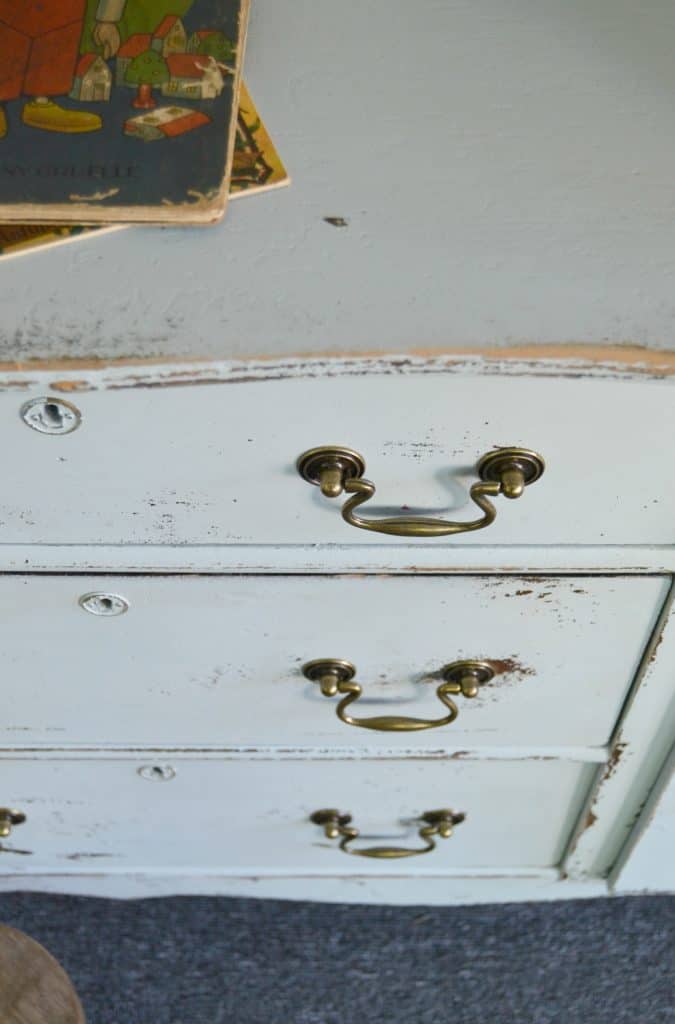
After the paint dried, I sanded the nursery dresser to distress it. (If you don’t have an orbital sander yet, you must invest in one. It is one of my favorite DIY tools. I use it all the time and on so many different projects.)
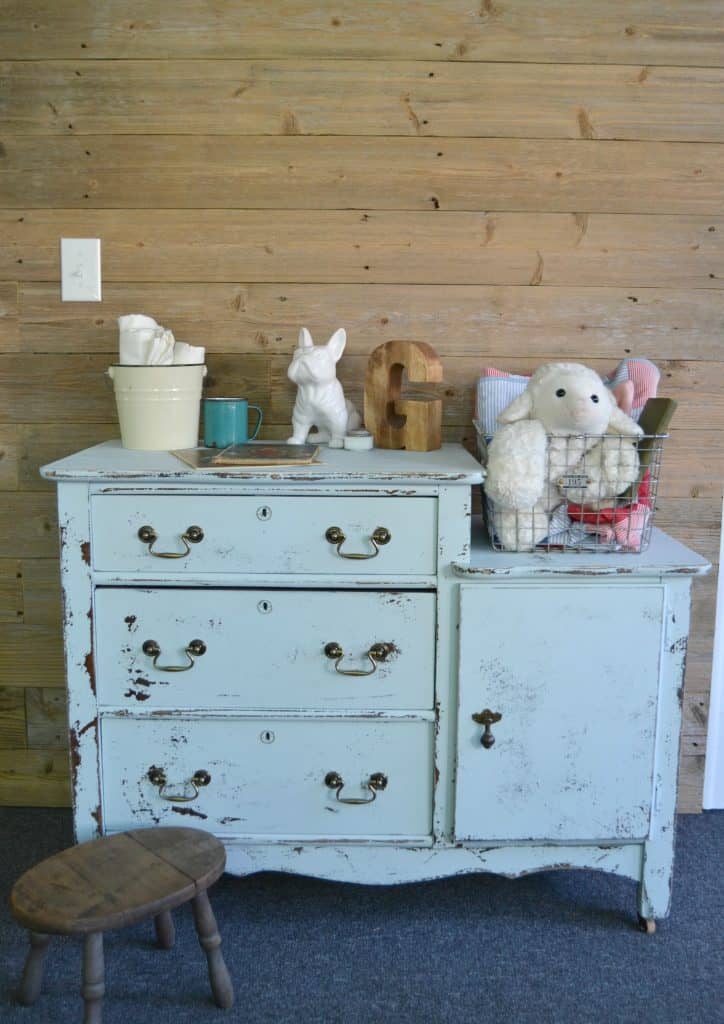
After the sanding was done, I added Bail Pulls from D. Lawless Hardware. The brass hardware looks great against the distressed blue paint. They were the perfect finishing touch to this sweet piece.
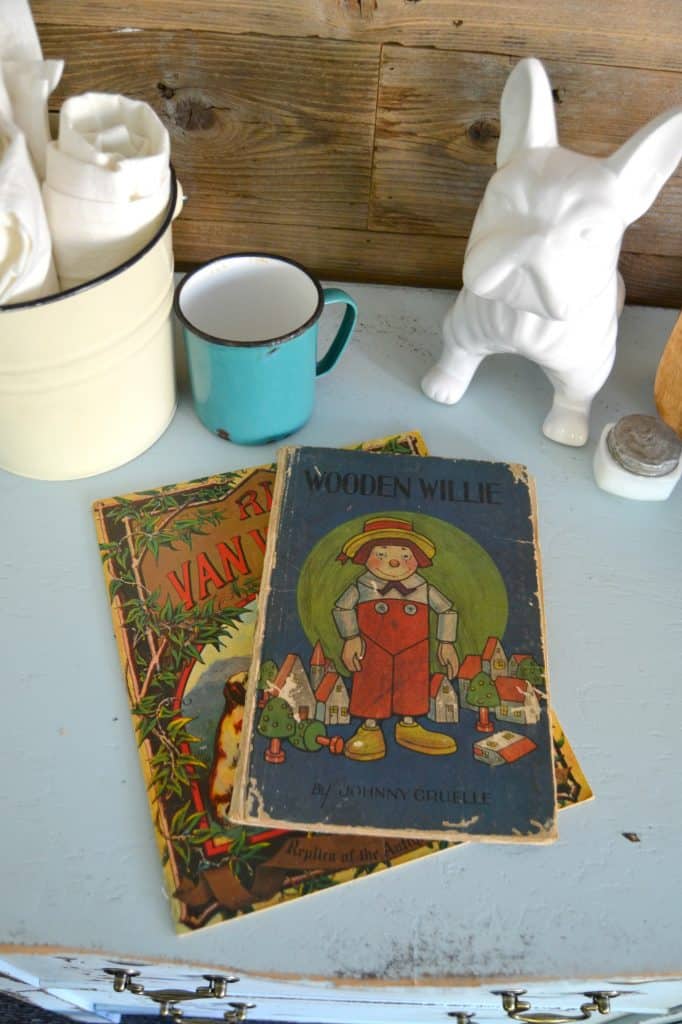
It had fun searching for cute “nursery” things to stage this project with. I picked up these books and the turquoise enamel cup at an estate sale. It was bag day. I got a big bag, full of treasures for $5!
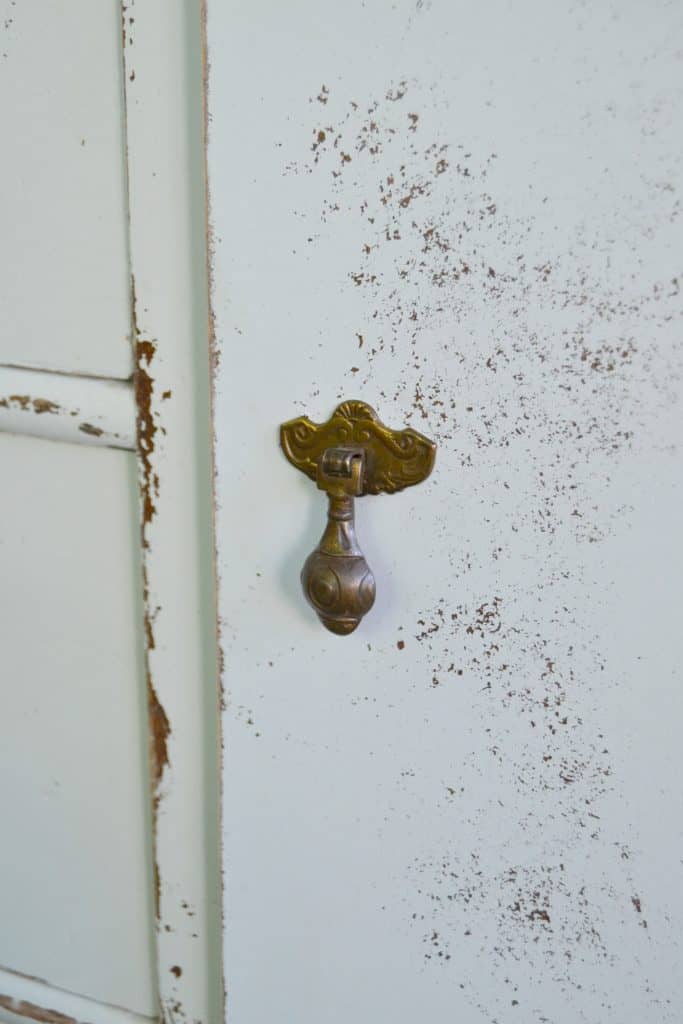
I needed a knob for the cabinet we built so I searched my stash and found this one. It is perfect.
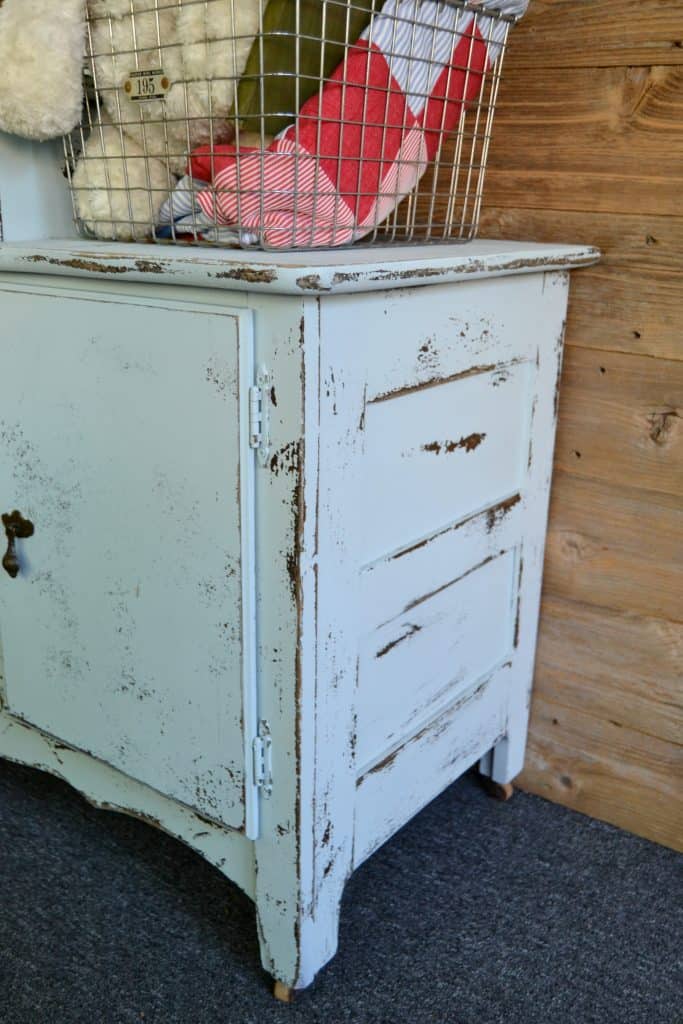
Dressers that have side panels like this always tug on my heart-strings. I think they add so much character to the piece.
Putting your own stamp on your baby’s nursery by DIYing pieces makes it more personal and saves you a ton of money. This nursery dresser was a nursery piece from the first time I saw it, but it can be used in so many places. Where would you use it?
If you have children, how did you decorate the nursery?
PIN THIS POST!
nice
Thanks!