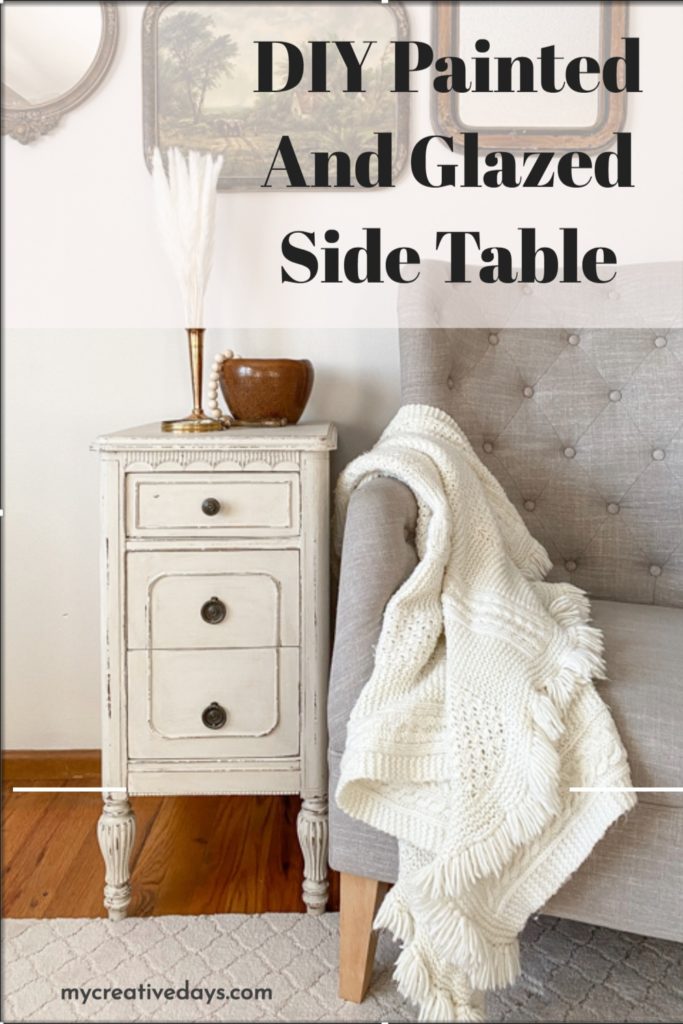
This DIY Painted And Glazed Side Table took a sad thrift store table and turned it into something that is pretty again in a few, short steps.
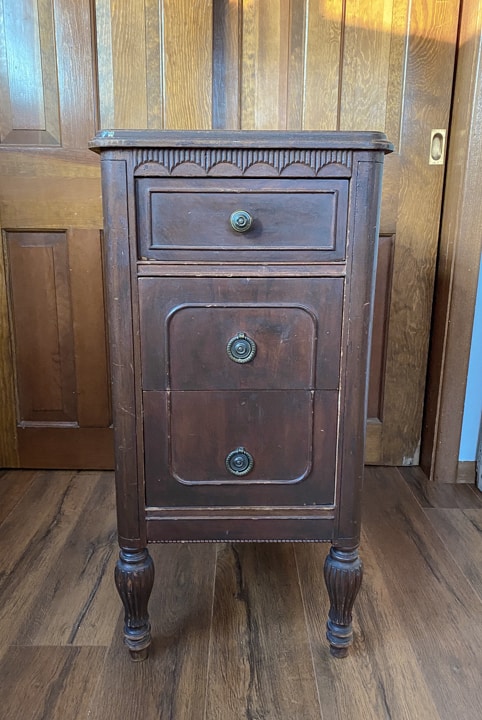
I found this table at my local Salvation Army store. Usually, when I find pieces at this store, they are priced so high that I don’t even get excited about something to catch my eye from a distance. This little guy did catch my eye, but I took my time getting to it, stopping to check out other things along the way.
When I got to it, the price was actually reasonable.
Okay, now it was time to investigate why it was priced reasonably. Something had to be wrong with it.
After further inspection, nothing was really wrong with it.
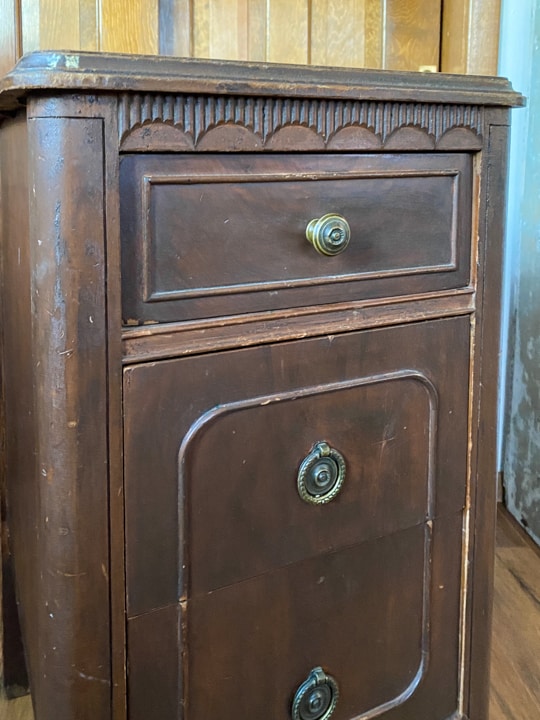
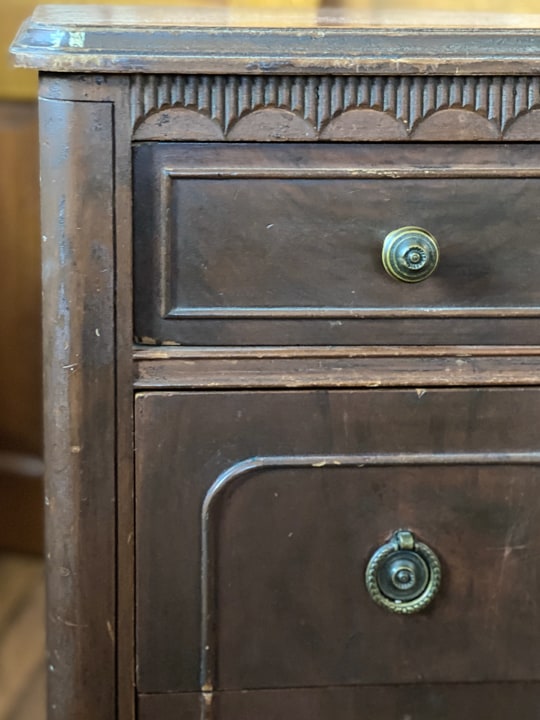
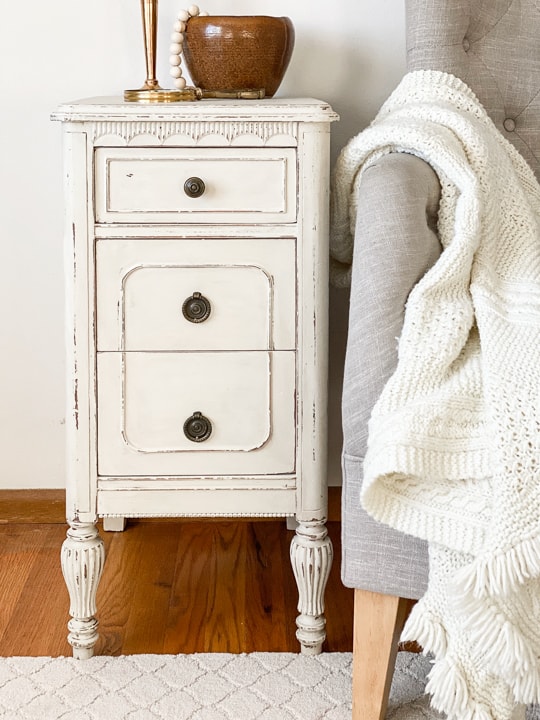
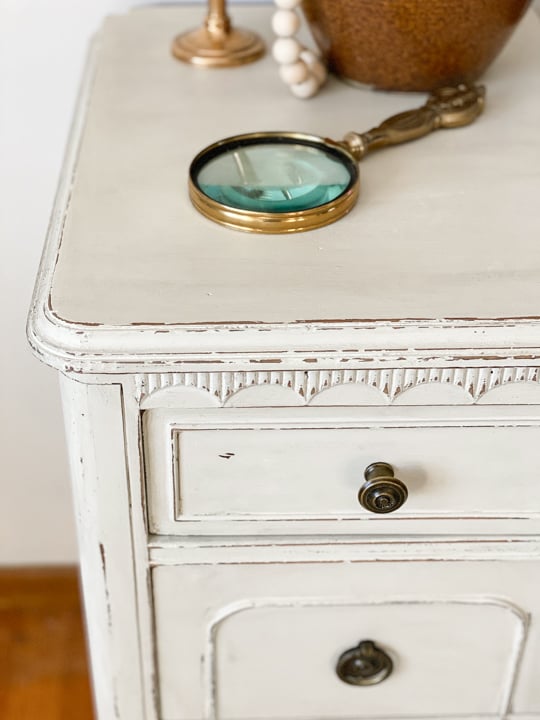
It has amazing detail and it looked like it had been part of a larger piece (like a vanity or dresser), but on its own, would make a perfect side table.
There was definitely some dings and bruises, but that is how I like to find the pieces I make over.
Do you notice what else it had?
Use Original Hardware On Your Furniture Flips
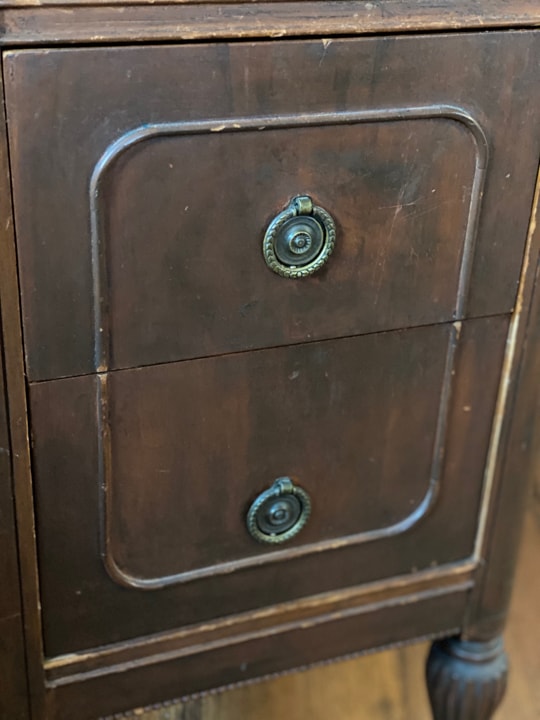
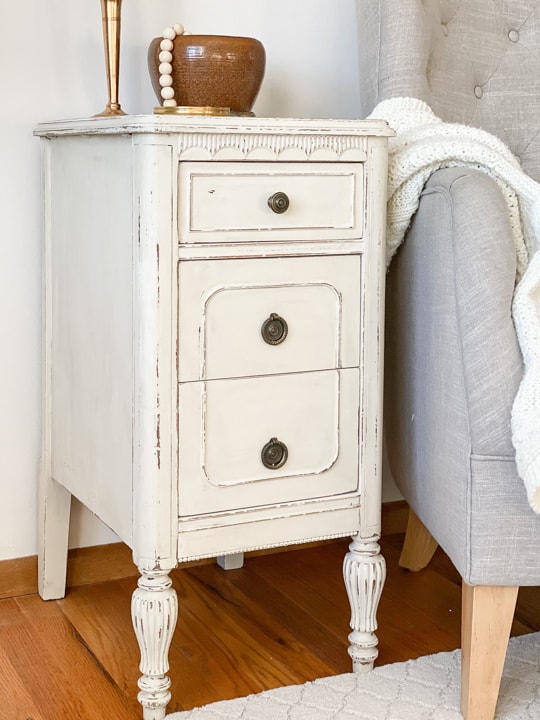
THE ORIGINAL HARDWARE!!! It is like winning the jackpot when you find older pieces that still have the original hardware. Sometimes, it is hard to find a good hardware “fit” when you need to buy new hardware for pieces like this. (PRO TIP: Always check your local Restore/Habitat For Humanity stores for older hardware for projects like this.)
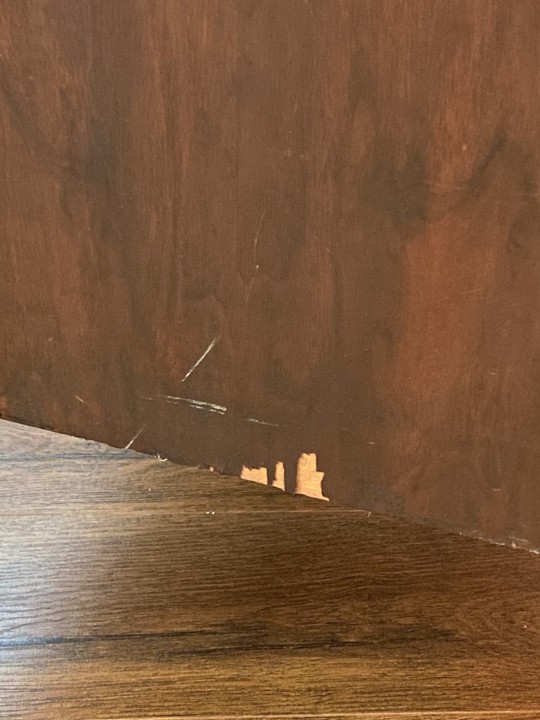
There were a couple of spots of missing veneer, but nothing that wasn’t repairable.
All in all, after a good inspection, everything looked fixable and full of potential. In my cart, it went.
{Affiliate links are used in this post. Click on any of the underlined links to find the products I am talking about. You can read my disclosure HERE.}
Supplies Used In This DIY Painted And Glazed Side Table:
I tried this “new to me” product: Krud Kutter – Gloss Off
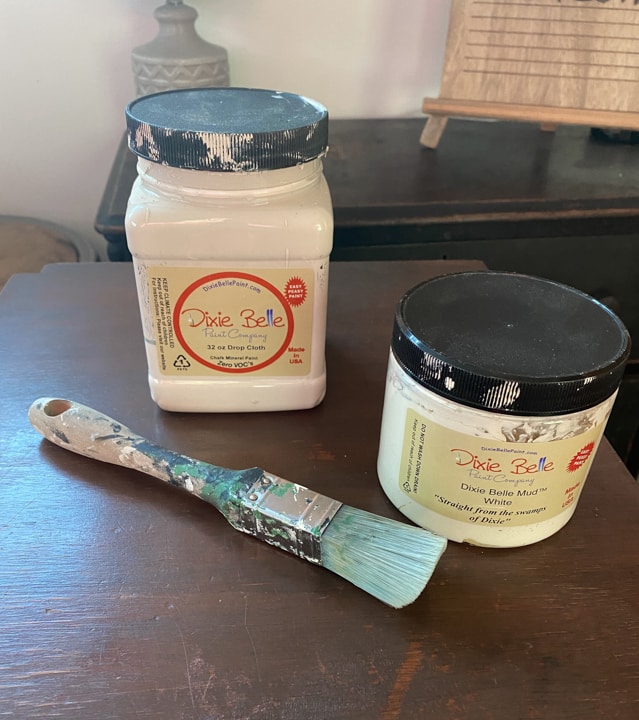
Dixie Belle Paint – “Drop Cloth”
Dixie Belle Paint – “Grunge” Glaze
Rag
The first thing I did to start this makeover was repair the peeling veneer. I have shared three different ways to fix peeling veneer. I used the same method on this piece that I did on filling some dents in this green dresser makeover. You can check that post for the easy details on that process.
Once I had the veneer repaired, it was time to give this piece a good cleaning and to use a “new to me” product.
Cleaner For Furniture Projects
I got an old rag and dipped it in Krud Kutter – Gloss Off and wiped it all over the table. Not only does this product clean the wood really well, but it will take off any sheen that it has. It is a good all-in-one product to have on hand. I usually clean pieces with Thieves cleaner or vinegar and water or even an all-purpose cleaner, but I wanted to try this product and see how it worked because it can also take the sheen off. I shared the behind the scenes of this makeover with my Creative Squad group and the rag I was using was filthy after just a few swipes of the solution. It did take off the sheen and made the piece ready for paint. I didn’t have to sand or use a primer.
***I always like to put a disclaimer with all projects. All furniture pieces are different. You will have some that will be easy to refinish and/or paint and others that are a beast to get done. Even if you have the same dresser. One will be a breeze to make over and the other won’t. You have to be open to trying different things as you work. This piece could have needed some primer or one of my favorite products from Dixie Belle Paint – “BOSS” after the Krud Kutter, but it didn’t. I was prepared to add that step, but it was ready for paint after the Krud Kutter.
Invest In Good Paintbrushes For Your Projects
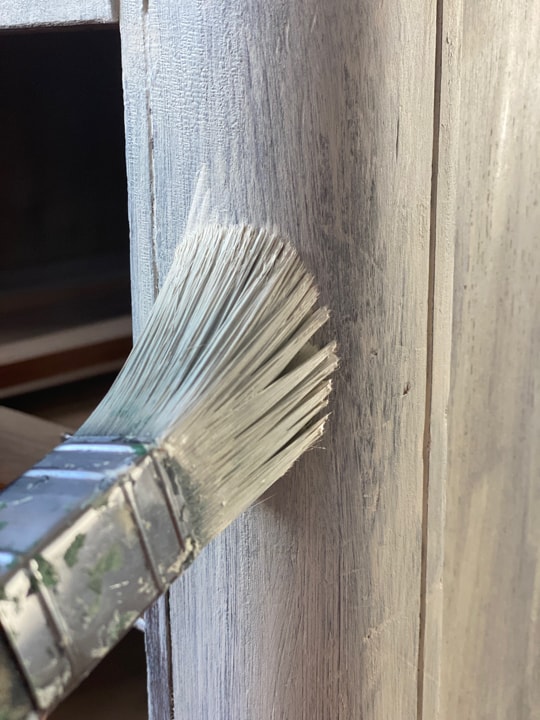
You know that if I am painting, I am using my favorite paintbrushes. This is the square brush. I chose it because the side table had so many details.
I chose one of my favorite Dixie Belle Paint colors – “Drop Cloth” for this piece. It is such a beautiful, creamy color.
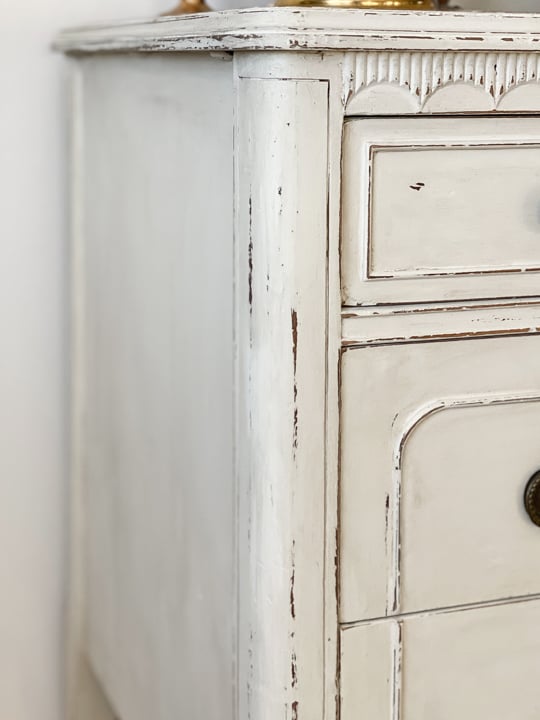
I also knew that I was going to distress the side table and add some glaze on top. I love seeing the darker wood pop through the paint on pieces like this, so I knew I would distress this piece as soon as I got it. It took three coats of paint and then, I went over the edges with a 120 grit hand sander just to distress it.

I added the “Grunge” glaze on top just to deepen the white color and give it a bit of grunge that always adds more charm and character.
Applying Glaze To Furniture Pieces
To apply the glaze, I use an old rag. I rubbed it all over the side table. I always put glaze and wax on in the direction of the wood grain. So, on top, I go side to side and on the sides, I rub up and down. You can work in circles too, but some glazes and waxes dry quickly.
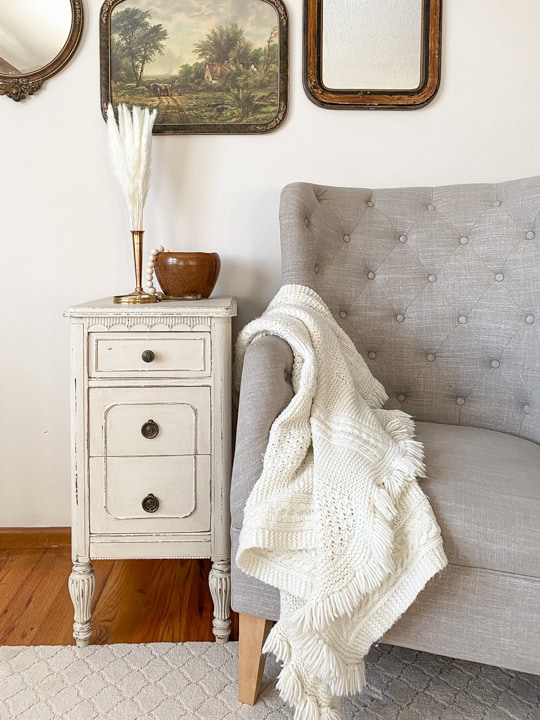
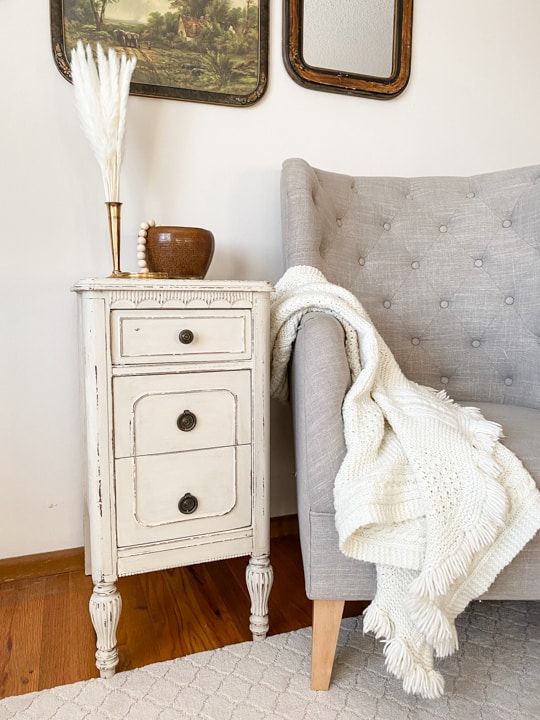
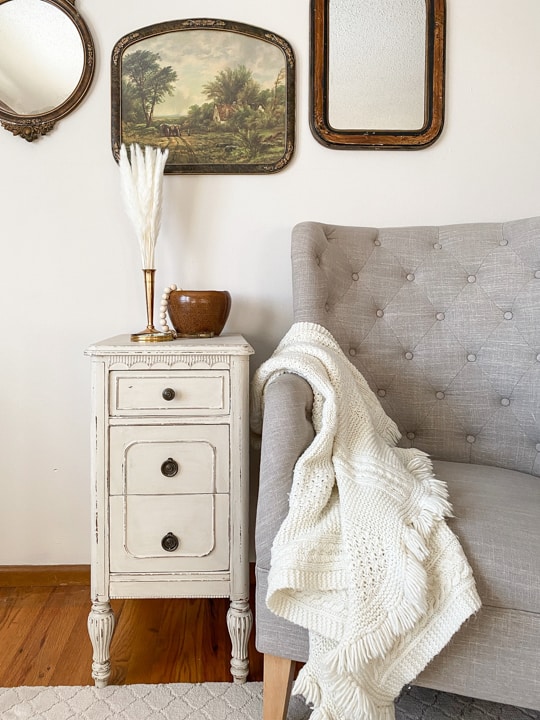
I think this little table is adorable. The paint and glaze really make the details pop.

The lighter color makes it perfect for any style or space.
Thrift Store Furniture Makeovers Make Decorating Your Home Affordable
Another save that didn’t take too much work to make it pretty again. I couldn’t leave this one in the thrift store. It seems like small side tables are attracting me right now. I have been sharing some of the other ones I have picked up recently on my Instagram page. Make sure to follow me HERE.
I hope this DIY Painted And Glazed Side Table inspires you to shop for pieces to rescue, give them a makeover to fit your style, AND keep money in your bank while doing it! I am passionate about having the home of your dreams without breaking the bank and every project I share here and across my social media platforms and YouTube are examples and ideas of how you can do it.
Would you have picked up this piece? What would you have done differently?
If you paint a piece of furniture or give a piece a makeover, I would love to see it! Post a photo and tag me on Instagram @mycreativedays.
PIN THIS POST!
If you liked this project, you will love these other transformations:
Easy Way To Refinish Furniture Without Stain or Paint
I’m going to have to try some of the Krud Kutter. Wanting to paint our stairway and the 60’s trim has that shiny surface. Sanding the stringer sides would be torture, so this sounds like a much easier alternative. Thanks for the info!
Your welcome! I have never tried it on anything but the furniture pieces so far, but wouldn’t hesitate to try on other things.