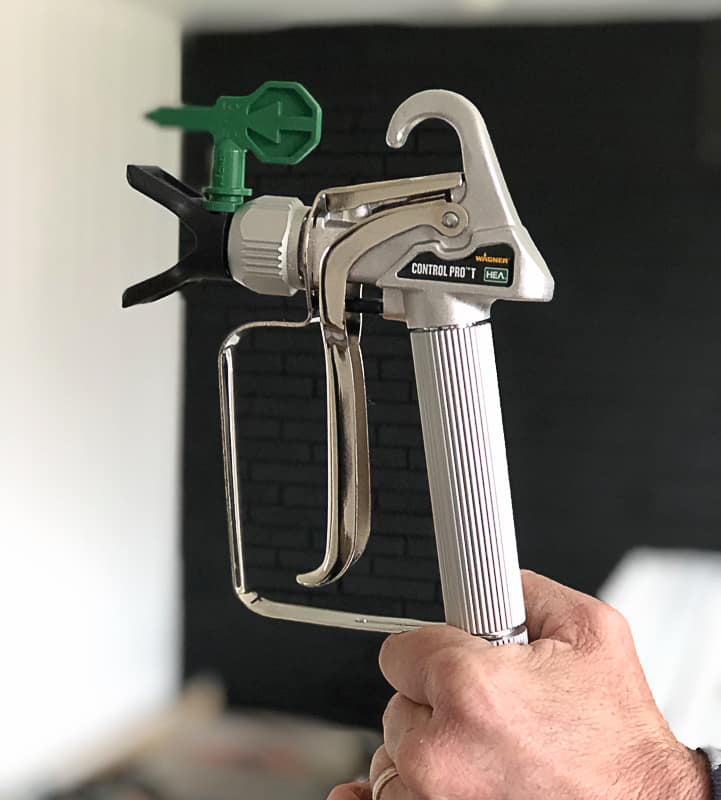
If you are looking for a good paint sprayer that is easy to use and easy to clean, the Wagner Paint Sprayer is for you. This was our first time using it and Matt said that it will be the sprayer he grabs when we have a big project like this. He loved it so much! This post is all about how to use the Wagner Paint Sprayer – from set up out of the box to clean up after your project.
I am having so much fun writing all of these posts about our latest flip house. The work is done and we have sold the house so going through all of the projects again to share here is fun to relive.
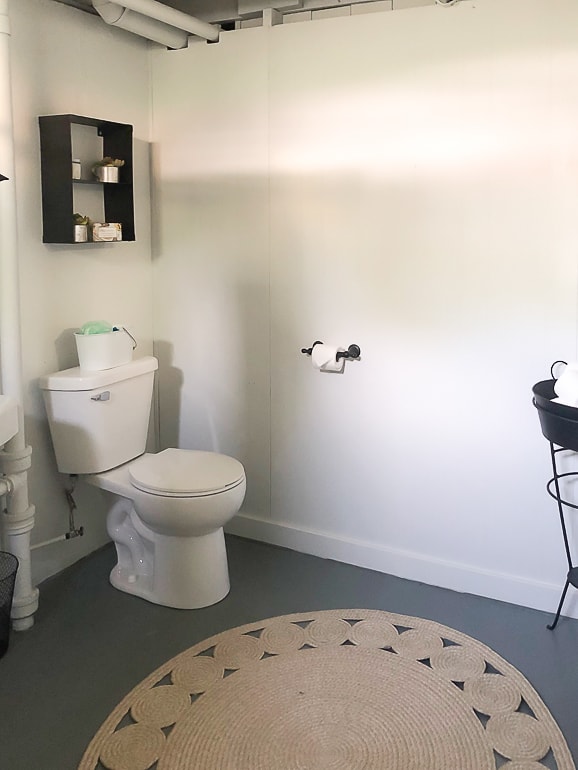
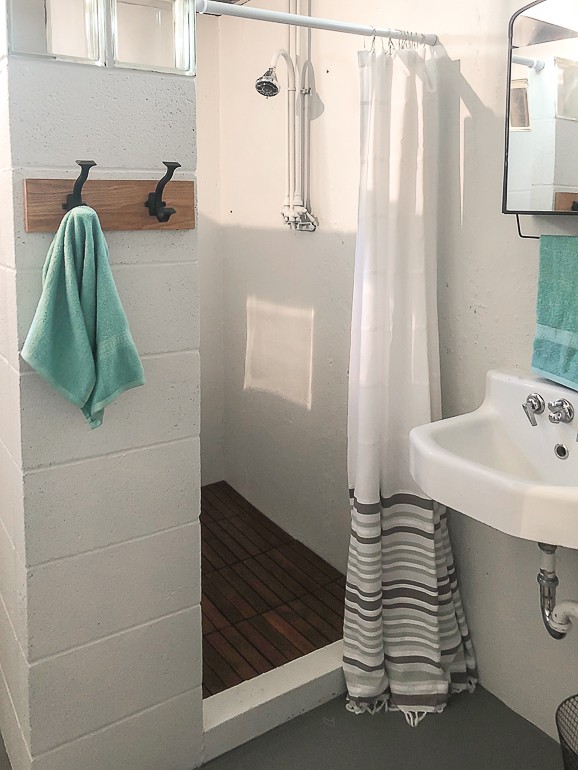
The basement bathroom in this flip out was referred to as the dungeon in this project. I shared the entire makeover and how we only spent $216 to make it look a gazillion time better HERE.
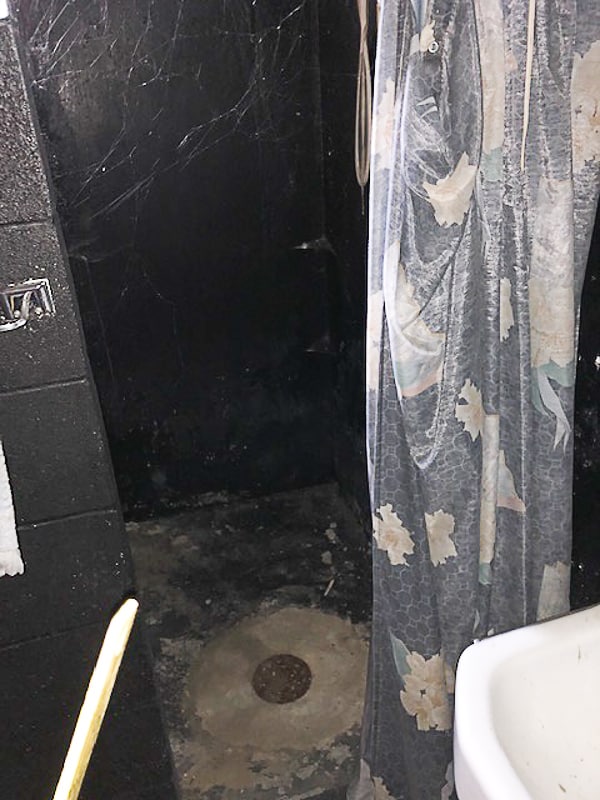
We waited as long as we could with this makeover. None of us were really excited to work in it because it looked like this:
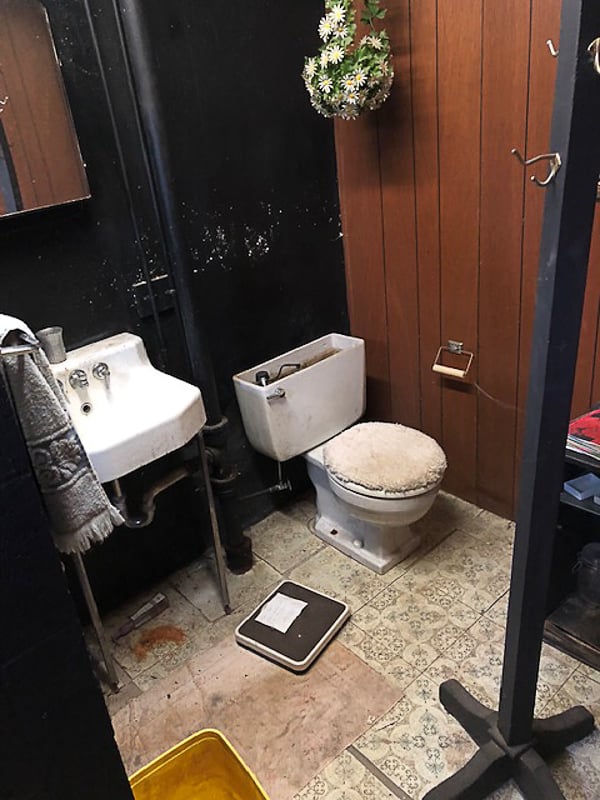
The thickness of the cobwebs in this bathroom were something straight out of a scary movie. The toilet had a sign on it that read, “DON’T USE THE TOILET!” The flooring was so dirty and the black paint on everything made it feel like a cave.
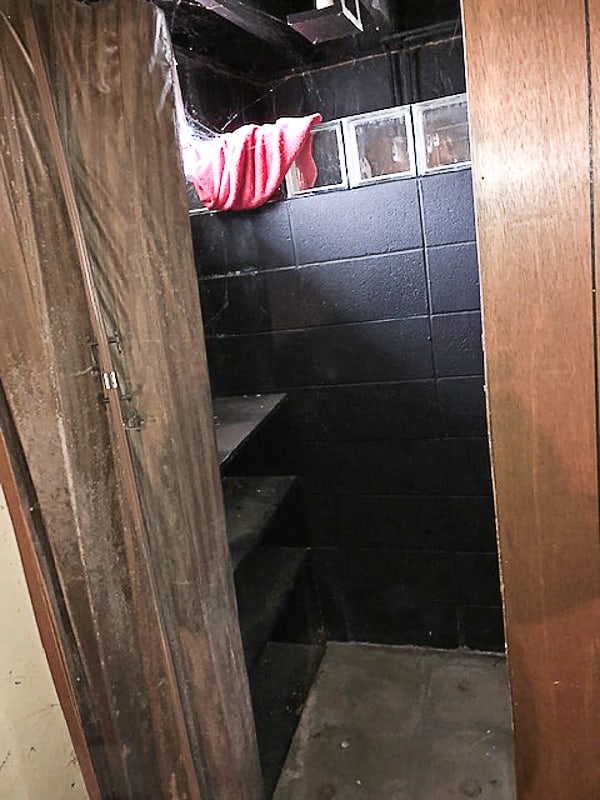
The accordion door leading into the bathroom was broken and the light on the ceiling was plugged into an outlet??? We still can’t figure out how or why they rigged that up.
To be completely honest, even though I wasn’t excited about working in this space, I get most excited about spaces like this in a flip house because I know with just a few minor changes, we can make it look so much better.
Today, I am here to talk all about the Wagner Pro 130. We wanted to use a paint sprayer in this bathroom because we were painting everything; walls, ceiling, floors, shower… EVERYTHING.
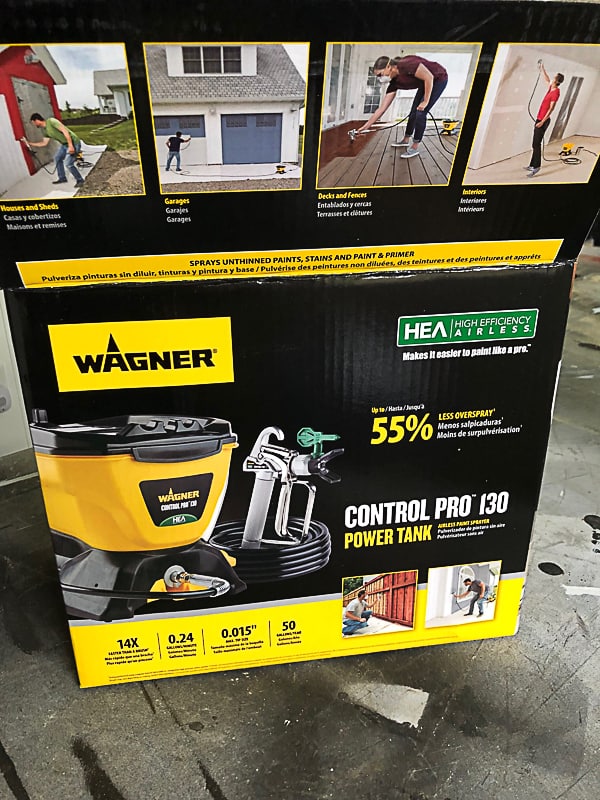
We knew a paint sprayer would make easier work of everything we needed to cover. We have tried a few different paint sprayers in all of the DIY projects and flip houses we have done. They are extremely nice for big projects like this where you don’t have to worry about detail and getting around things.
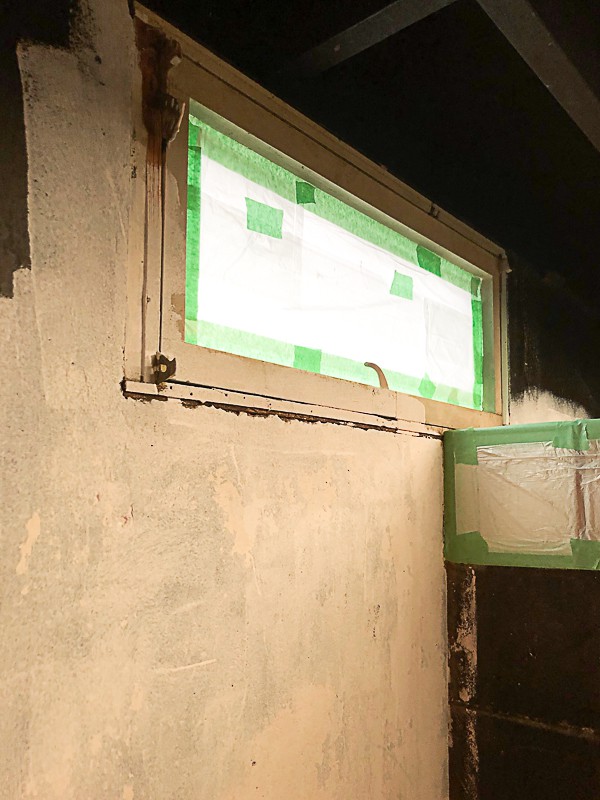
We did cover the things we were keeping with plastic and painter’s tape. We covered the vintage sink, the glass block at the top of the shower and the window.
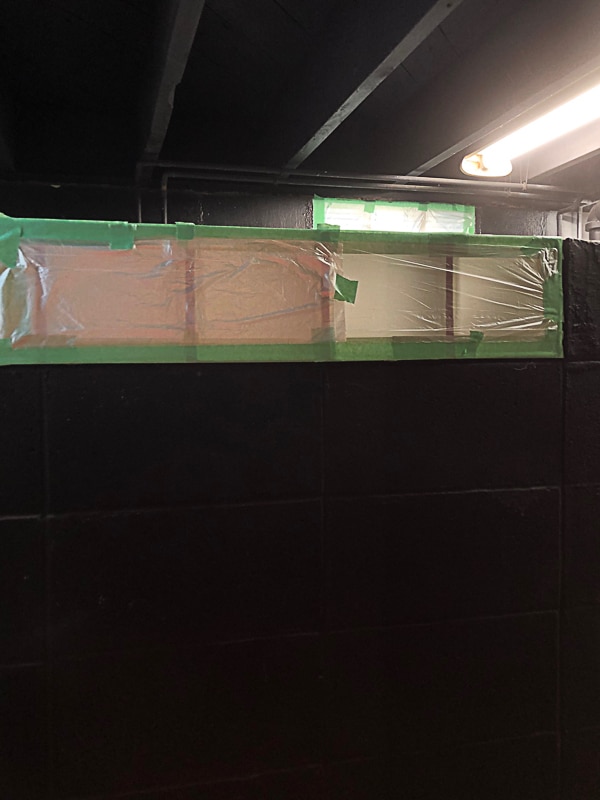
There is virtually no natural light in this basement bathroom and when I was taking these pictures, everything was still painted black so sorry about the quality of the photos. I still wanted to share them to show you exactly what we did.
{Affiliate links are used in this post. You can read my disclosure HERE.}
Now that all the prep was done, it was time to set up the Wagner Pro 130.
It was so easy to set up, use and clean!

There are only a few pieces to the entire sprayer which made it not so overwhelming when we opened the box. When you open a box to a new tool and find a million little pieces and parts, it can be scary to try to put it all together. Sometimes, you don’t even want to put it together because there are so many parts. That is not the case with this Wagner Sprayer.
How To Use The Wagner Pro 130:
First, hook the hose up to the base of the sprayer.
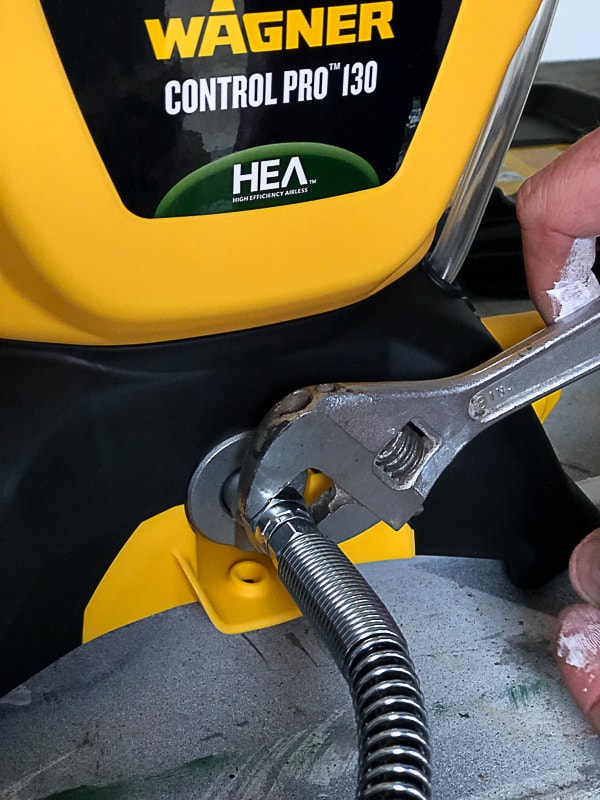
Matt used a wrench to make sure it was on tight.
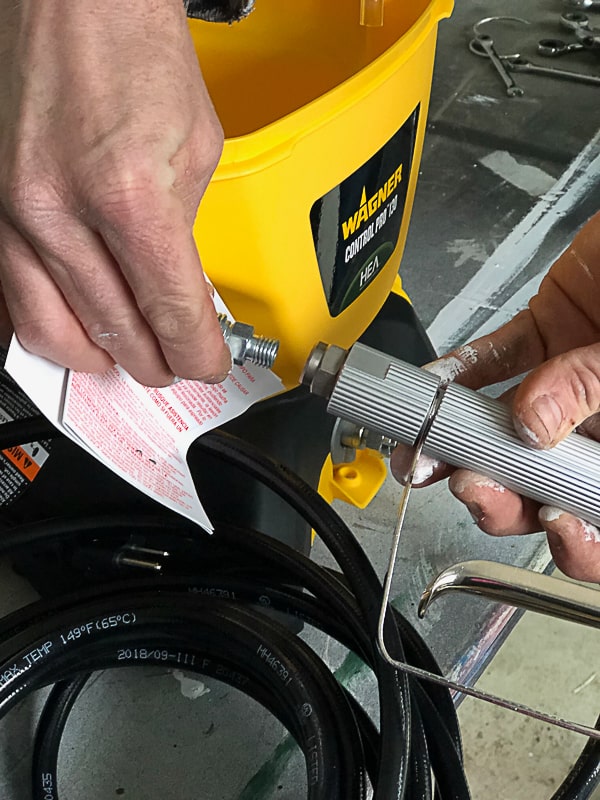
Then, attach the other end of the hose to the sprayer.
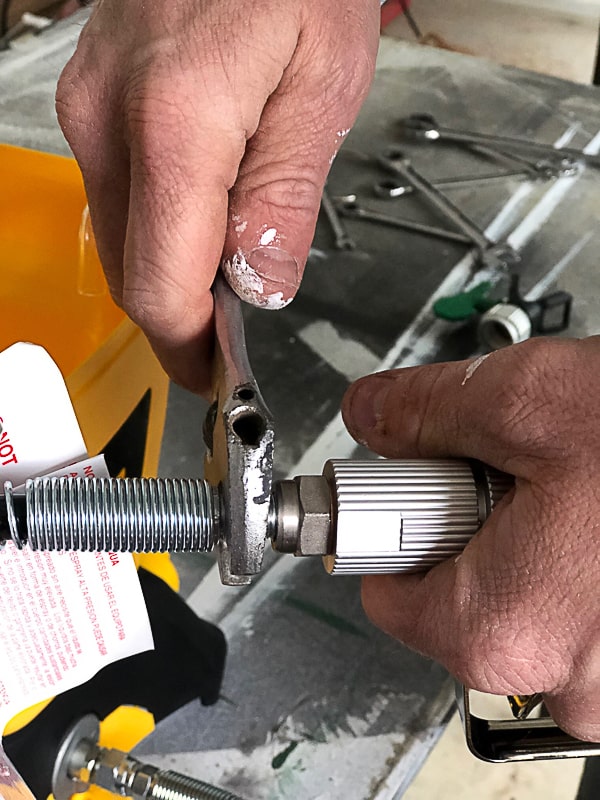
Again, he used a wrench to make sure it was tight.
That’s it! Those are the two steps to put the unit together. Can you believe it? We were amazed too.
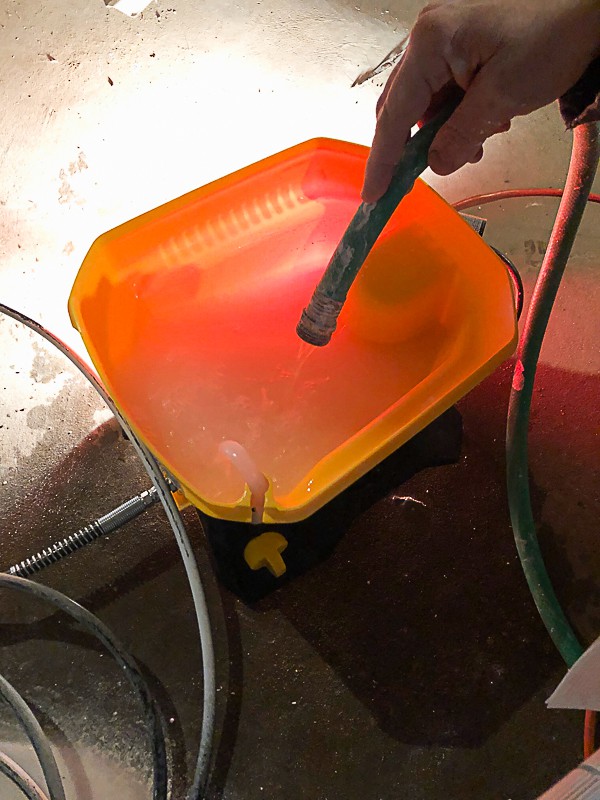
At this point, you are ready to pour the paint in the “bucket”.
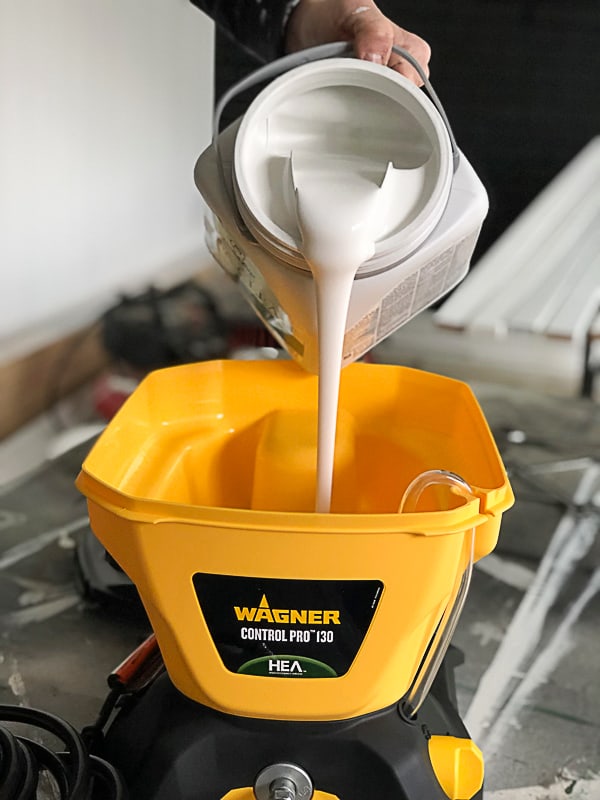
The bucket holds one gallon easily.
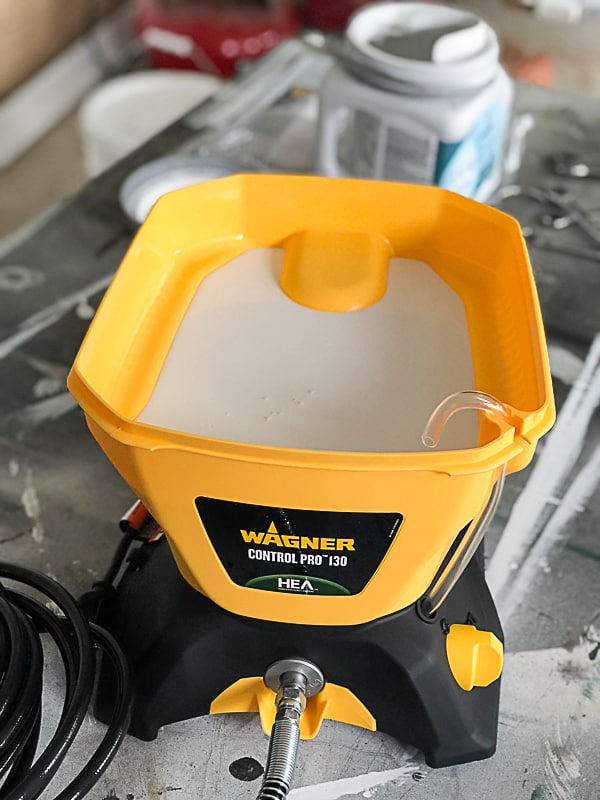
Once the paint is in, it’s time to prime the machine.

Make sure the knob is turned to the arrows and then turn the machine on. This will pull the paint through the tubes and get the machine ready to spray.
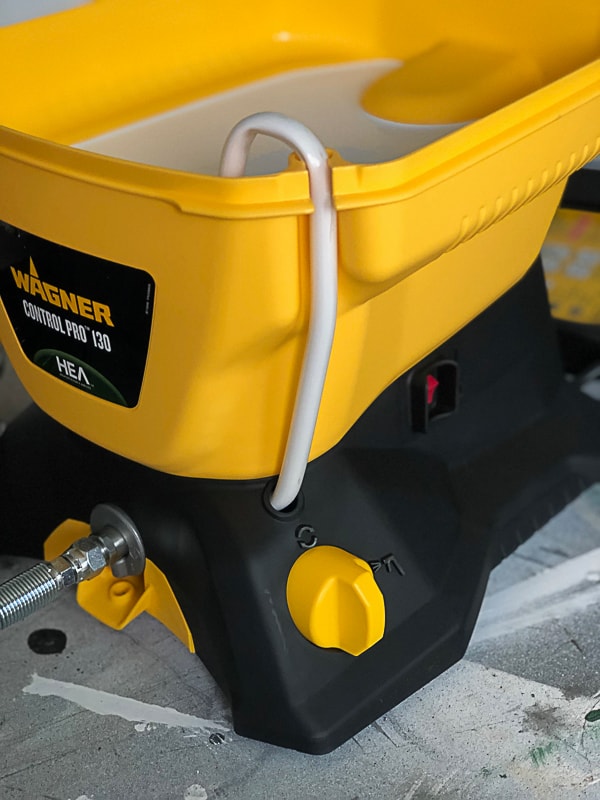
When you see the paint coming through the tube on the side, you know it is primed.
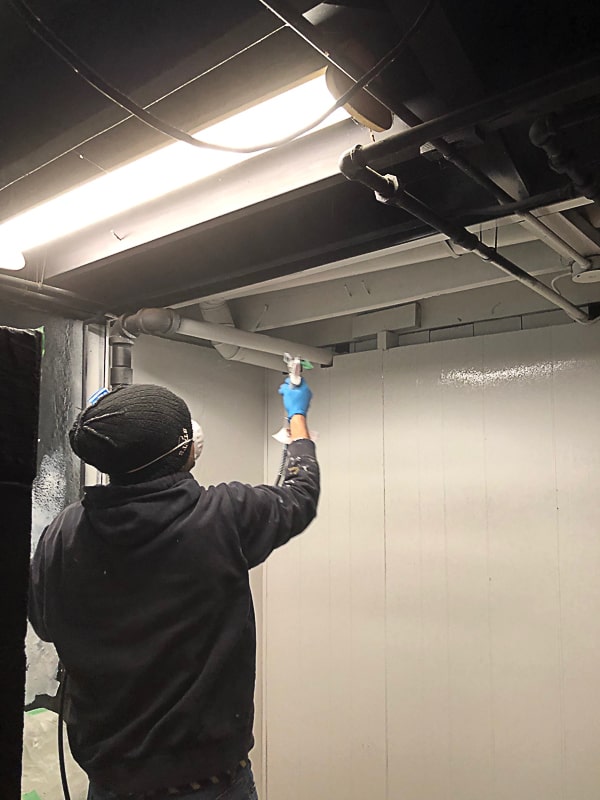
Turn off the machine. You are now ready to spray. Carry it all to the area you are spraying.
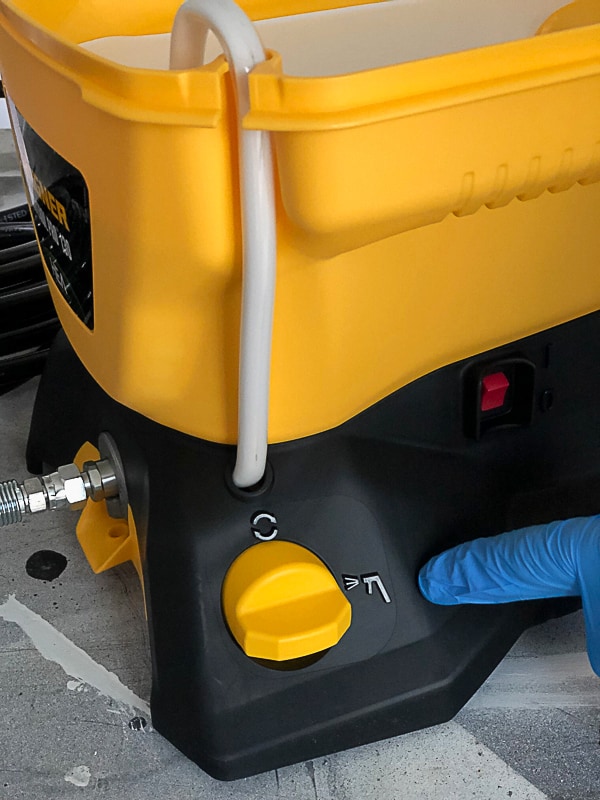
Turn the knob to the sprayer function (pictured above).
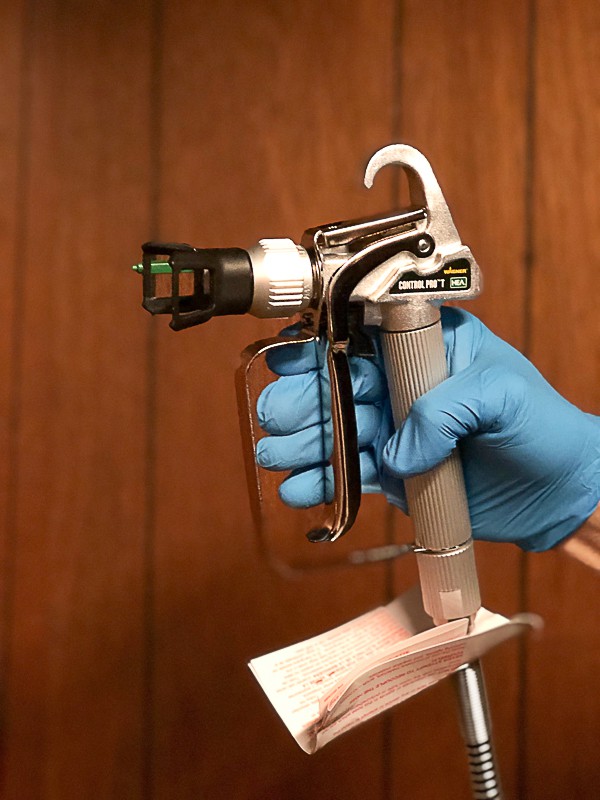
You can turn the nozzle of the sprayer vertically or horizontally. The area you are painting will determine how you want it to spray. Matt turned the nozzle to spray horizontally for the bathroom.
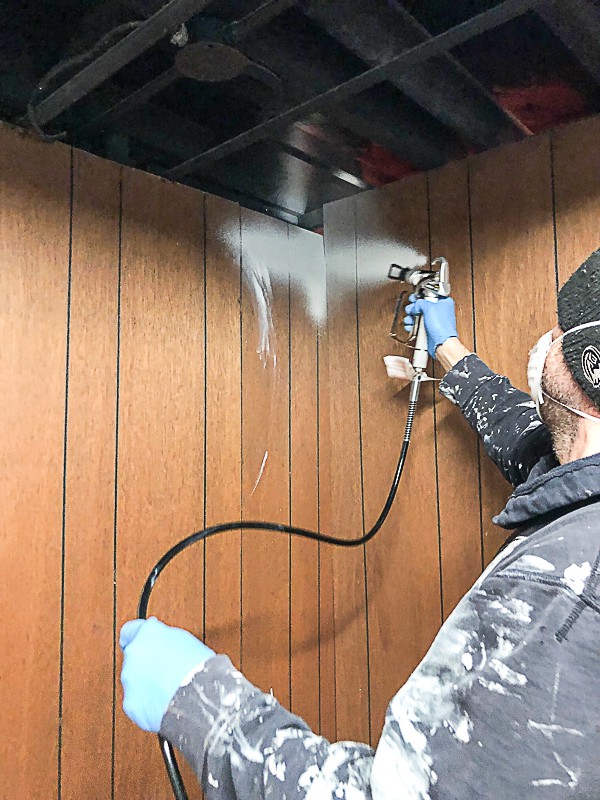
We had the entire bathroom sprayed in under twenty minutes!!!! It got in all the nooks and crannies in the ceiling and covered everything so well. The amount of paint that comes out of the sprayer gives such a thorough coat of paint. There wasn’t a lot of over-spray at all. We thought we would have to do many coats because this bathroom was so dark and dingy, but it only took two coats. The entire bathroom, including the shower area used two gallons of paint. #winning
Here is a video showing you how easy it is to use and how easy it is to clean:
Like I said earlier, we have tried other sprayers for different projects. Matt liked those sprayers a lot. But, once he used this Wagner Control Pro 130, he had found his favorite. I can’t believe how many times he said, “I love this sprayer!” It was so easy to use, the paint covered well and it was easy to clean.
How To Clean The Wagner Control 130:
To start, Matt cleaned out the “bucket”.

Then, he filled the bucket with water and ran the primer and the sprayer function to make sure the tubes and the sprayer were cleaned out.
Once the primer tube was cleaned out, he sprayed the nozzle until clear water was coming out.
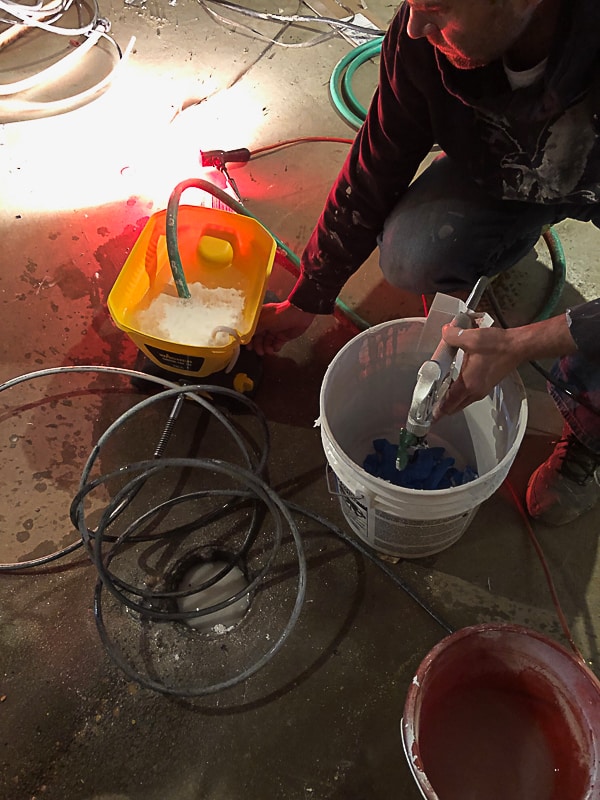
The most important thing about keeping paint sprayers in working order, is to take time to clean them after you use them. Matt spent about twenty minutes cleaning the machine. To be honest, it took him longer to clean it then it did to paint the bathroom. A little extra time spent cleaning the machine will ensure it is in great working order the next time you need to use it.
We will be using the Wagner Control Pro 130 on our next big paint job for sure.

I wrote this post to share how easy it is to set up, use and clean the Wagner Paint Sprayer. If you are looking for a paint sprayer, we would highly recommend this one. It is perfect for DIYers like us and it made such light work of a huge project.
PIN THIS POST!

If you liked this How To Use The Wagner Paint Sprayer post, you will also like these handy tips:
Paint A Bathtub Easily & Inexpensively!
How To Pick The Right Hardware For Every Project
Build A Farmhouse Style Storage Bench