This upcycled mantel shelf is a great example of how you can get the exact look you want for your home and still save a ton of money while doing it!
I found this piece while browsing my local Salvation Army store.
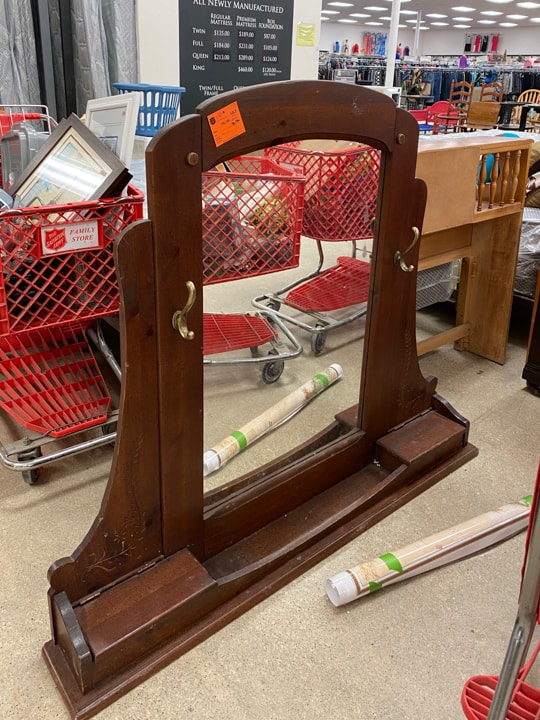
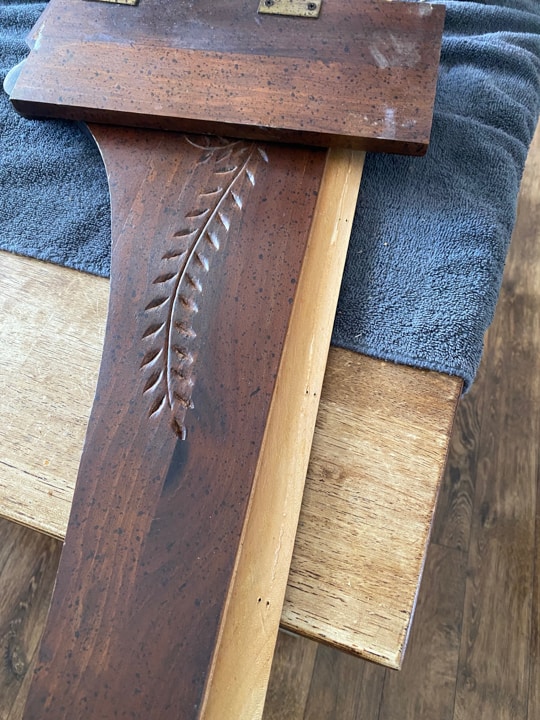
You can’t tell by this photo, but this thing was MASSIVE! I had never seen anything like it. It looked like it was part of something else, but this was the only part there.
The size drew me in and then, my mind started going a mile a minute. I have been trying to figure out something for the wall in our living room. I didn’t want to just hang pictures on the wall and I didn’t want a gallery wall either. We had repainted the living room and I wanted to find the right thing before I started putting holes in the wall again.
Upcycle Furniture To Get New Decor
Looking at this mirror piece, I pictured it upside down.
Do you see it?
If you take the mirror portion out and flip the piece upside down, you almost have the look of a mantel.
See it now?
I had to bring it home and see if we could make it work. The price was $15 so I wasn’t going to be out a lot of money if my plan didn’t work.

This is what the back of the piece looked like so it was part of something else. When I shared it live on Instagram (follow me there to see all the behind-the-scenes looks at my shopping trips and projects), someone said they had this! It was part of a waterbed set back in the 70’s she said. That made total sense.
Always Have Many Plans For Every DIY Project
So, the first thing we had to do to see if this plan was going to work was take it apart.
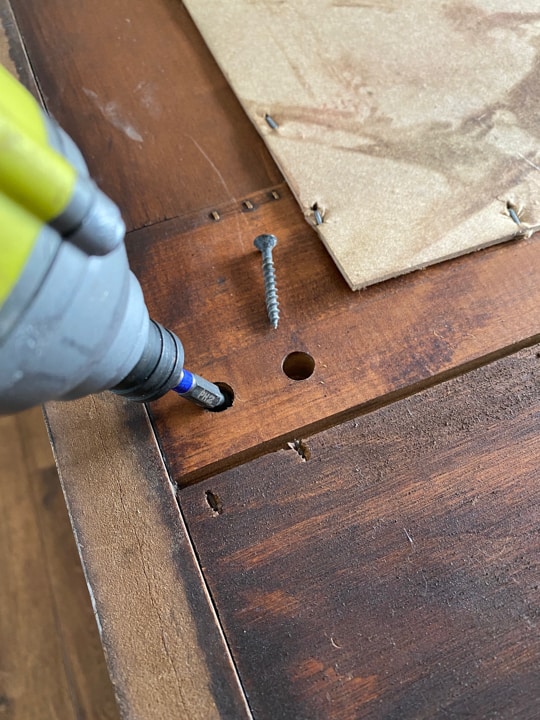
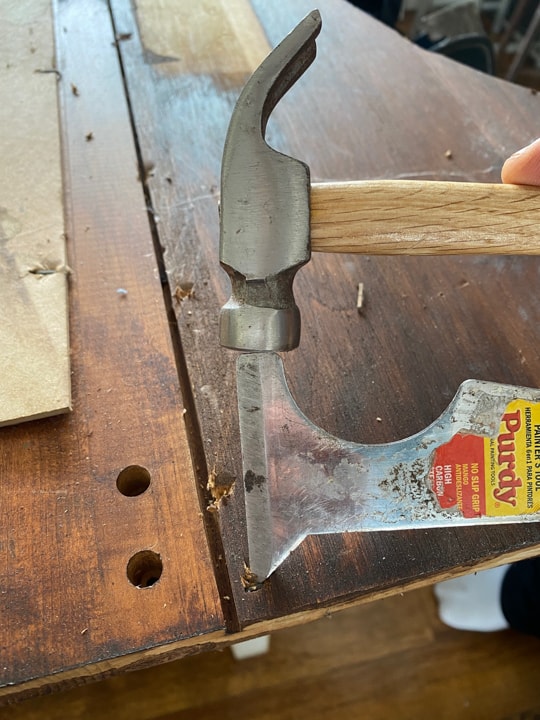
There were a lot of screws to take out and then we were left with staples.
{Affiliate links are used in this post. Click on any of the underlined links to find the products I am talking about. You can read my disclosure HERE.}
I wanted to save the mirror portion as much as I could and still have the side panels that had the detail on them. The staples came out with a hammer and a painter’s tool.
Once the staples were out, the side panels were still stuck to the mirror. There was some kind of glue keeping them together.
How To Remove The Glued Pieces
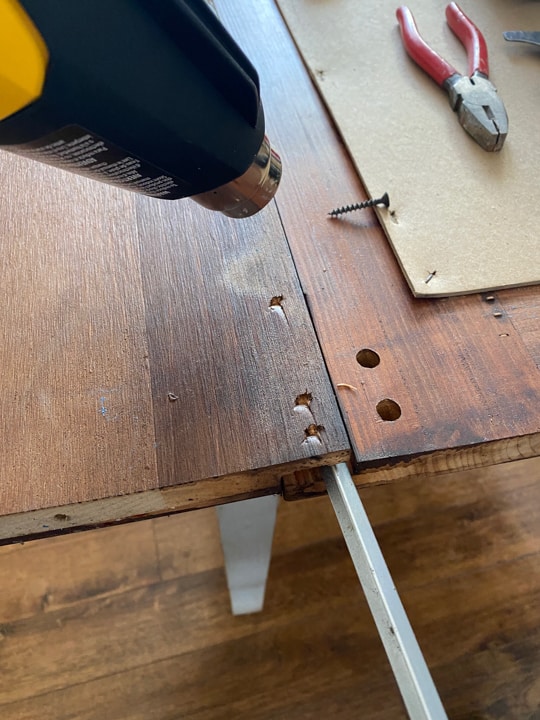
After some trial and error, we found that one of my favorite tools, my heat gun, was what worked the best getting everything apart. The heat gun reactivated the glue and made it so we could get the pieces apart.
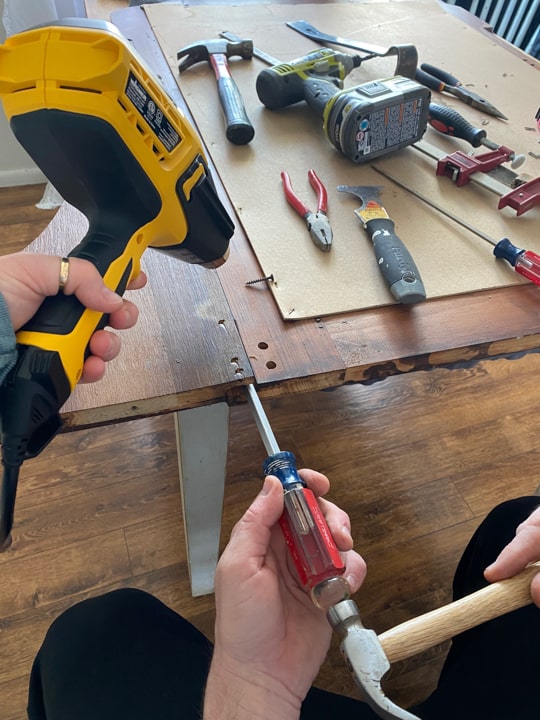
Matt tapped a long screwdriver in between the mirror and the side panels as I heated the seam to loosen the glue.
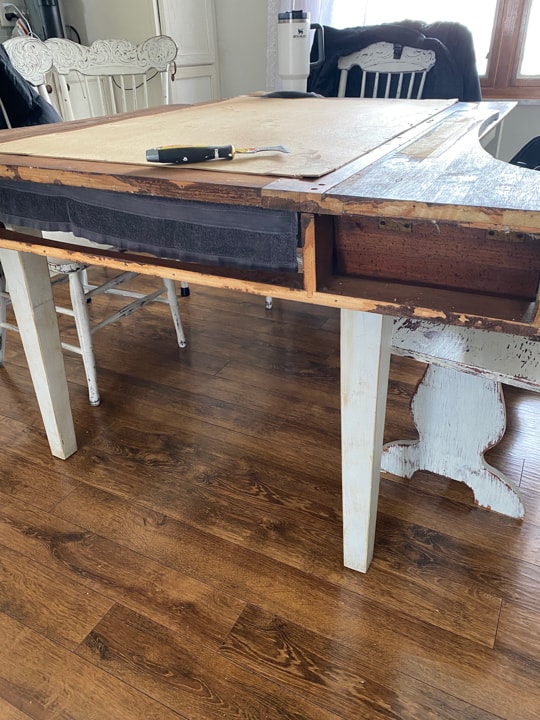
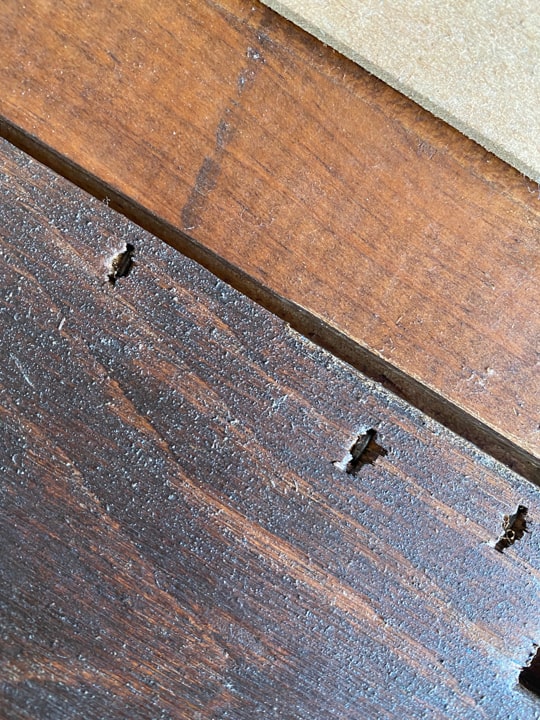
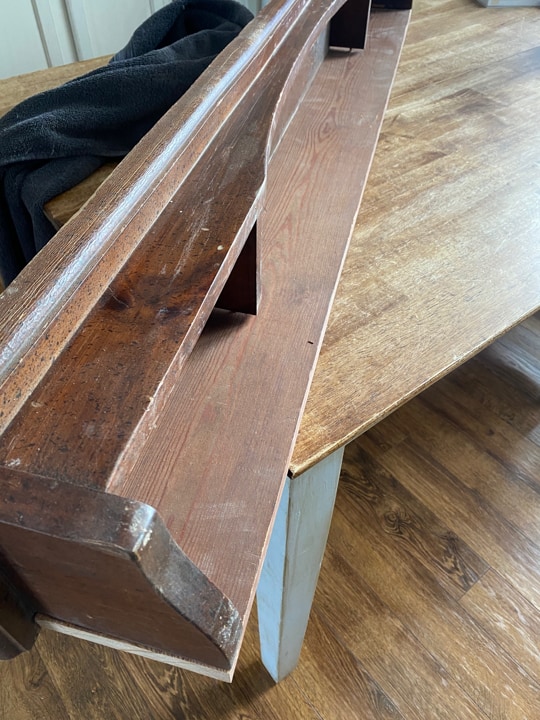
This is what we were left with. We removed the old drawer tops and I thought I was going to be able to use the bottom piece and the sides with the detail all in one piece, but it didn’t fit where I wanted it. So, on to PLAN B. ALWAYS have a Plan B when DIYing. Most of the time, Plan A needs to be reconfigured and a lot of the time, I love the backup plans better. 🙂
So now, I wanted to remove the side panels so I could paint them and use them as decor like an architectural piece.
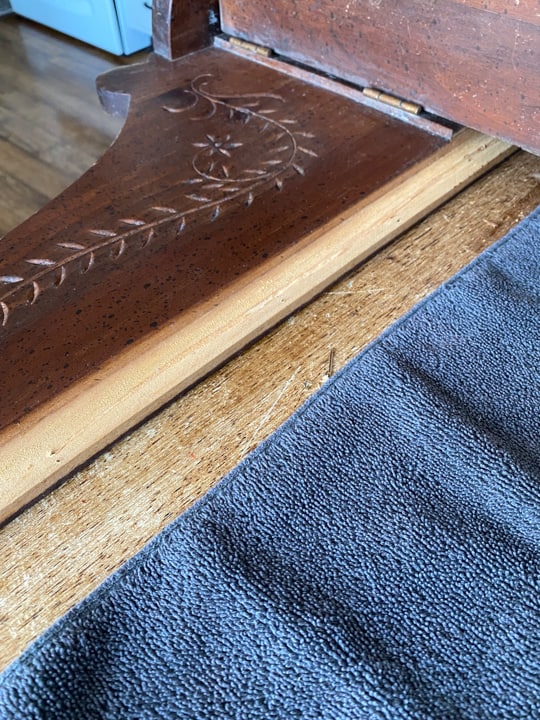
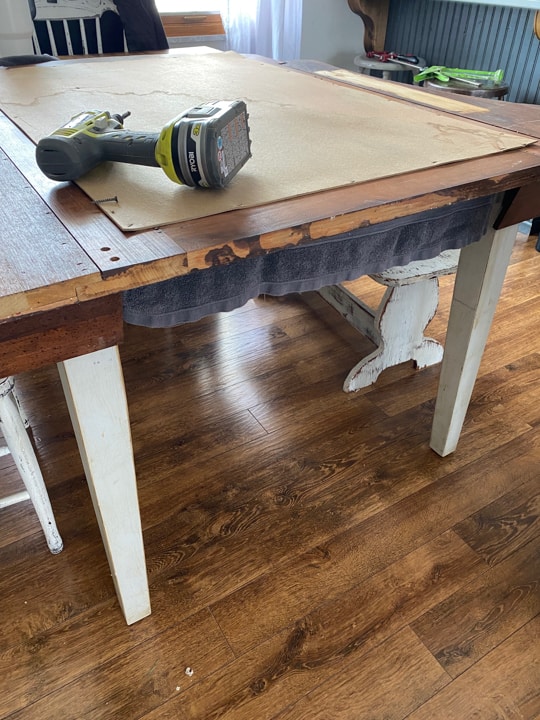
Matt removed the side panels from the “mantel” portion I was going to use and he used his circular saw to cut the wood off the sides of the decorative panels. (He removed the piece that was glued onto the mirror when we removed them. You can see the piece he cut off in the photo above).
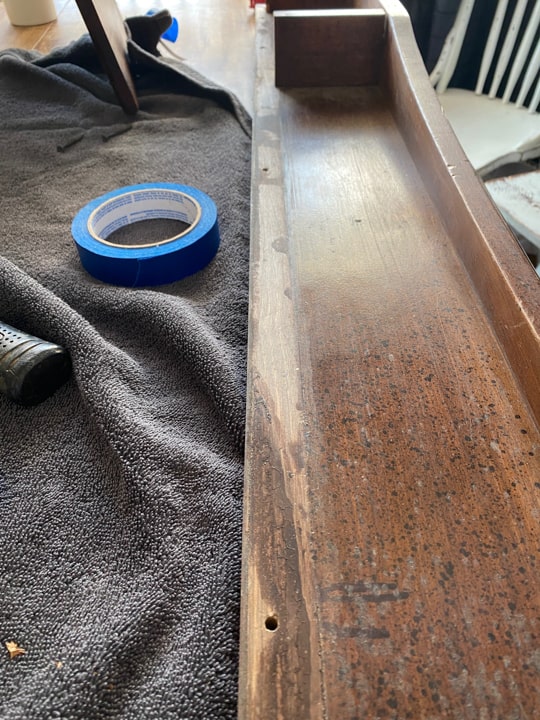
At this point, we were left with the “mantel”.
Now, it was time for prep for paint.
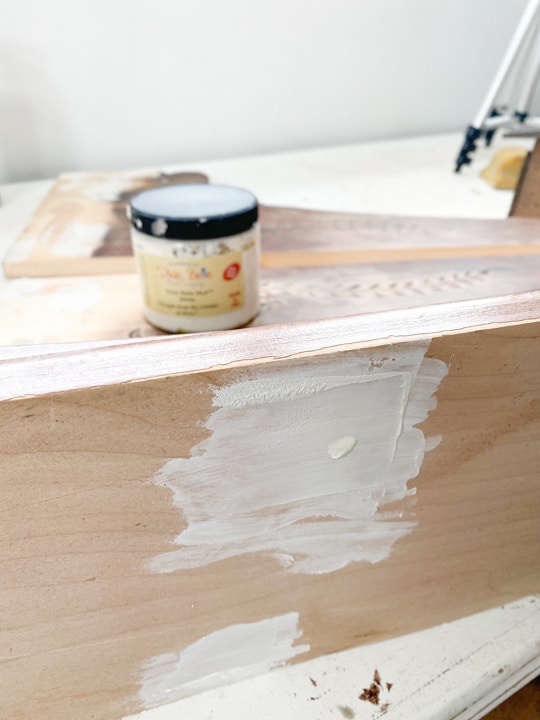
How To Prep The Mantel For Paint
I had to fill some holes on the top of the “mantel” so I used “Mud” from Dixie Belle Paint. I love this stuff. It is so easy to use and works so well on so many projects. Definitely, something I always have on hand. I had to do a couple of coats of the mud of this piece (letting it dry fully between each coat) to get the holes filled. Once the coats are dry, I take fine-grit sandpaper and go over them to make it all flush. Once that was done, it was time to paint.
I used one of my favorite Dixie Belle Paint colors, “Drop Cloth” for the mantel. It took a few coats to get it covered.
I also painted the side panels because I knew they would be beautiful decor once painted and distressed.
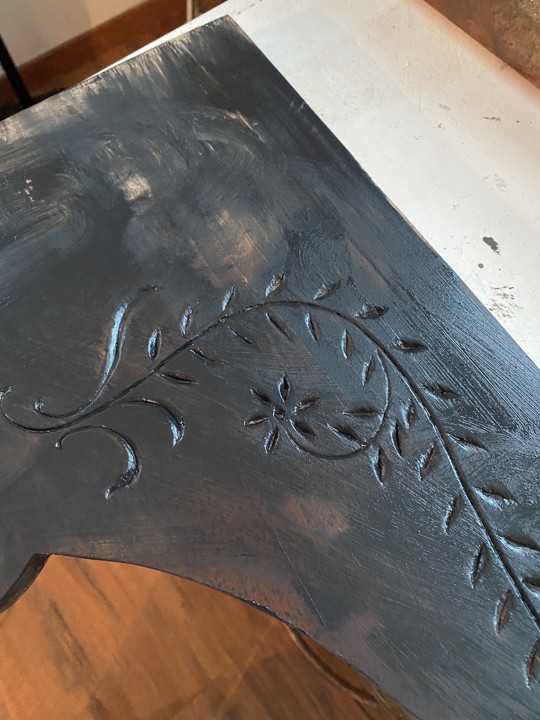
First, I gave them a rough painting with “Caviar” from Dixie Belle Paint. I knew I was going to paint them a lighter color in the end and distress them, so I wanted the black paint popping through that lighter color.
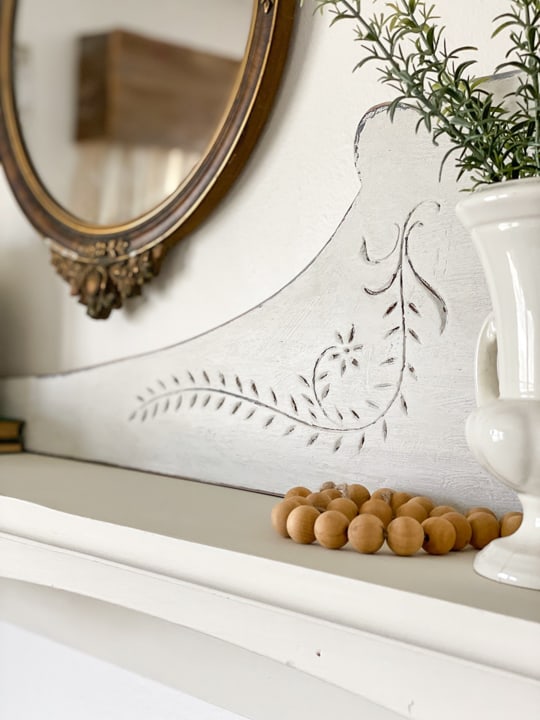
Once the black paint was dry, I painted them in “Fluff” from Dixie Belle Paint. It is a very pretty white paint color.
Add Glaze To Your Projects To Add Charm and Character
Once that was dry, I took my handheld sander and went over it all to distress them a bit. Once that was done, I used a damp cloth and wiped the panels down. Then, I took an old rag and applied “Grunge Glaze” all over them. It just made the color a little “grungier” and made them look a little older.
I let them fully dry and they were ready to go!
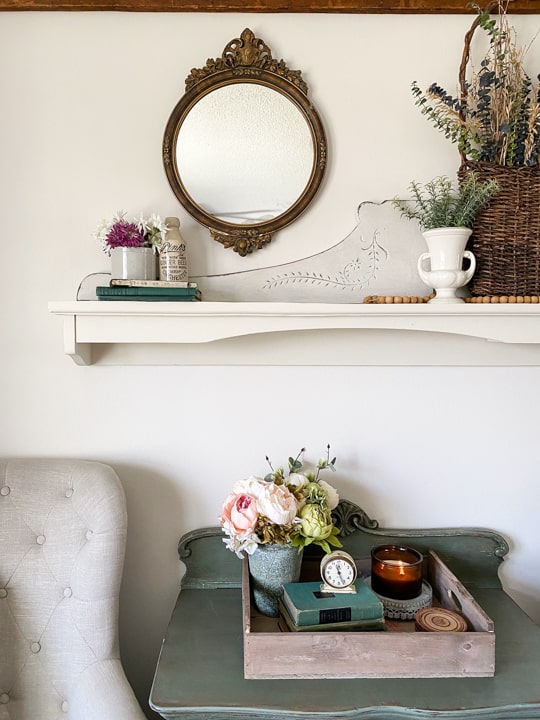
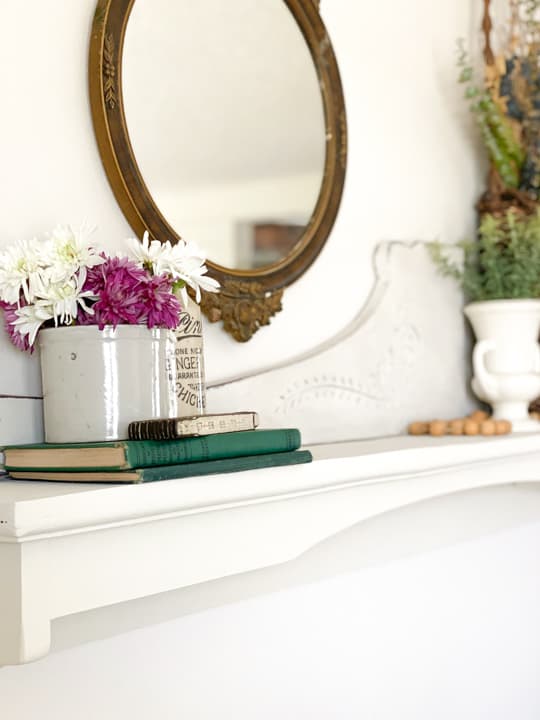
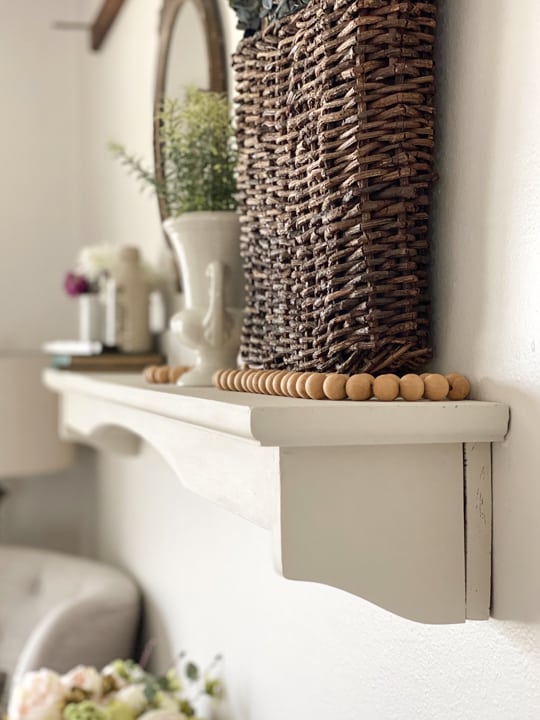
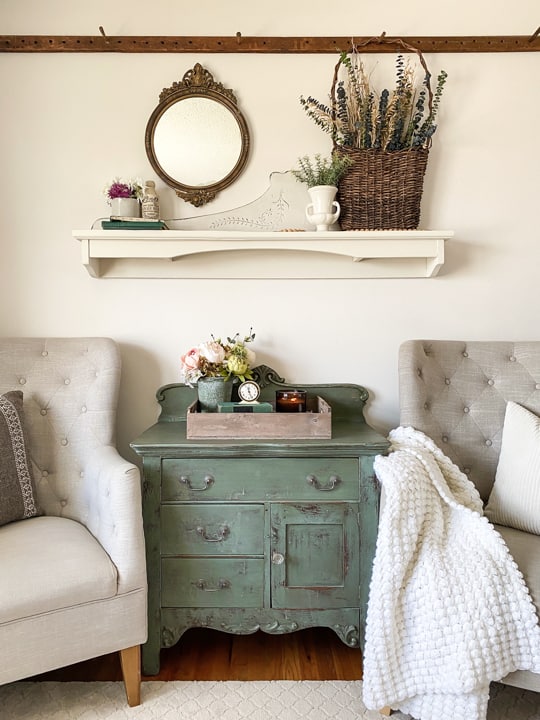
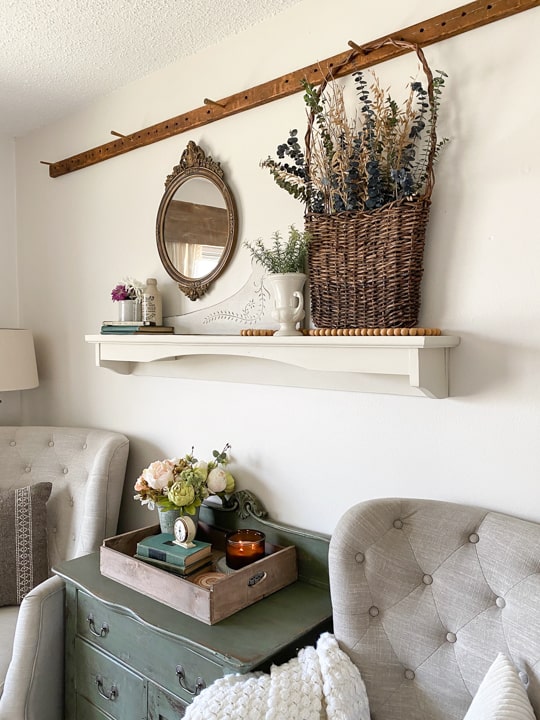
The mantel-shelf was the perfect size for our living room. You would never know that it was once part of a waterbed dresser set!
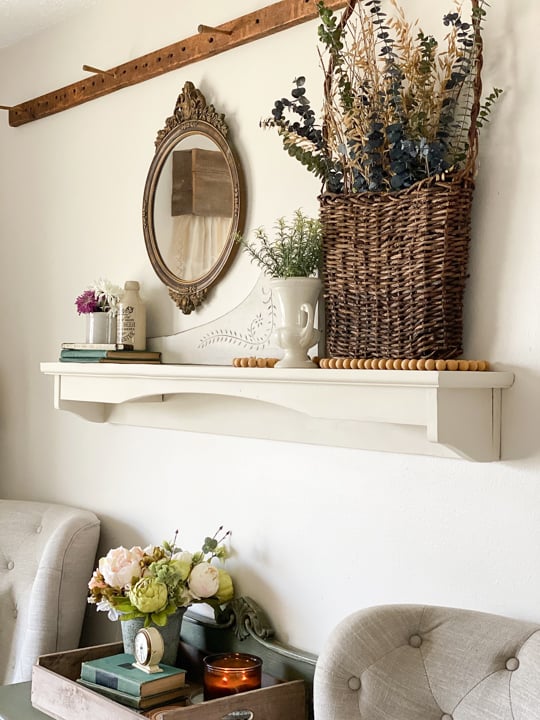
The upcycled mantel shelf makes it so I can decorate with more than just wall hangings on this wall and if you know me, you know I will be changing this up many, many times.
The panels on the side are perfect to use as I have here on the shelf or to hang on a wall. Like I said, I will be playing around with all of this for a long time, but I wanted to get the finished project out to you now.
It’s amazing what a little creativity and some work can do to create the perfect decor for your home on the cheap! This upcycled mantel shelf fit this space perfectly and I didn’t have to pay a ton of money to get it.
Would you have looked twice at this piece in the thrift store?
Supply Recap From This Project:
Dixie Belle Paint colors, “Drop Cloth”
“Caviar” from Dixie Belle Paint
“Fluff” from Dixie Belle Paint
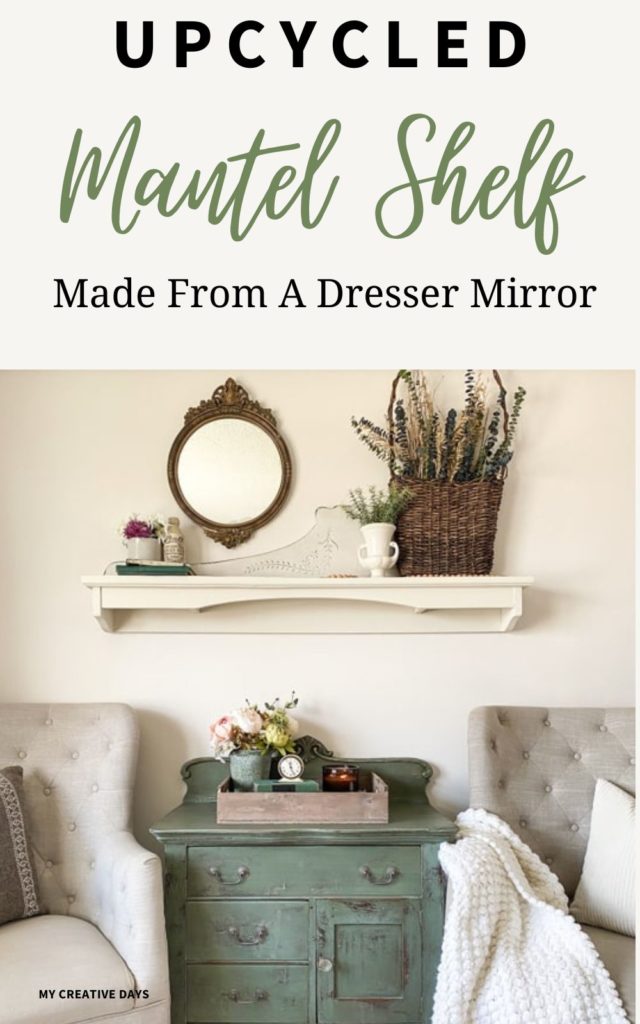
PIN THIS POST!
If you liked this upcycled mantel shelf project, you will love these repurposed projects:
How To Make A Wood Letter Board For Free
Repurposed Chairs Become Wall Decor In Entry
Oh I love the outcome. Perfect size.
Amazing! What a great idea! 🙂
It was and it worked!
What did you do with the second “arm” from the mirror? And what colour did you use on the little washstand below the mantel?
I used it in another place in our home and then I sold both of them. The color of the cabinet: https://www.mycreativedays.com/wooden-chest-of-drawers-makeover/