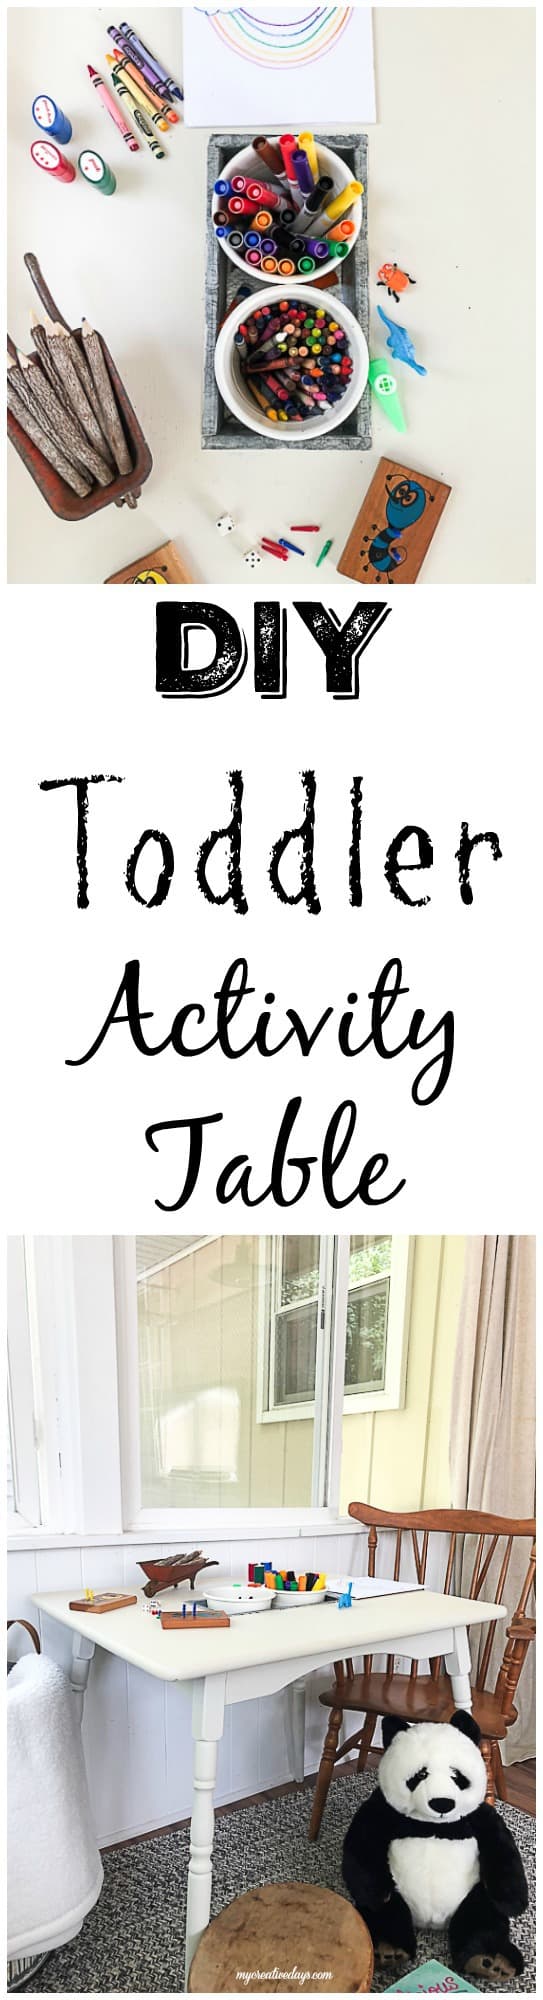
This DIY Toddler Activity Table is a great example of making a piece exactly what you need for less.
This DIY toddler activity table was not only fun to make, but it was so easy to make.
My aunt was getting rid of some things at her farm so she asked if I wanted to come out and see if there was anything I could use. What do you think I said? Of course!!! I am coming out to the farm whenever you tell me to be there!
One of the things she wanted to get rid of was this table and chair.

{Affiliate links are used in this post. You can read my disclosure HERE.}
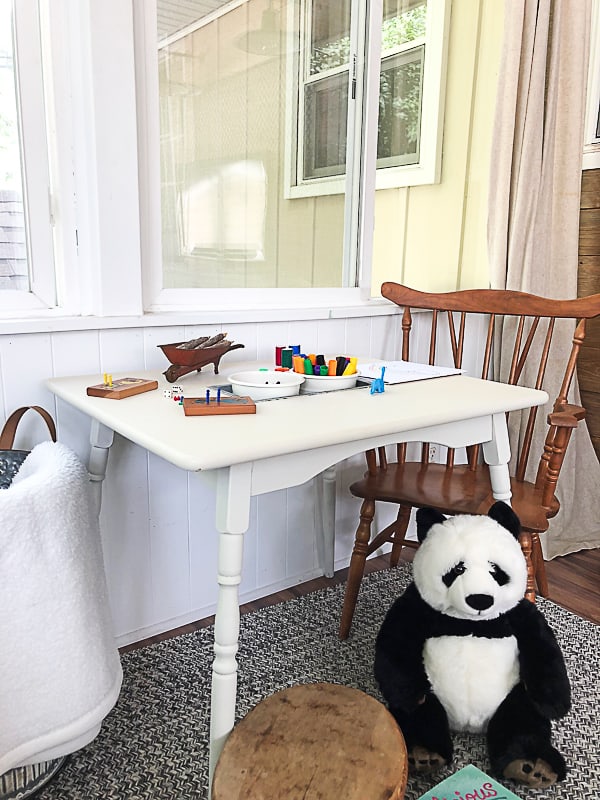
The table was cute, but what I loved most was the chair! I have never seen a child’s chair like it. The chair was in great condition, but I knew I would paint the table. I love the mix of paint and wood (like in the projects HERE and HERE).
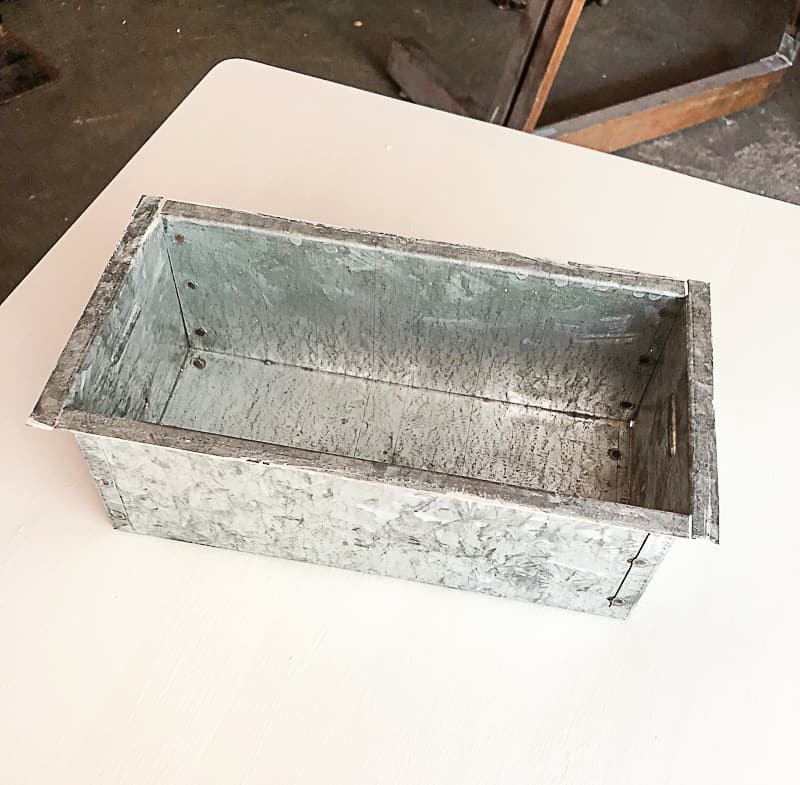
I wanted to do something else with the table though. Paint is great, but I wanted to do something else too. While I was at my aunt’s farm, she was also getting rid of two commercial tissue boxes that kind of looked like this one. I had no clue what I was going to do with them, but when I got them home and pulled the top off, I was left with amazing galvanized boxes that gave me the perfect idea for this toddler activity table.
I talked the project over with Matt and we got started.
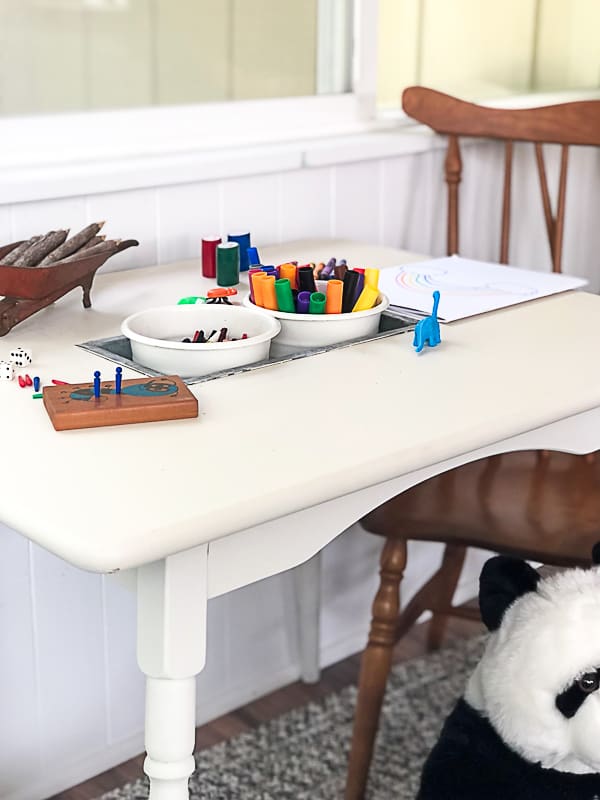
The galvanized bin from the tissue box had a lip around it that was perfect for setting it inside the table to hold all kinds of things for a toddler activity table.
Instructions For Setting The Galvanized Box In The Table:
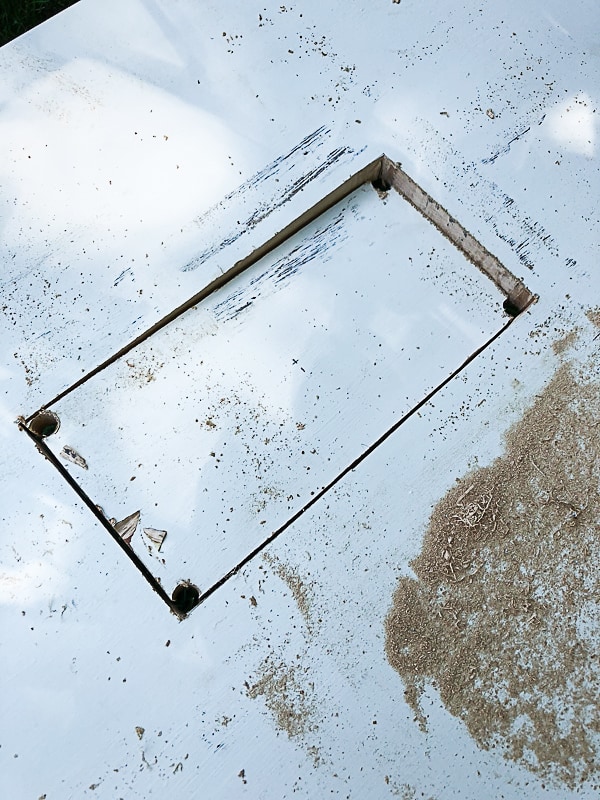
First, Matt measured to figure out where the middle of the table was.
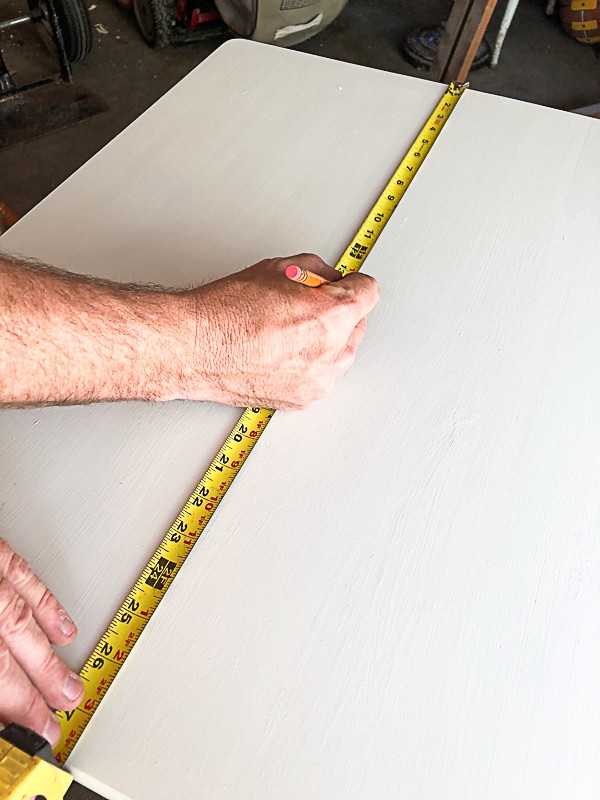
Then, he measured the galvanized box to figure out where he needed to cut the table.
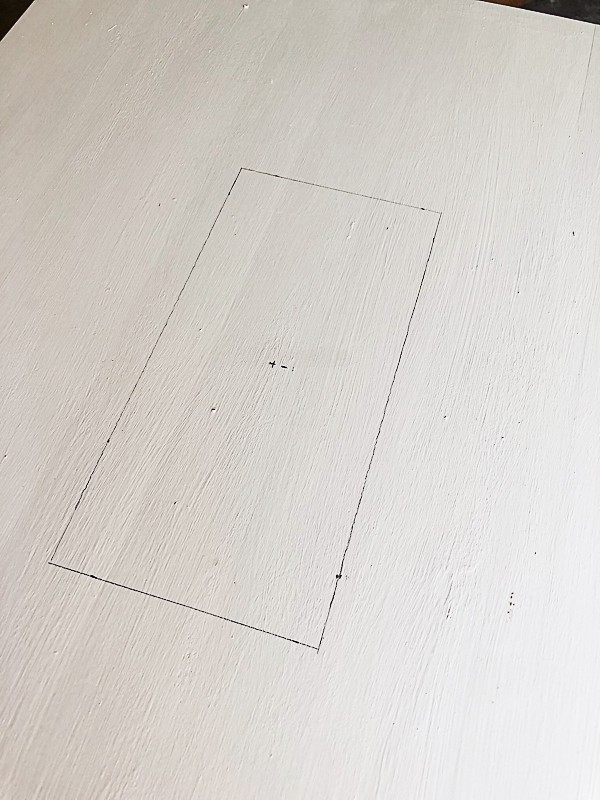
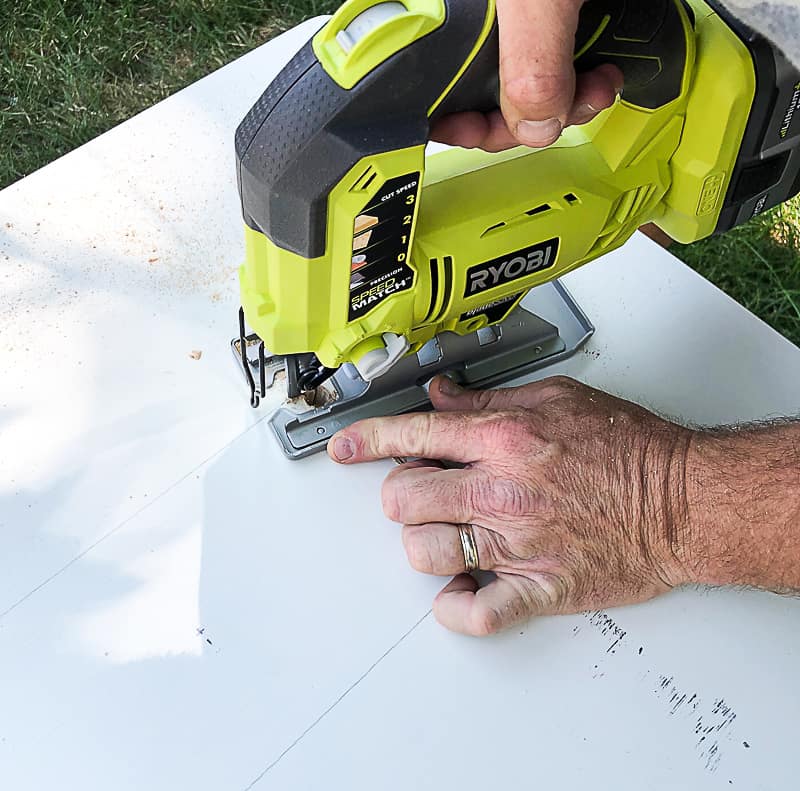
Once he had the template, he used a drill to put holes in each corner of the rectangle to get an opening to put the jigsaw in so he could cut the rest of the template out.
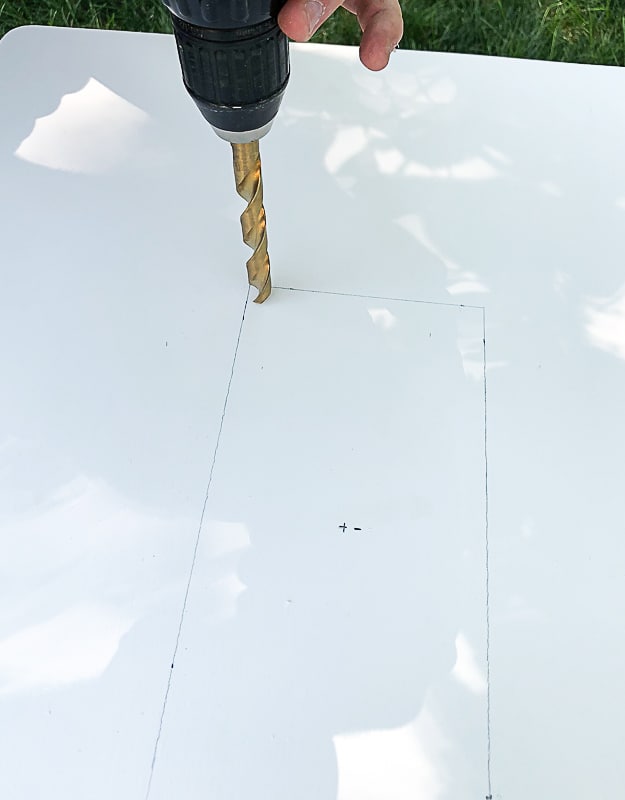
He used the Ryobi jigsaw to cut out the entire rectangle.
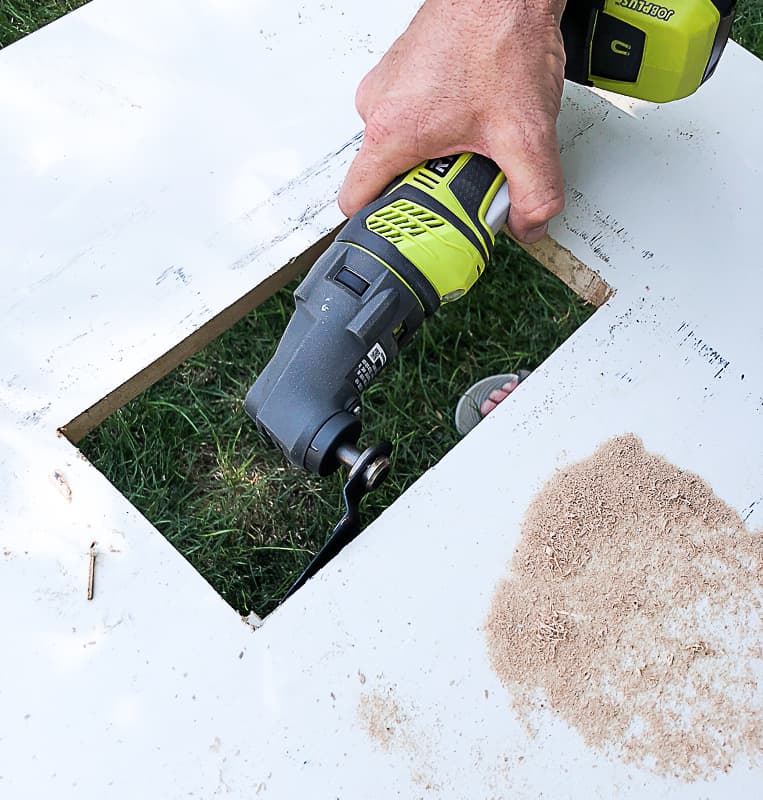
After the hole was done, he used the multi-tool to smooth out the edges around the rectangle he cut out.
I put a coat of before Matt did all the work, but when he was done with all of the cutting, I put another coat of paint on. Then, I added a top coat when it was all dry.
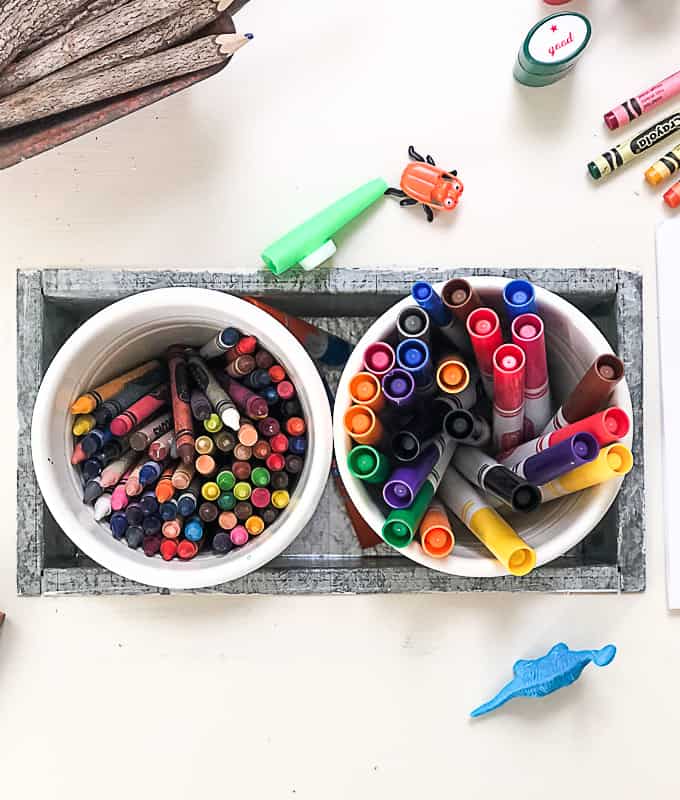
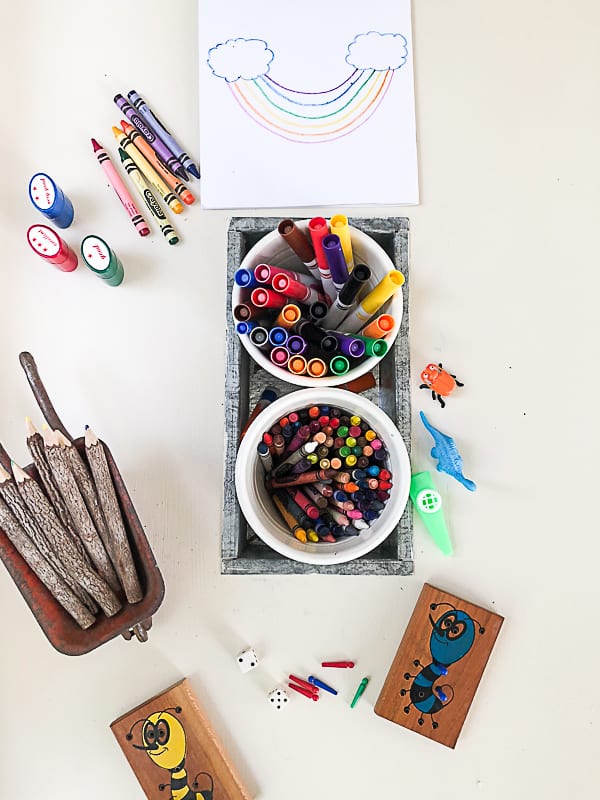
The bin fit the table perfectly and it is the perfect size to hold all kinds of activities for a toddler.
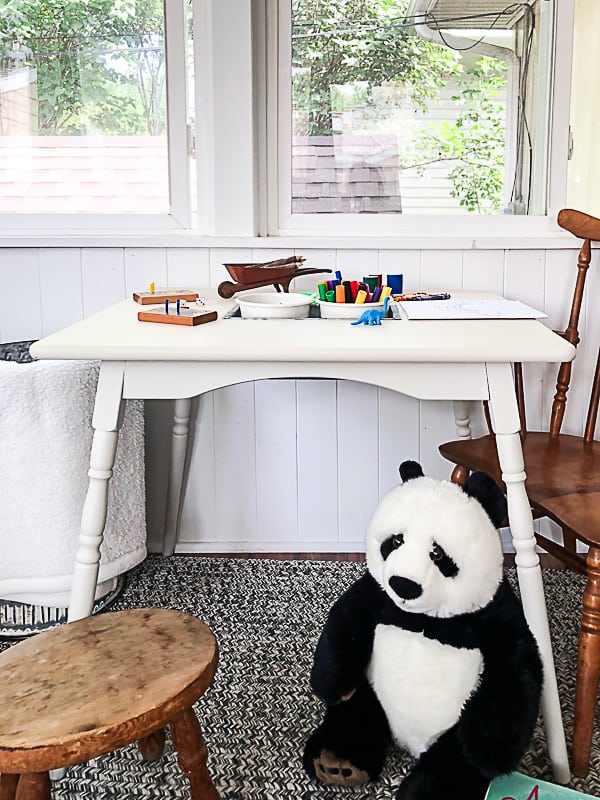
The galvanized bin is flush with the top of the table, but it can be removed if it needed to be cleaned.
I could not be more happy with the outcome. We rescued some pieces for my aunt’s barn and were able to put a couple of them together to make an entirely new piece that will definitely bring a child a lot of joy.
Our kids would have loved this table.
Projects like this are my favorite.
Supply Recap For This Toddler Activity Table:
Drill
Jigsaw
Galvanized Bin – or something else to use in the middle of the table
Child’s Size Table
“Dropcloth” Paint – Dixie Belle Paint
Ryobi Multi-Tool
Top Coat
PIN THIS POST!
If you liked this DIY toddler activity table, you will also like these projects:
Solid Wood Dresser Makeover In Green
such a great idea, a super, all in one spot for those creative babies!!
Thank you!