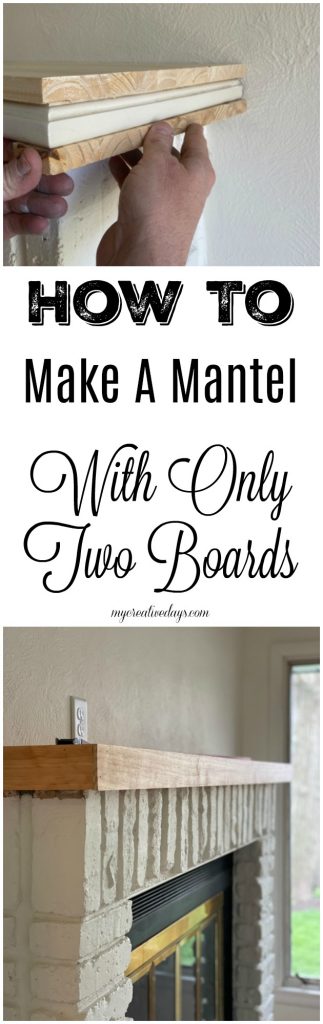
Flip house #5 is almost done! I have to say that having a flip house during the pandemic was both amazing and hard at the same time. It was amazing because it kept us busy. It was hard because things weren’t in stock and we had to order a lot online. This meant that things took longer to get. We also had to work with contractors in a different way because of the social distancing that was happening. It all worked out, but it was definitely a different process this time around. Today, I am going to share how to make a mantel with only two boards.
Before I start the tutorial, I want to say that this worked for the size of mantel we needed. You may need more boards or less boards if you have a smaller mantel. I basically just wanted to share the easy process we used to create an updated mantel for the fireplace in Flip House #5.
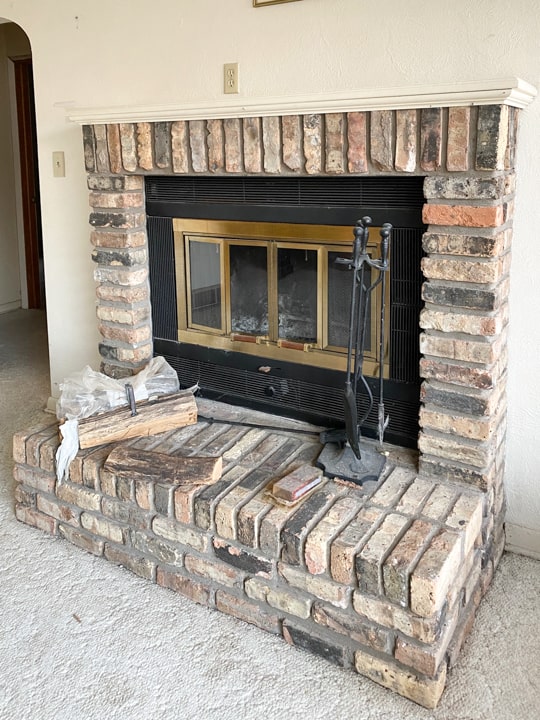
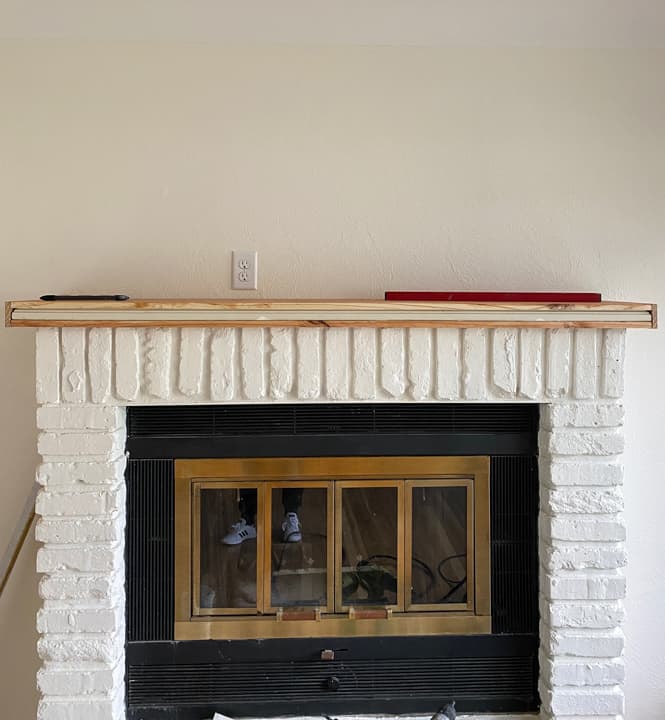
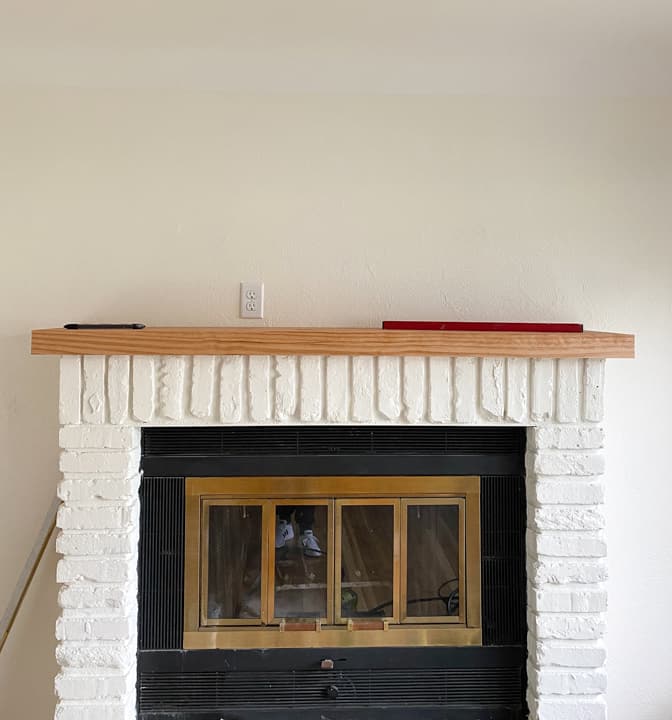
The fireplace was in great condition, but it was such a heavy eye sore in a room that gets so much natural light.
I didn’t want a heavy, dark fireplace sucking all the life out of the room. It was too much for the room and just needed a little makeover to make it compliment this amazing space.
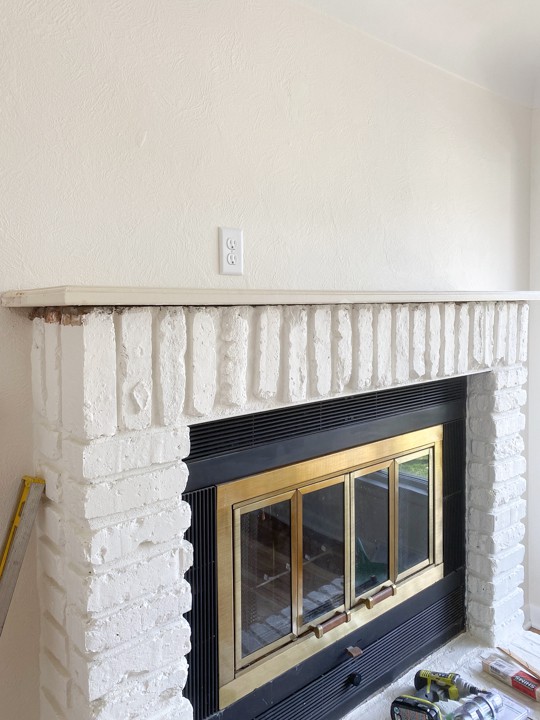
I decided to paint the brick the same color of the room. Doing this made sure it was still a feature, but that it wasn’t commanding all the attention. It added a lot of texture in the room, but it didn’t stand out like a sore thumb.
After we got the floors redone, I wanted the mantel to compliment the floors. It was so easy to do with a couple of boards and some stain.
This is how we did it.
{Affiliate links are used in this post. Click on any of the underlined links to find the products I am talking about. You can read my disclosure HERE.}
Supply List:
Edge Glued Pine Board (length will depend on mantel size)
1/4″ Pine Trim Board (length will depend on mantel size)
Pencil
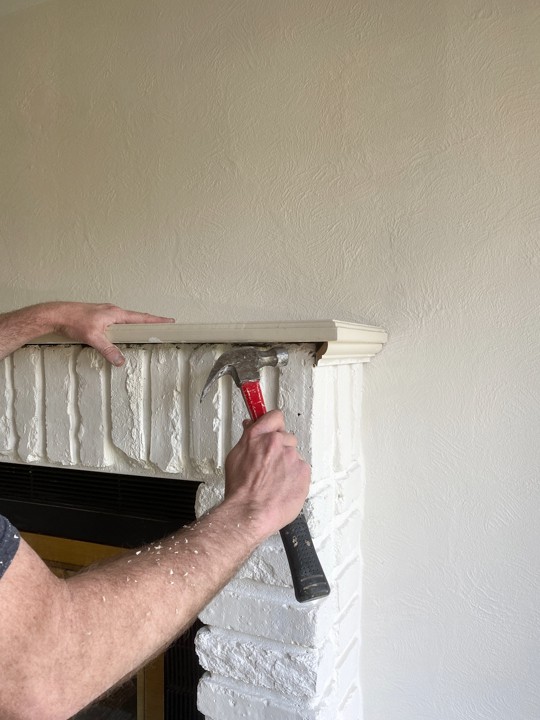
First, we removed the bottom trim pieces around the original mantel. This was easy to do with a hammer and flat bar. We left the top board on the mantel.
Then, Matt measured the top board and we talked about how I wanted the mantel to look so he could get a good idea about the size of pine boards he needed to get.
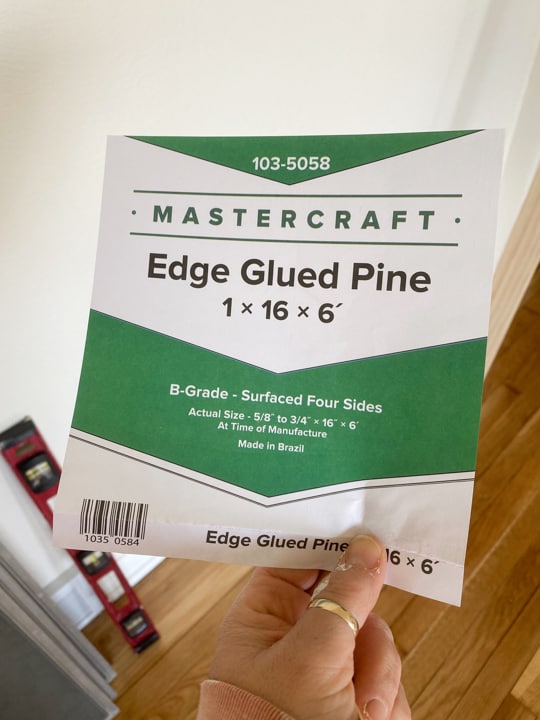
We chose the Edge Glued Pine Board for the top and the “box” we had to build.
How The Mantel Came Together
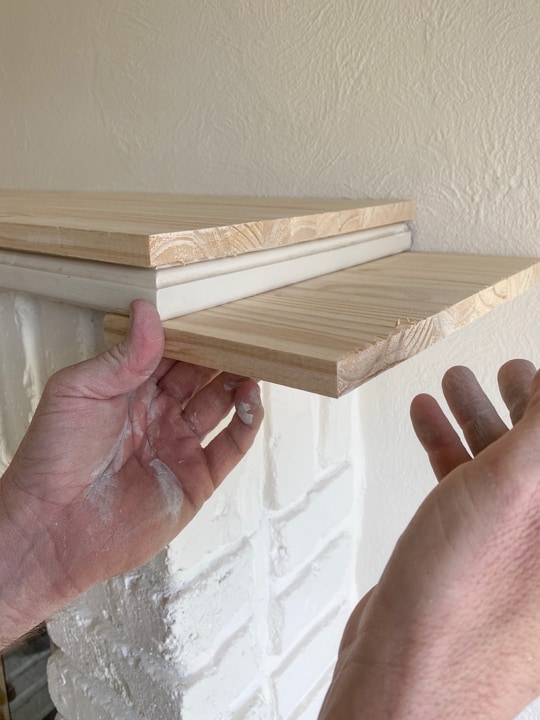
To start, Matt put the new board on top of the existing board on the mantel and ran a pencil along the underside of the new pine board to get an accurate measurement (you can see the full video on how this came together in the video at the end of this post). I should mention here that I wanted to make the mantel chunkier than what was originally there. Leaving the original top board on the mantel helped with the chunkiness (these are all technical terms). 🙂
Once he had the front measurement, he used the table saw to cut the pine board. The piece that he cut off was used underneath the front part of the mantel (as you can see in the photos below).
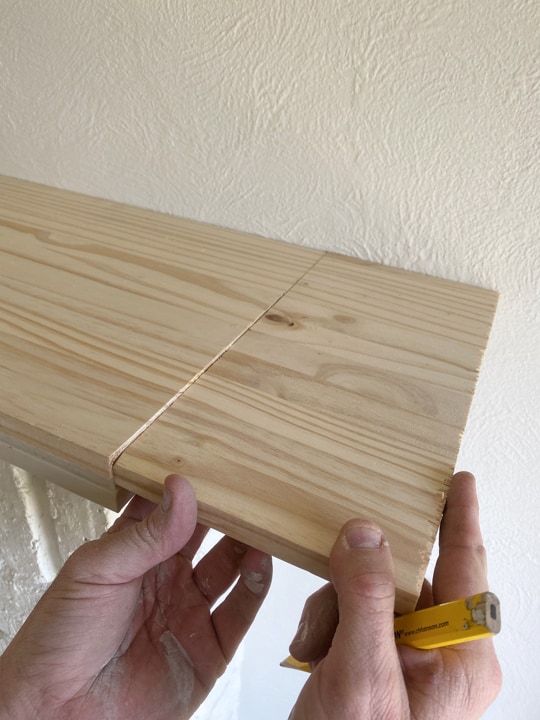
Now that the top board fit depth-wise, it was time to cut the ends of the board. He placed the cut board on top of the mantel and ran a pencil underneath the sides to get the accurate measurement to cut the sides.
He used the miter saw to cut the sides down.
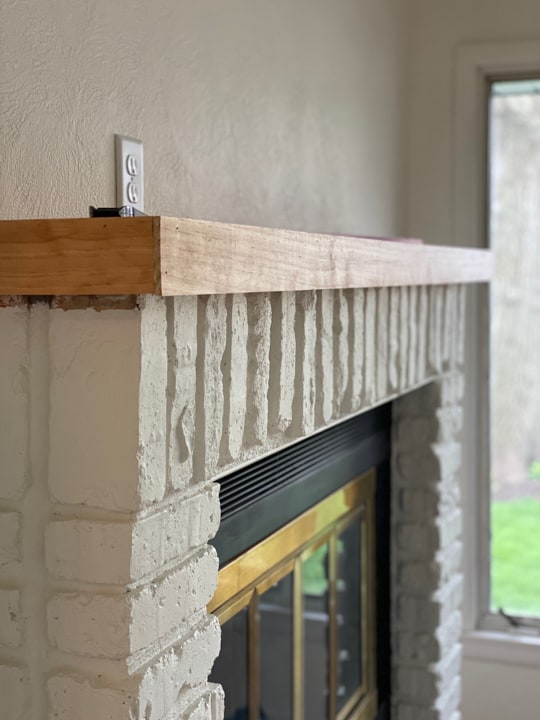
The pieces that were cut from the ends were used as the underside of the original mantel on each end and also the sides. Nothing was going to waste with these boards.
Matt took the cut ends, flipped them under the original mantel, drew a line with a pencil and made the cut. What was left after that cut was able to be the sides of the mantel. (You will see that photo later).
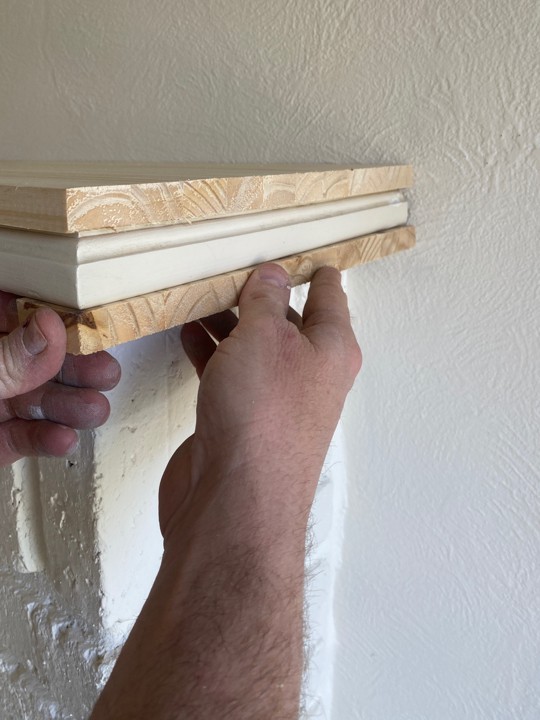
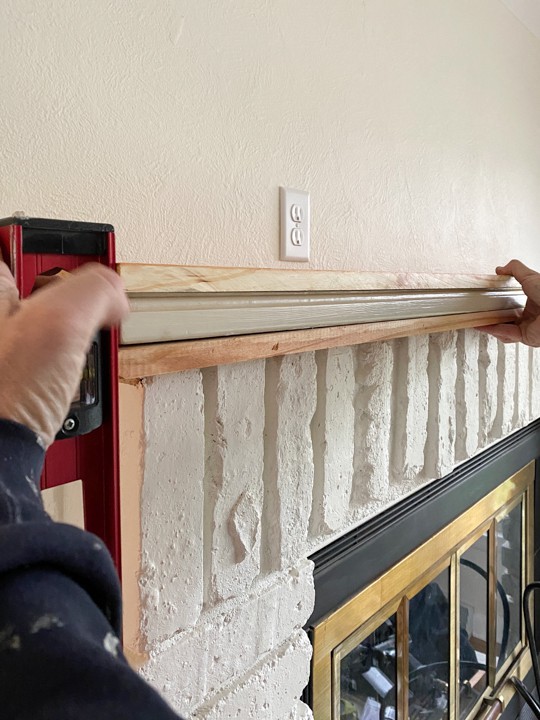
So, he was basically “boxing” in the original mantel as you can see in the photo above.
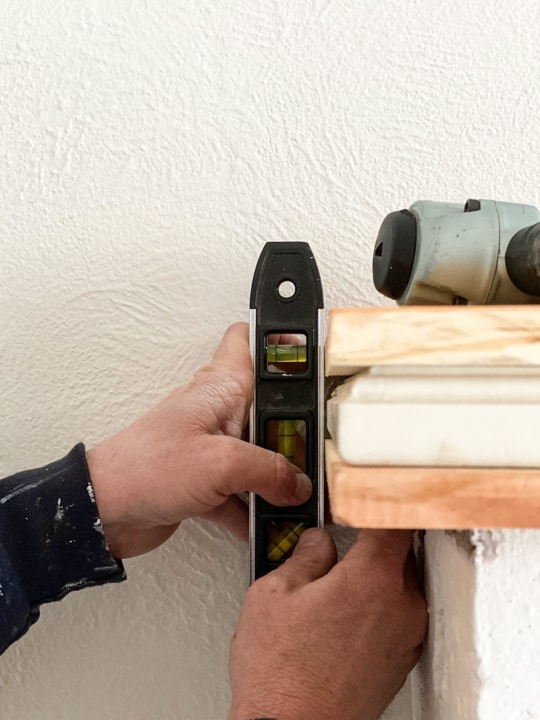
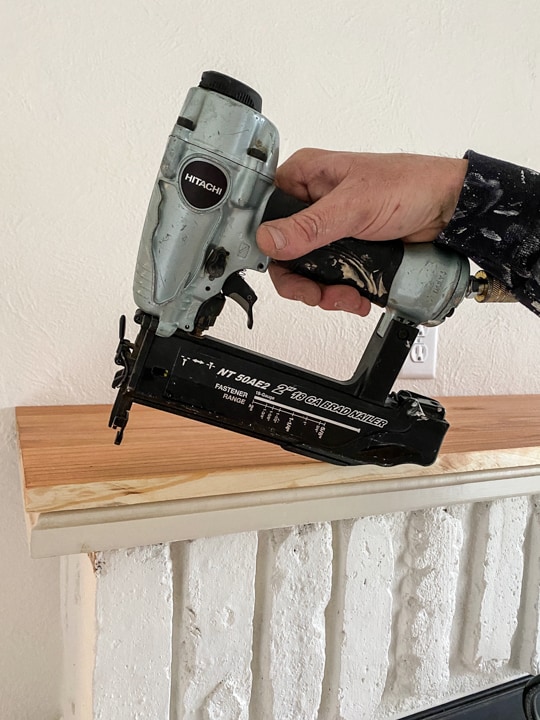
He used a 9″ level to make sure the top and bottom board were level before he nailed them with the nail gun.
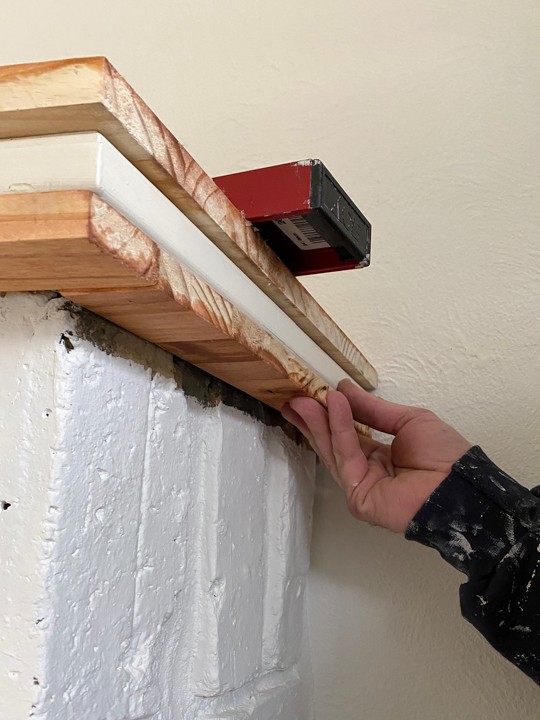
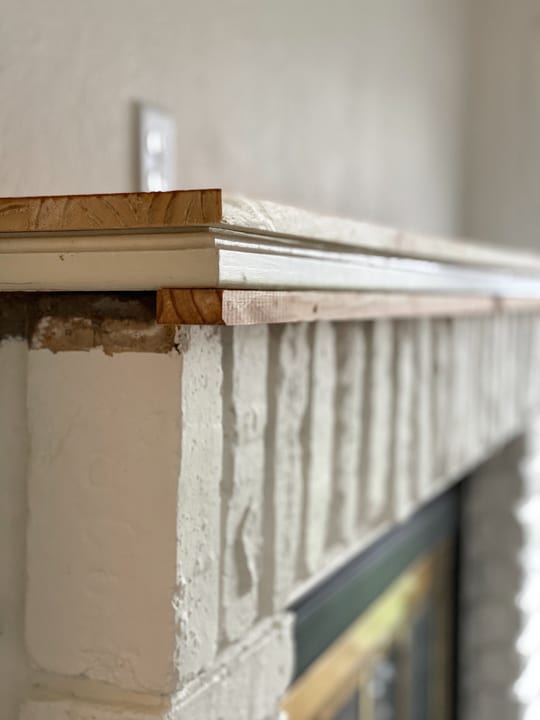
You can see the side piece I was talking about above in the photo below.

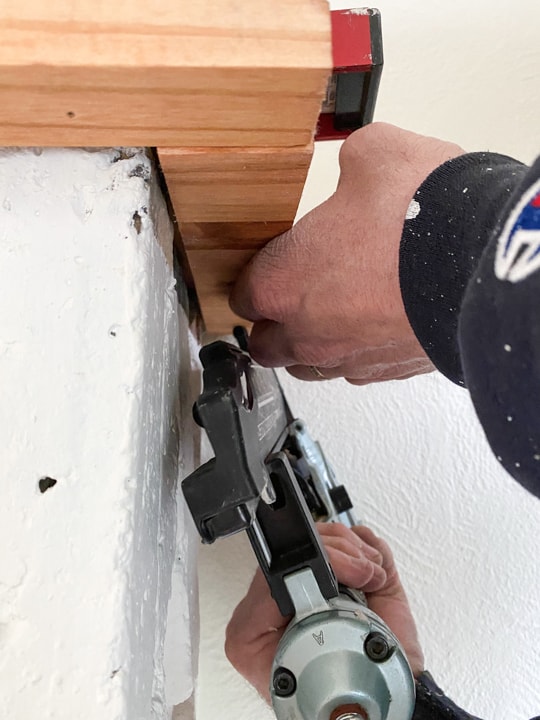
Once we had the top and the sides on, it was time to measure and cut the pine trim board.
To get the measurement for the front trim piece, he had to use the trusty-ol’ tape measure. 🙂
He nailed the front trim piece on and it was time for stain.
This project came together rather quickly.
We loved it because nothing went to waste. I want to reiterate that this may look different depending on the size, shape and thickness of the mantel you are doing. I really just want you to see how easy the process was to create the mantel, no matter how many boards are used. You could do this with any boards you have lying around and paint them. So many ways to make your own, but the process is still the same.
Here is a quick video showing you how this came together:
Through it all, this is my favorite flip house to date. I don’t know if I will say that after each flip we get, but so far, they have been getting better and better as we go. We are already excited and actively looking for our next one. I just wish they were easier to find.
On a side note, I am always posting new videos and content on my YouTube channel. Make sure to subscribe to my channel HERE so you don’t miss out of any of them!
PIN THIS POST!