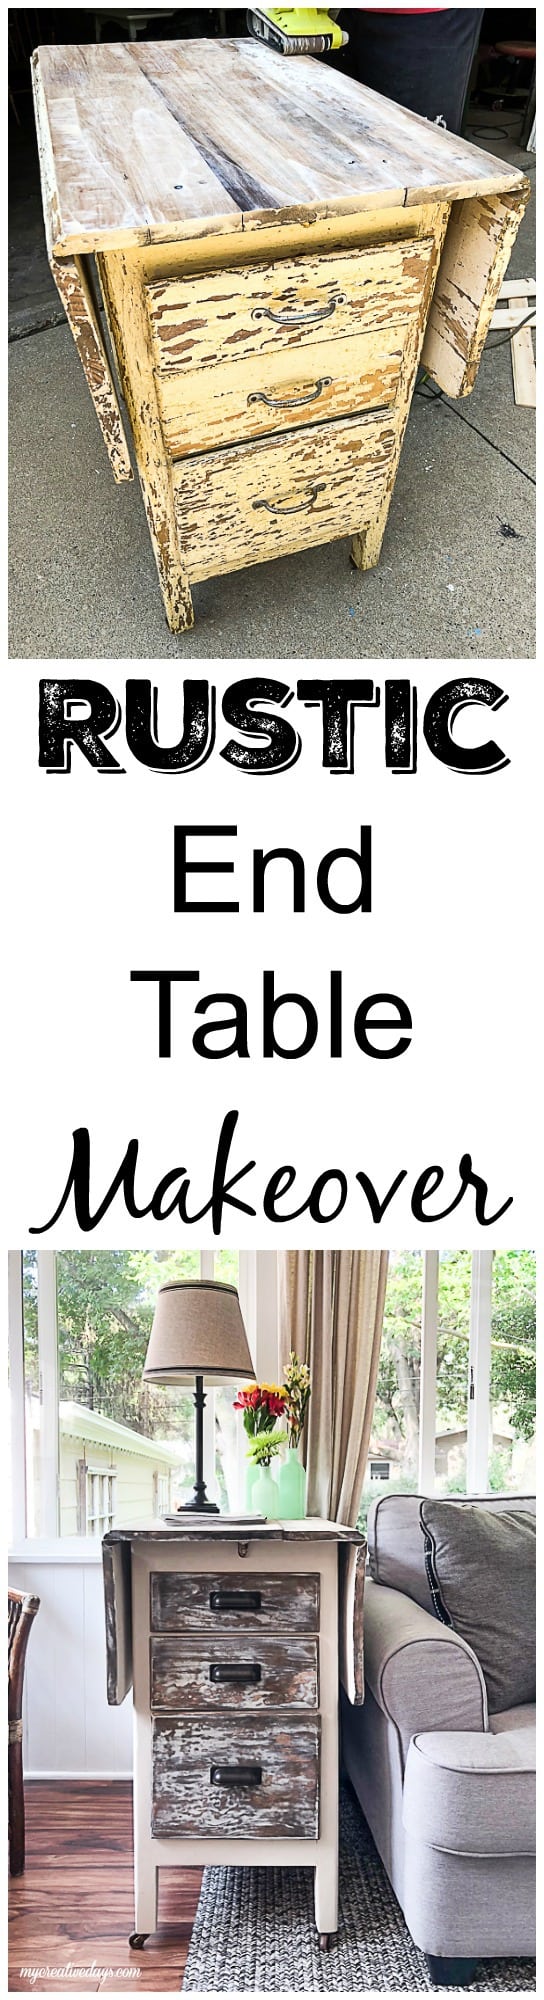
This Rustic End Table Makeover was a beast to makeover.
This end table was something I picked at a friend’s yard sale. Her in-laws had tried to make it over and didn’t have any luck. They had moved and didn’t have room for it anymore and I was happy to see what we could do with it.
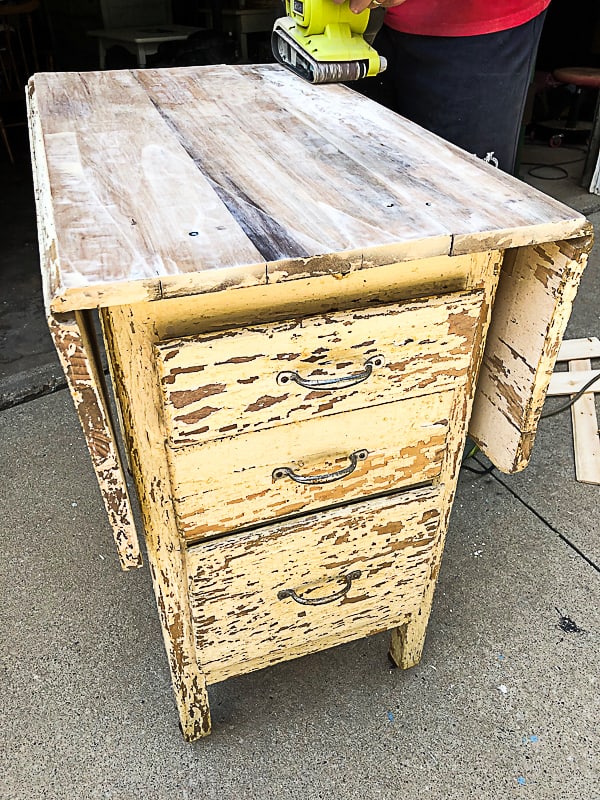
We think this table was painted a white-ish color that had chipped over time and then someone added a yellow/orange top coat that was thick and made it a disaster to paint over.

{Affiliate links are used in this post. You can read my disclosure HERE.}
I knew we were going to have to do some kind of stripping, but this table was so unique with the storage and the drop leaf that I had to bring it home and see what we could do with it.
Supplies Used In This Rustic End Table Makeover:
Zibra Paint Brush
HomeRight Heat Gun
Orbital Sander (Matt used the belt sander too)
Hickory Hardware Pulls
“Drop Cloth” Dixie Belle Paint
Hickory Hardware Pulls
Minwax Dark Walnut Stain
Putty Knife
Bleach
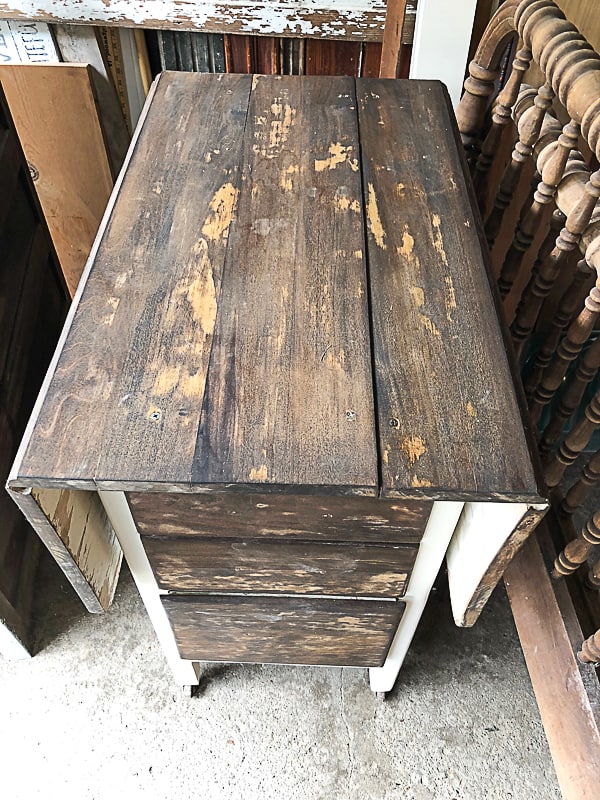
I tried different ways to get the finish off the table. It is hard to explain, but the yellow-ish top coat that was on the table was so thick and didn’t budge with stripper. In some areas, the paint looked so chippy and like it would come right off with a putty knife, but that wasn’t the case either.
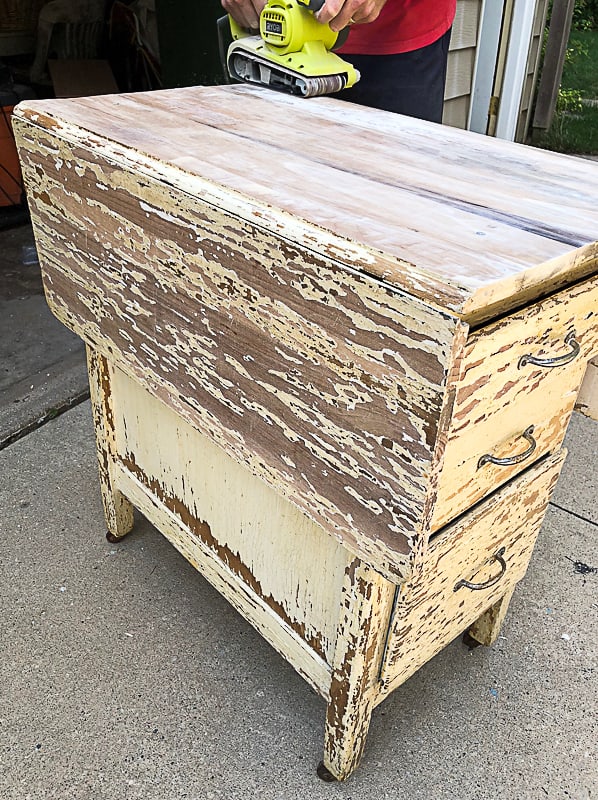
So, I brought out a tool that has been my favorite thing the past few makeovers – the HomeRight Heat Gun. This heat gun was the only thing that would get the finish off this end table.
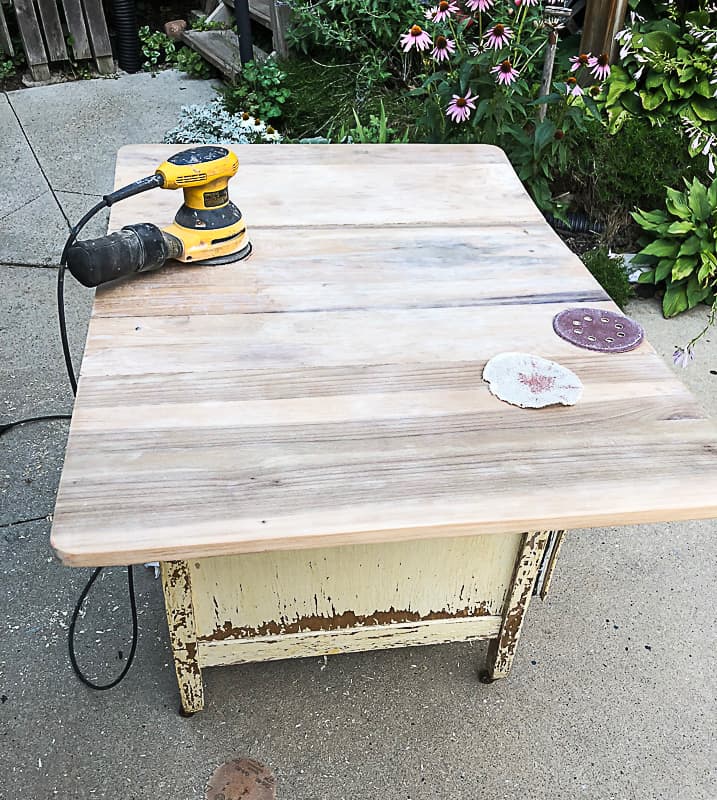
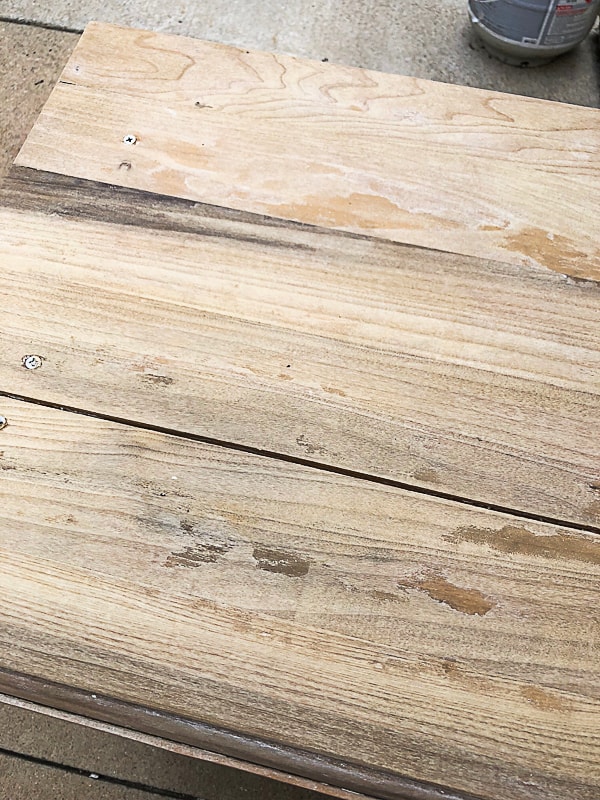
You can see how well it worked in the photo above. I used a putty knife and the heat gun to remove all the paint and ugly top coat. Then, I used my orbital sander to sand down the wood underneath.
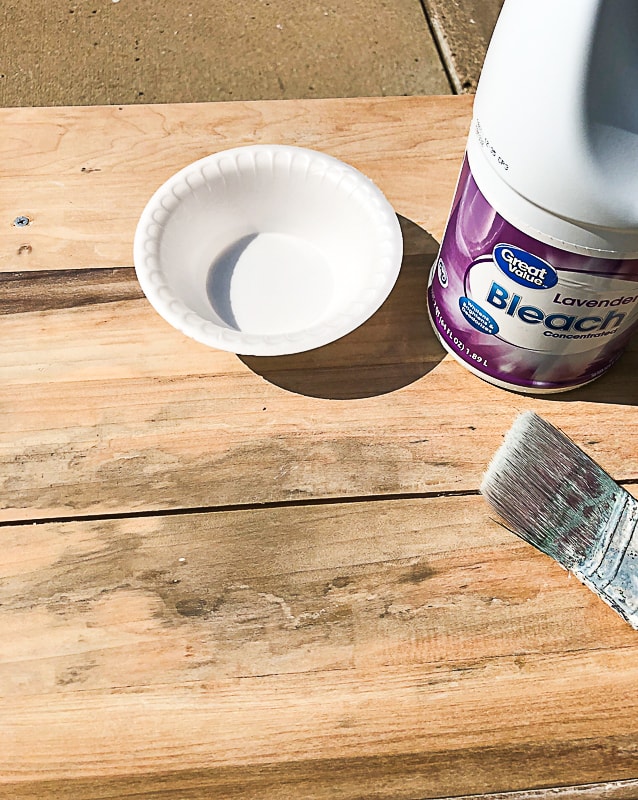
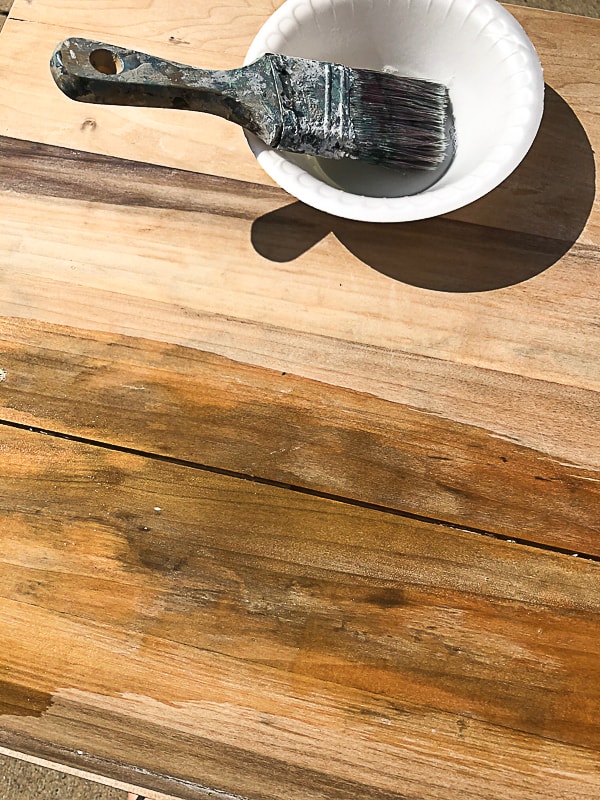
Once I had the wood sanded, I noticed that there were some dark spots in the wood. I decided to try a technique one of my Instagram friends told me about – bleach! I used an old paint brush and brushed bleach over the dark spots. Then, I let it dry in the sun. I had to repeat this a few times to get the stain out as much as I could, but it seemed to work well!
After I did this, I decided to stain the top and the drawers on the table and paint the rest. I love the look of paint with stain and thought this table was a great option for it.
Or, so I thought….
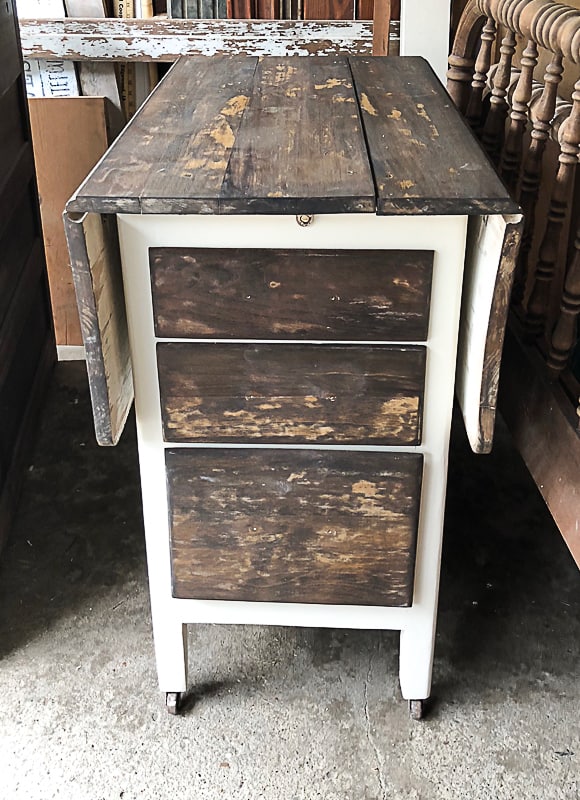
After I put the stain on the top and drawers, this is what it looked like??? It was so blotchy. I thought maybe it was the bleach, but it wasn’t blotchy where I had used the bleach. UGH! Now, it was on to Plan B (I talk all about “plans” in my post – 10 Tips For Painting Furniture).
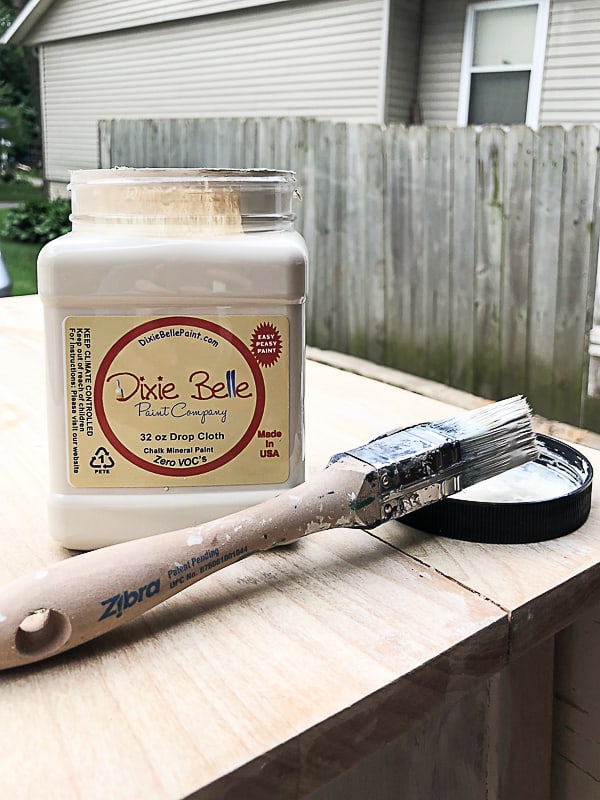
I used my square brush from Zibra Paint to paint the rest of the piece. It covered so well and I loved the creamy white color even though the stain was blotchy.
I decided to cover up the blotches, but still have some of the dark wood come through. So, I dry brushed the “Drop Cloth” paint all over the top and drawers. To dry brush, you put a small amount of paint on your paint brush and then blot it on a cloth or paper towel and then brush it on your piece. I had to do it a little heavier in some areas, but still didn’t want to fully “cover” the stain.
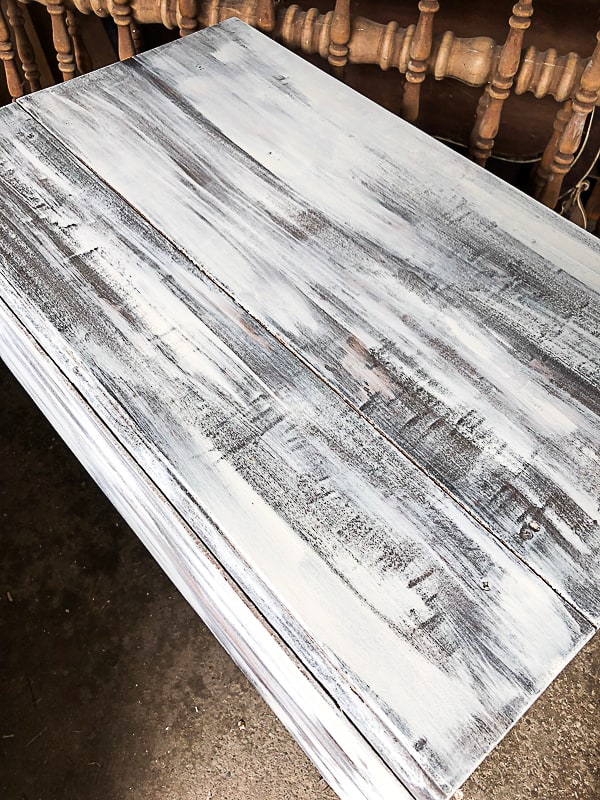
Once the paint dried, I used my orbital sander and sanded it down to show even more of the stained wood.
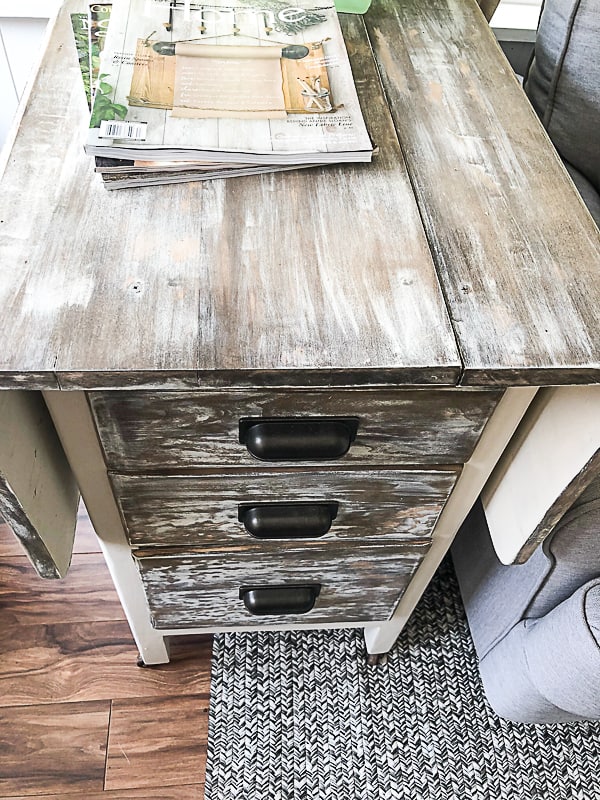
Look at the top now!
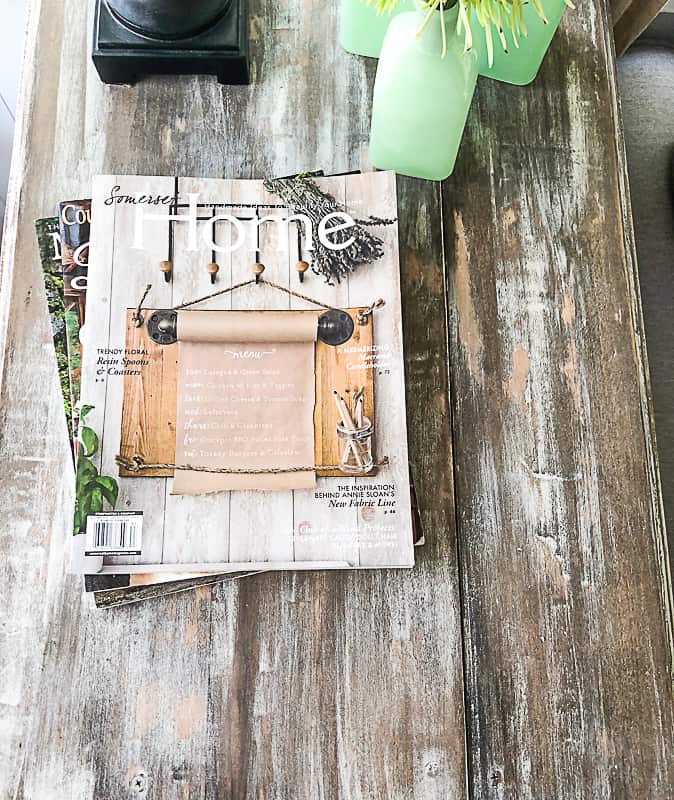
The yellow beast has became the perfect rustic end table!
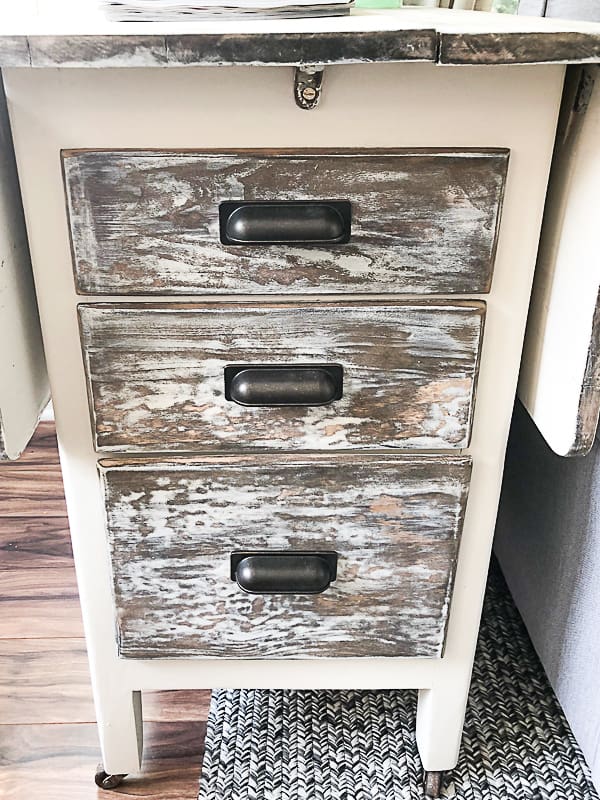
I added pulls from Hickory Hardware that finished off the drawers nicely.
This rustic end table could be used in so many different areas in this house. The makeover took a lot of time but it was so worth it in the end.
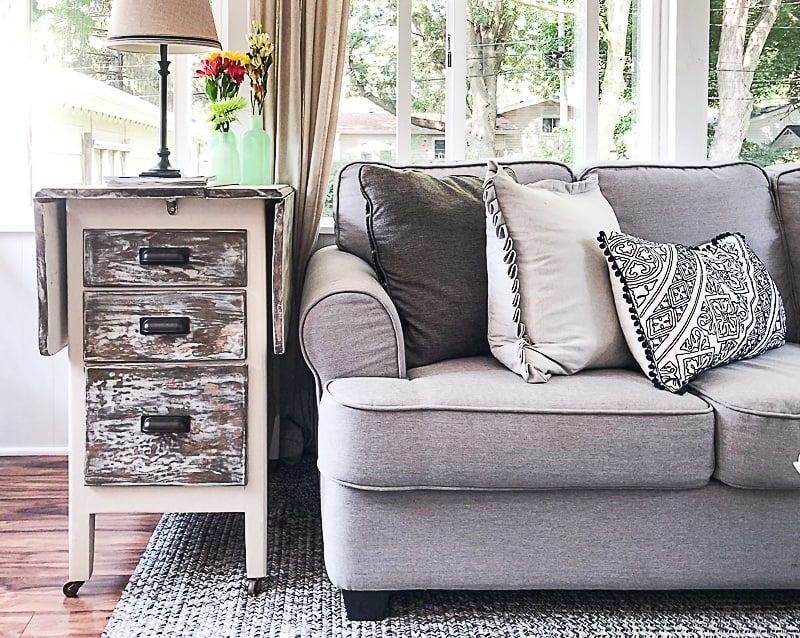
I still get excited about bringing pieces home that have potential. I thought I might get tired of it, but the passion and love for rescuing cast-away pieces is still there. It is even better when I get to try new techniques to get the job done and share it here with you to hopefully inspire you to make over a piece you may have lying around.
What would you have done with this piece? How would you have overcome the blotchy situation?
PIN THIS POST!
If you liked this rustic end table makeover, you will also love these transformations:
Antique Chest Of Drawers Makeover
Bedroom Chest Makeover With Paint, Sandpaper & The Best Paint Brush
How To Paint Furniture Without Sanding
Such a cool, unique piece of furniture. The redo turned out great! I really like how you showed the problems you encountered long the way too. I feel a lot of bloggers leave that out and make it seem so easy. Then,when there are problems, it gets frustrating because I’m not sure how to fix them. Thanks for your honesty!
Your welcome. I think that part of the story is always important. Thank you so much for your comment!
your persistence and patience certainly paid off. beautiful finish and color choice. well done!! nice end table with options to expand while working on a project.